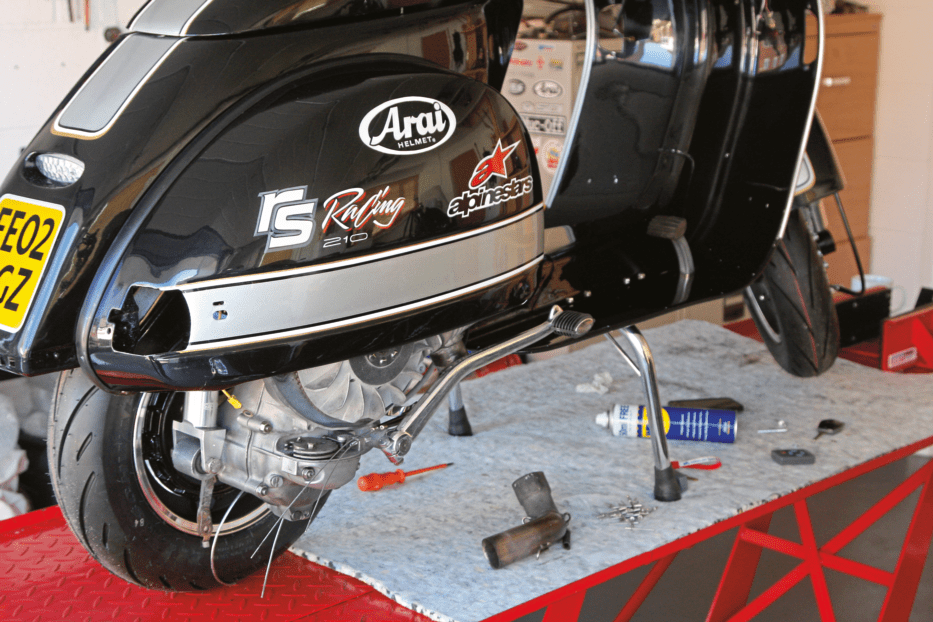
Changing cables on a Vespa isn’t much fun but it is worthwhile doing to prevent roadside hassle.
You will need…
Enjoy more Scootering Magazine reading every month.
Click here to subscribe & save.
Replacement cables (it’s always best to have a complete spare set in your glovebox), pliers, wire cutter, 7 and 8mm spanners, a screwdriver, electrical tape, grease and a healthy dose of patience.
One job that should be part of preventative maintenance (but rarely is) – checking, adjusting and replacing your control cables. It’s one of those jobs you wish you’d done in the comfort of a warm garage when you snap a cable halfway to a rally.
The cables on my PX were last changed during a rebuild after a respray but the gears had recently started getting a bit stiff. Even so, I was still surprised at just how bad they were when I started to check them out.
Iggy

Starting with the gear cables, remove the selector box cover and inspect the cables, mine were well past their best. If yours look okay they may just need adjusting, so undo the solderless nipple, pull any slack with the pliers and tighten the nipple, repeat for the other cable. Final adjustment can be made using the threaded adjusters.
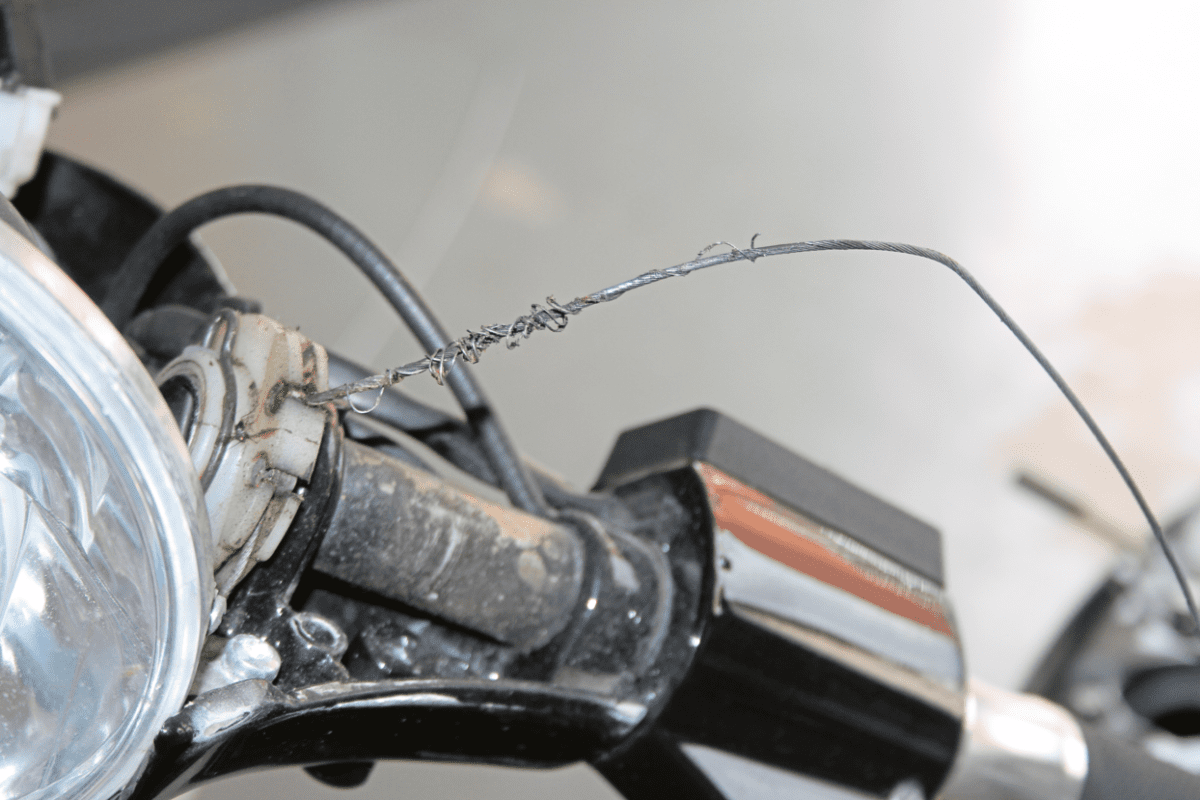
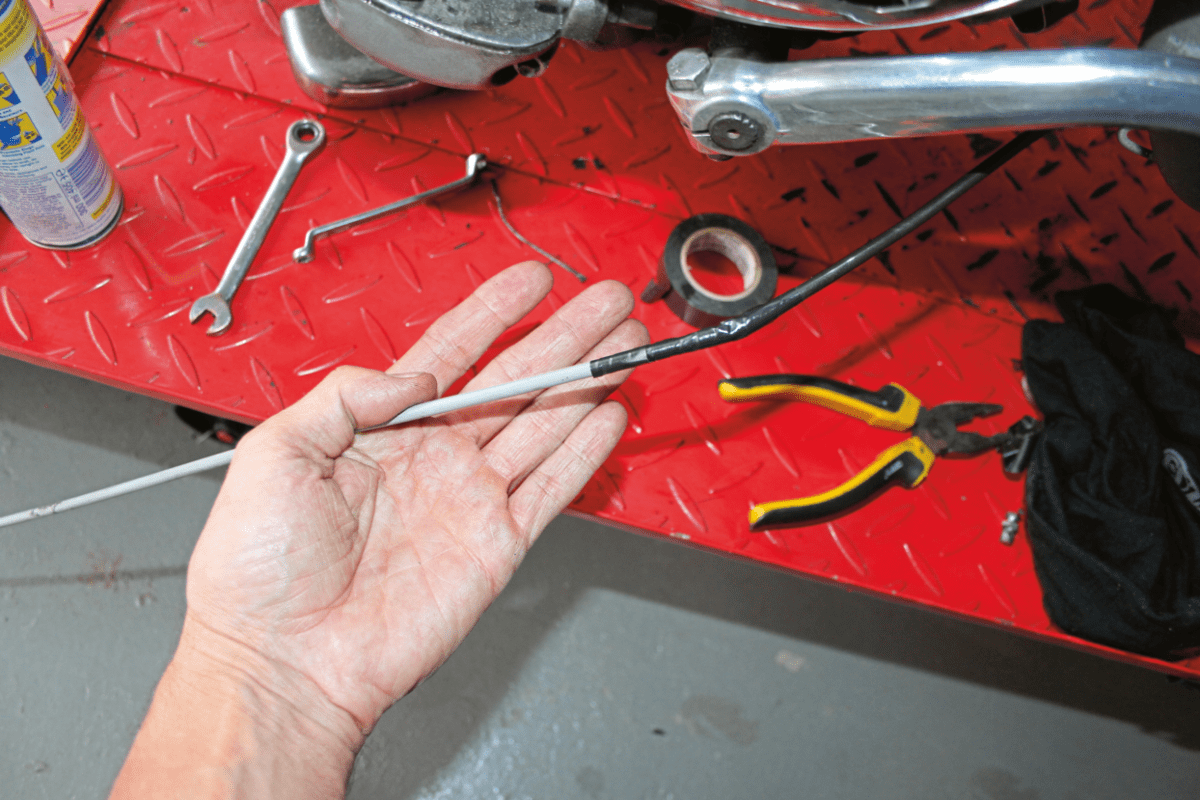
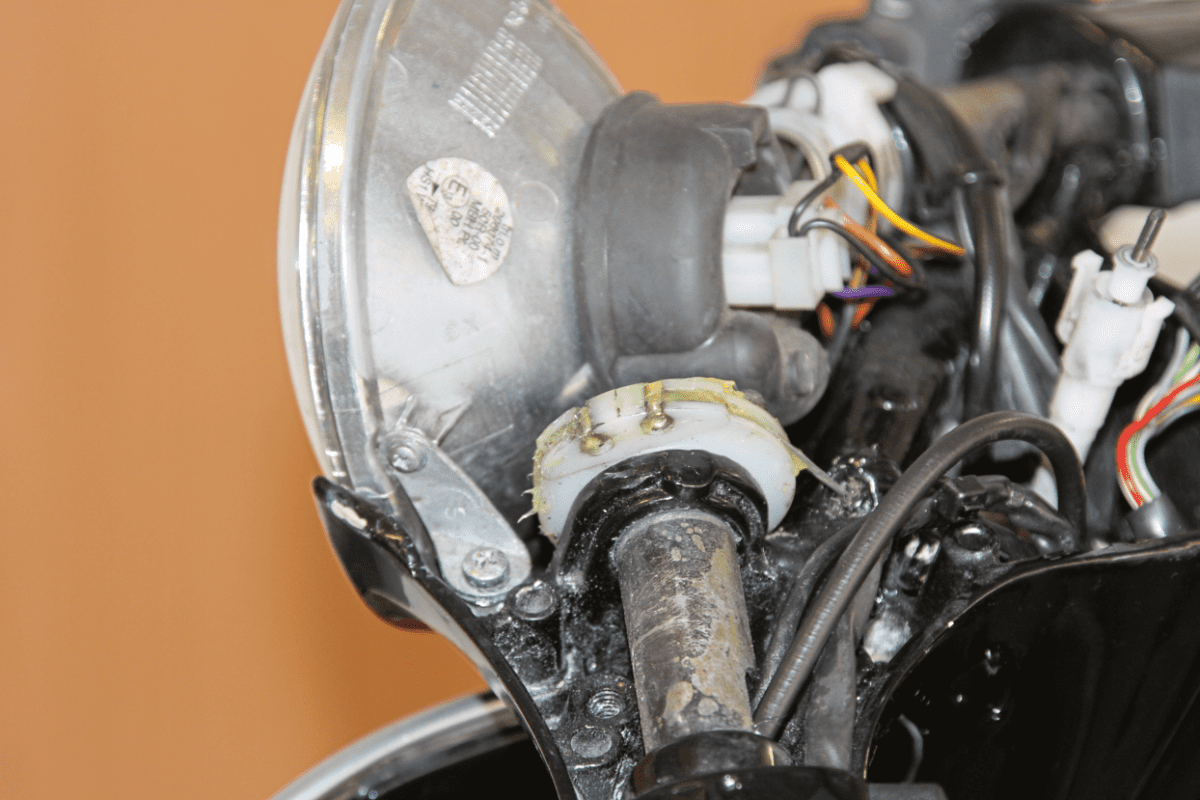
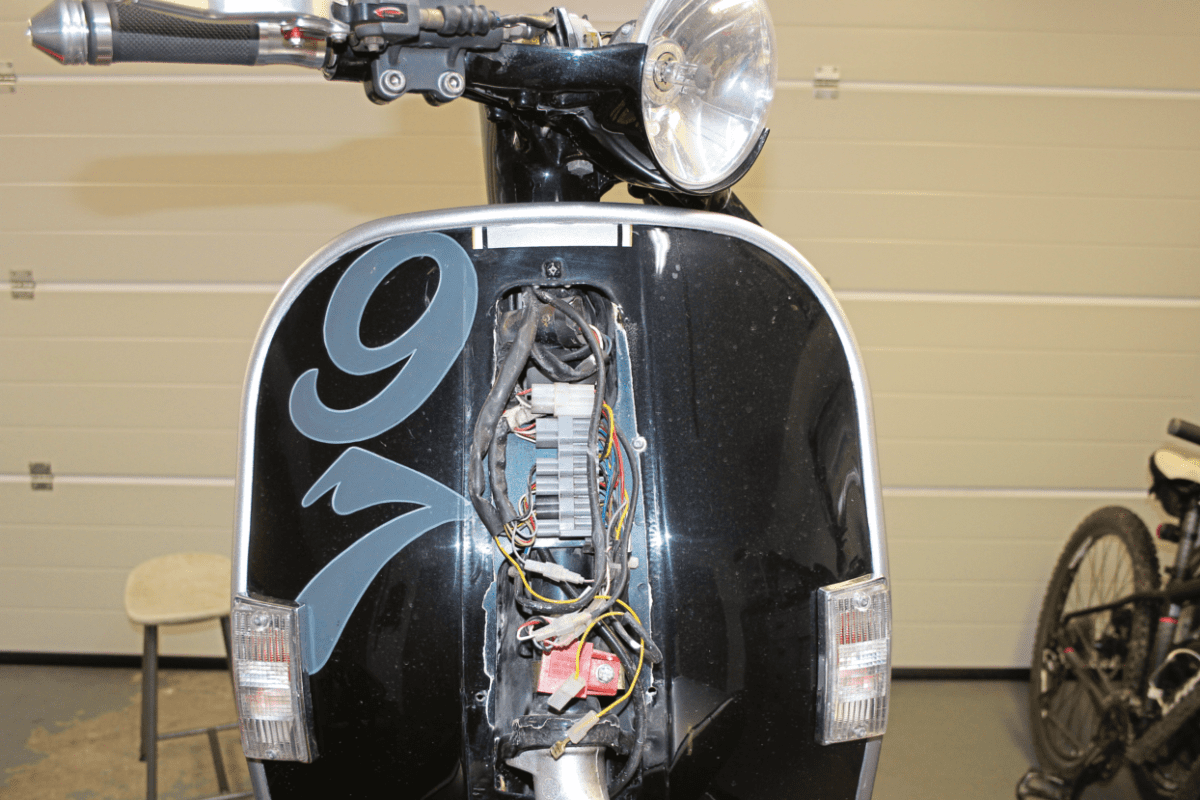
If your cables look like mine you’ll need to replace them, so the next job is to remove the headset top. As you can see, the top end of my gear cables looked even worse than the bottom, no wonder gear changing had become difficult; both cables were frayed and coiled up in the headset. There is a danger of steel splinters when they get this damaged, so do take care.
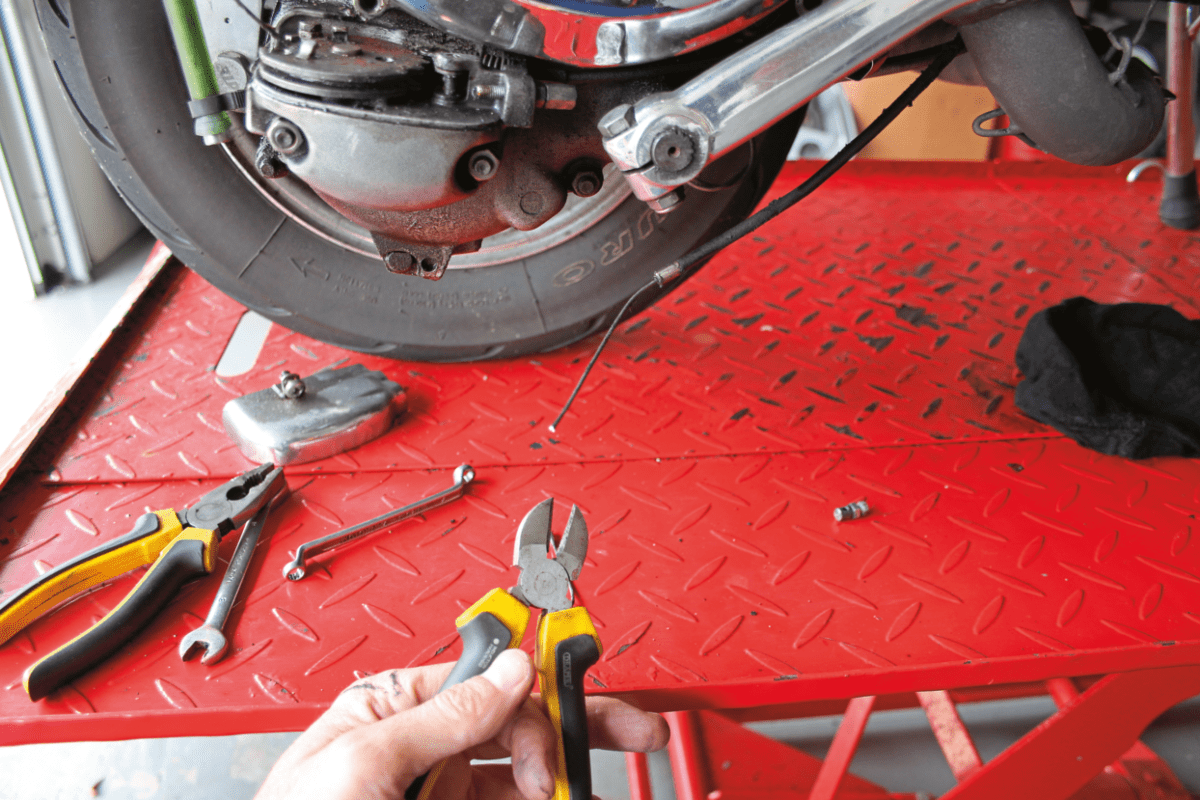
Before pulling the old inner cable through from the top it’s best to use some sharp cutters to snip off the old frayed end. This stops the cable snagging on the way through and prevents causing damage to the outer cable. If it still doesn’t pull through easily, or the outer is noticeably damaged you’ll need to change the complete cable.
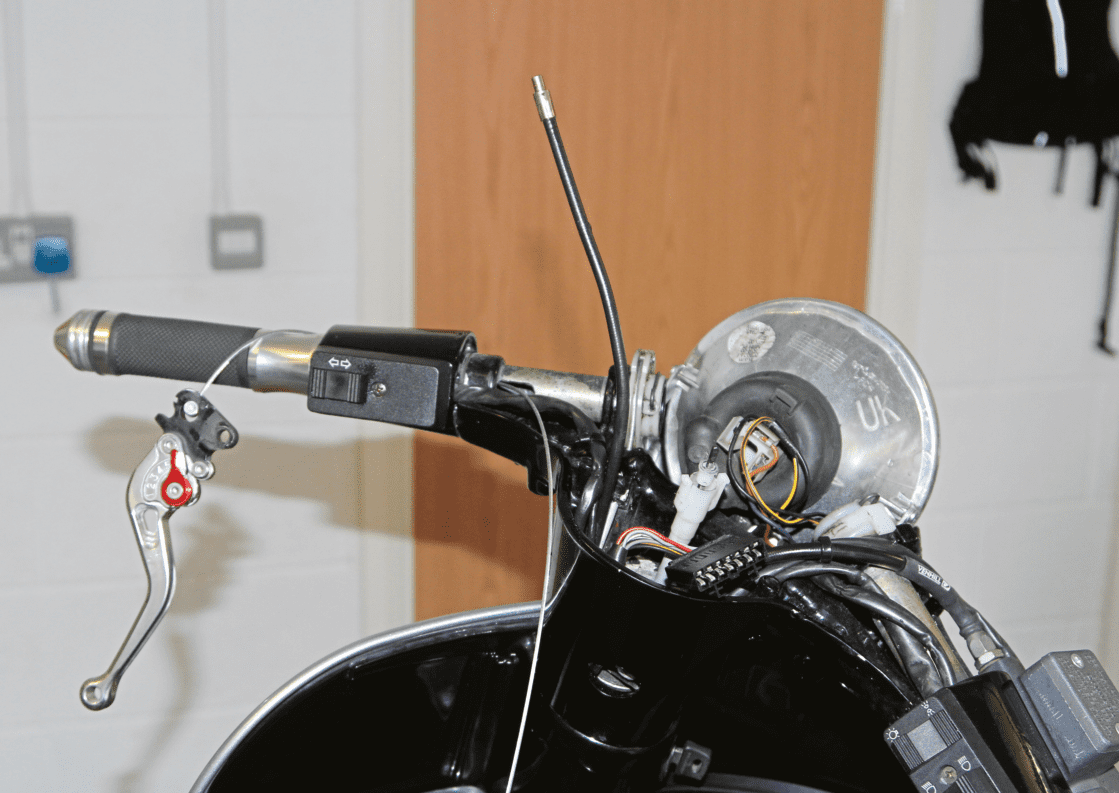
When replacing a clutch cable, thread the new inner (with either fixed or pear nipple) through from the lever end. Note that the clutch outer has a top hat that stops it being forced into the lever under pressure. The throttle and both gears have plastic cable guides that fit from under the headset, be sure not to misplace them either!
If you need to replace a complete cable join the old and new together by threading the new inner into the old outer and tape the outer cables together using electrical tape. Then gently feed it through by pushing the new cable and pulling the old one. Don’t try to rush it or they’ll separate, usually somewhere in the middle of the frame!
Threading an inner should be quite straightforward if the outer is okay. Grease the cable before fitting, and straighten the bottom of the outer as the cable gets to the end as sometimes they can get caught or struggle to poke through the end hole. Note that all Venhill recommends for its Teflon lined cables is just some copper grease on the nipples.
When replacing gear cables do them one at a time, or use different coloured outers to avoid getting them mixed up. The rear cable can be hard to feed behind the selector so a small screwdriver can help to guide it through. The position of the solderless nipple can make it tricky to get a spanner on too, so twist the gear change to move it away from casing.
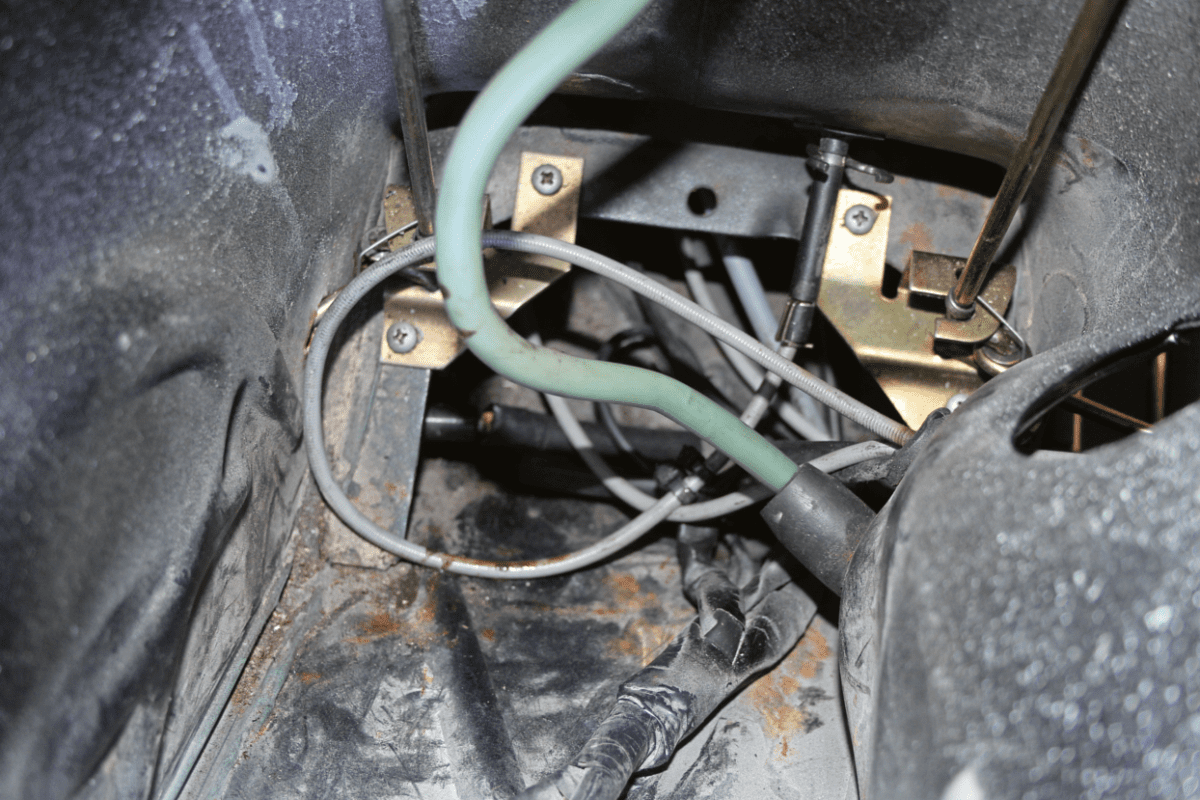
Things don’t always go to plan and occasionally cables can be a nightmare to thread through the frame. Some PXs have gear cables joined together by a metal clip from the factory, usually somewhere under the tank, which stops you being able to replace a single cable. Removing the tank and plastic ‘trim’ makes it easier to feed the cables through if they do get stuck
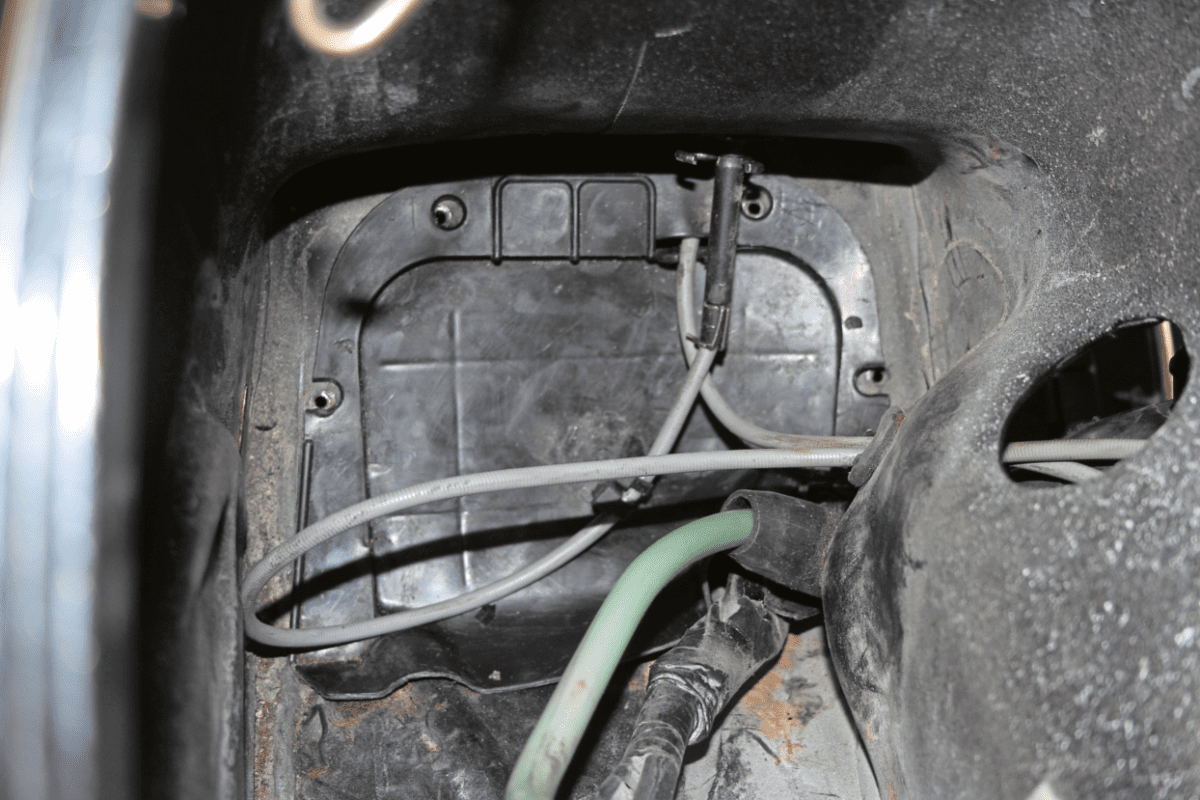
After sorting the cables out be sure to refit this plastic cover, it may look like it’s there for decoration but it effectively forms the airbox on a PX. I discarded mine after a rebuild (as many do) and wondered why the scooter felt like it had fuel starvation every time I came off the throttle. Two years later Malc Anderson at MSC diagnosed my problem… I finally got round to fitting it while doing this feature! Problem solved.
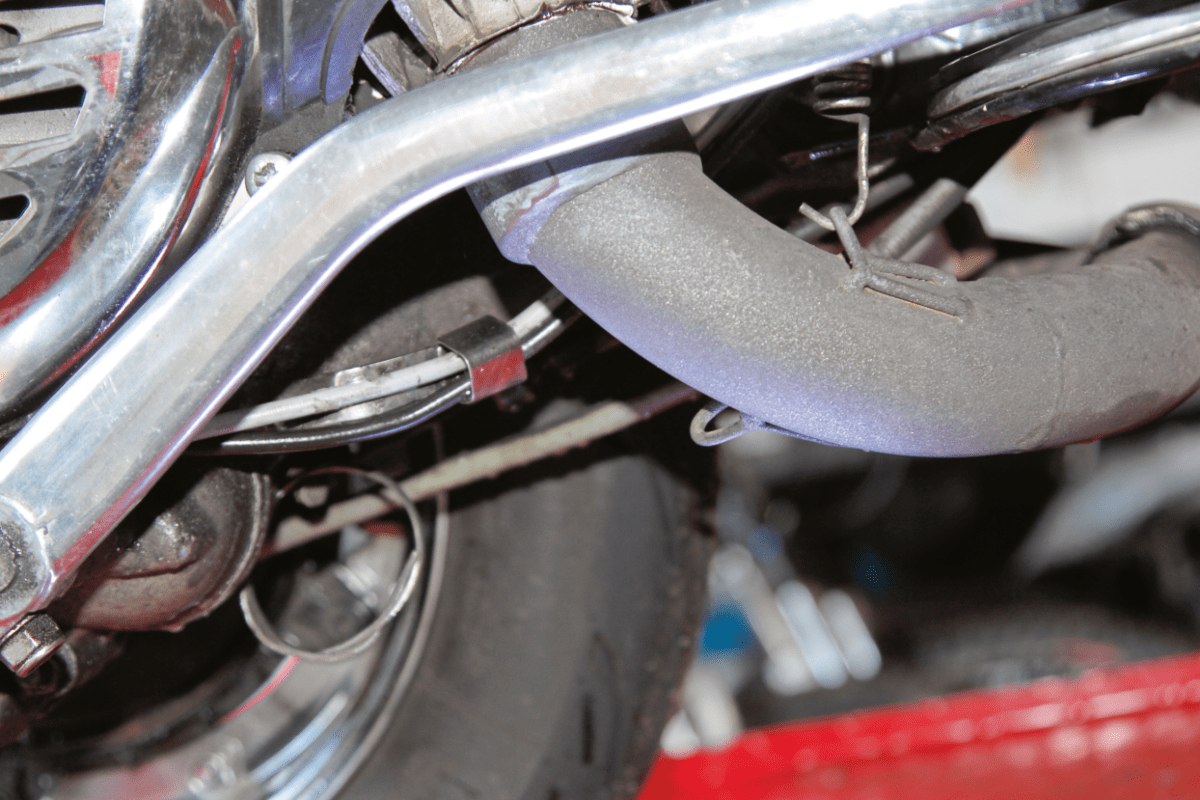
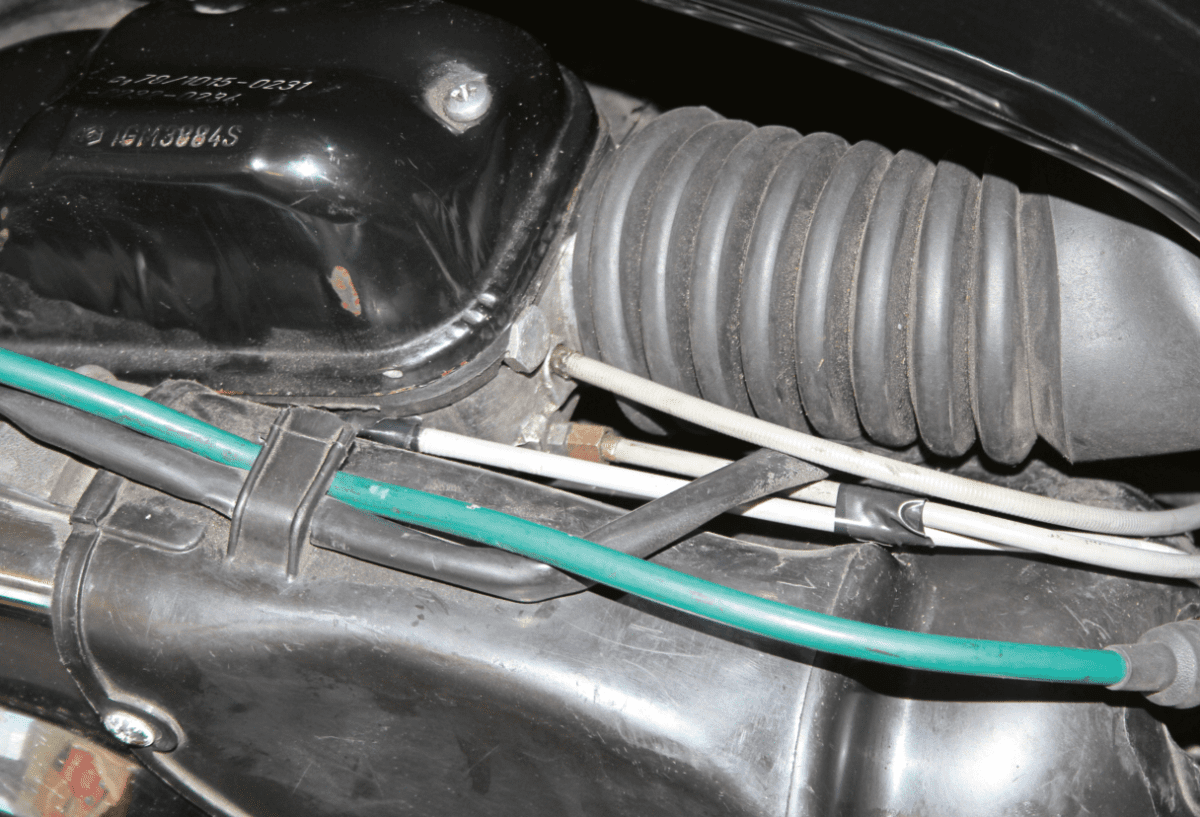
Scooters are inherently awkward to work on and threading cables can be hard work if the wiring loom gets in the way, or something catches inside the frame. Occasionally the rear brake pedal or horncast may also need removing for easier access. It’s also easier if you can see what you’re doing so laying the scooter on its side can help.
Iggy’s TOP TIP 1
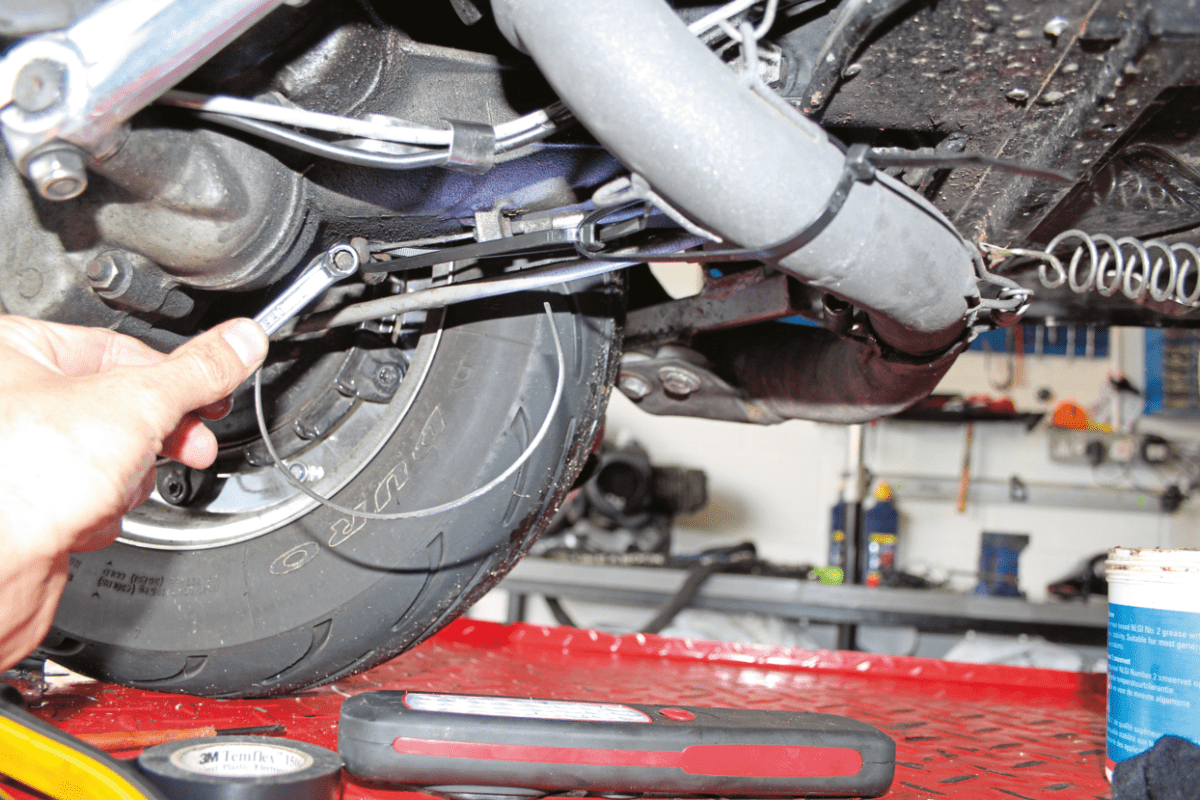
Trying to simultaneously hold the clutch cable with pliers while forcing the clutch arm back and tightening a solderless nipple is at best tricky. Thanks to the Vespa P-Range owners’ group for this tip. Use cable ties around the clutch arm and exhaust (or stand) to pull the arm forward while tightening the nipple, it’s much easier.
Iggy’s TOP TIP 2
Throttle cables can go at any time and can be a pain to change because it’s a complete cable. Thread a spare complete cable alongside the cable you’re using, at least it’s just a matter of connecting the new one at the top and bottom then. Tape the ends up though to keep water out until you need to use it.
Thanks to Ann for that tip.
Iggy
This article first appeared in Dec 2014 edition of Scootering.