With a stack of tuning and upgrade products for various Vespa machines to hand, we intend to fit and analyse them over the coming months. The PX has been playing dyno donkey for the past five articles, so this time it had a welcome break as we looked at Vespa suspension.
Having spent a few months on speed and power upgrades, this month we wanted to focus on handling. One thing I’ve always thought about the Vespa suspension is how comfortable it is to ride. I always feel that the Vespa is more of an armchair ride compared to my Lambretta… which is fine, but the ‘pogo’ element of a Vespa is the trade-off.
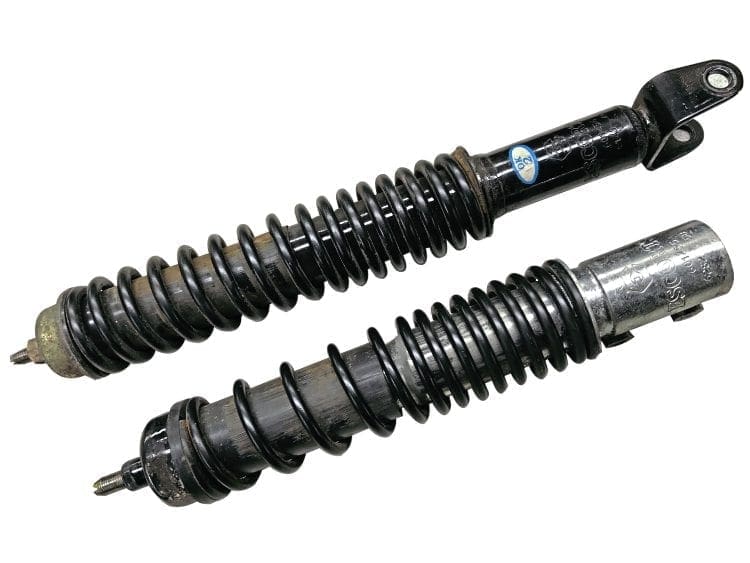
In terms of value for money, and for the average rally-going scooterist, Escort shocks are hard to beat in terms of their cost and simplicity. Easily available and cheap to buy, they are no frills’ and get the job done. But for me personally, they are just too soft. You don’t even need to get out on the road to find this out – simply gas a Vespa on the dyno and feel the back end squat and the front end lift.
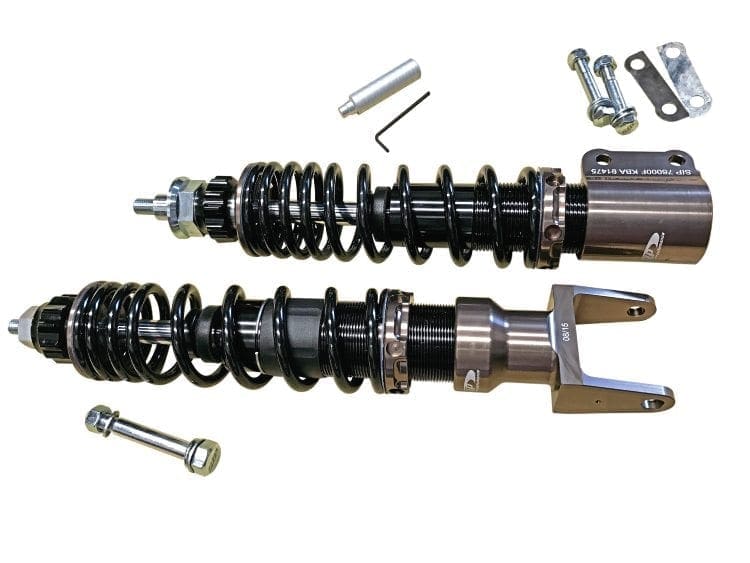
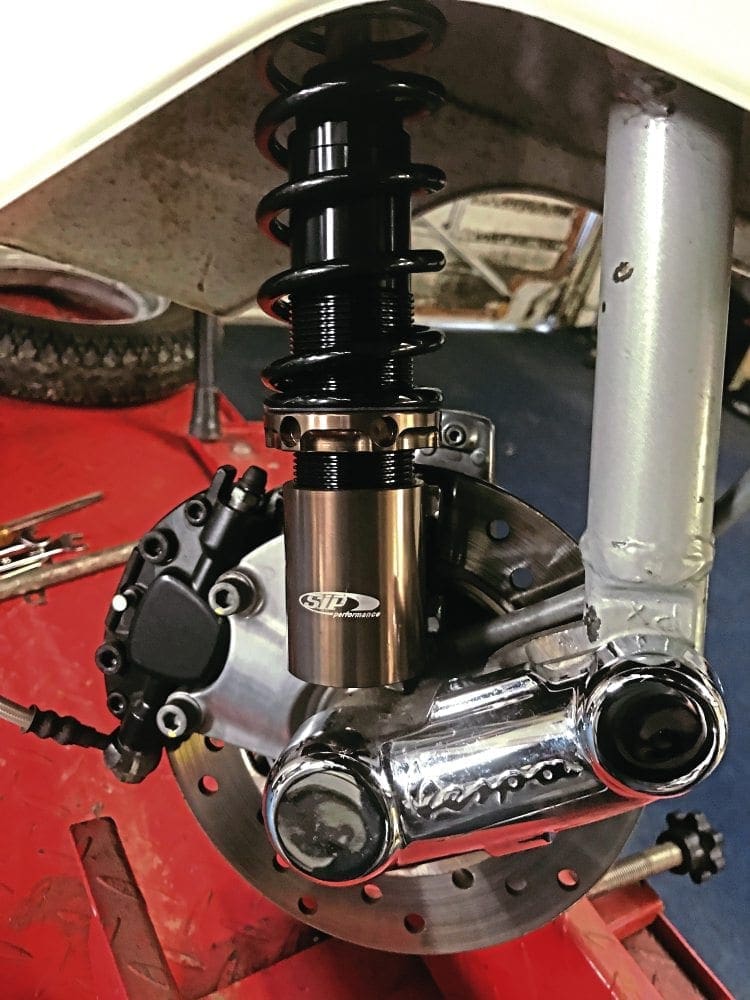
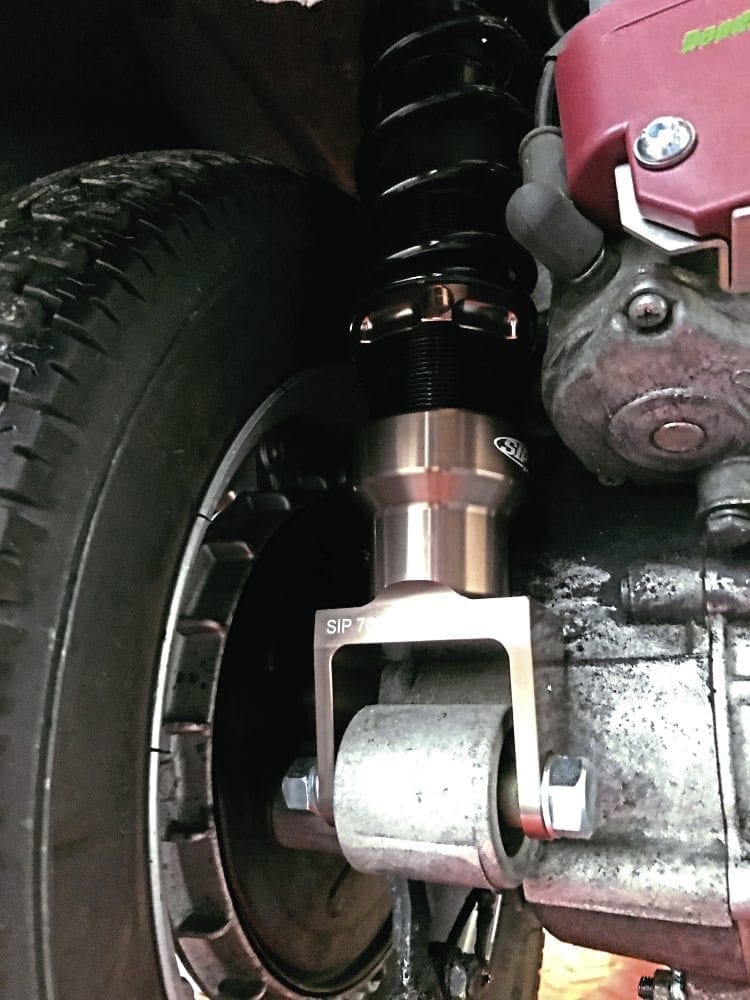
Come off the gas and watch the back end lift again. Out on the road, and especially with a disc brake, grab a handful of front brake and feel the front end dive quite badly. So we have choices, and the range is wide… from suspension units which are only a few quid more than Escorts, right up to very expensive units. As with all elements of scootering, your budget is your own business. But for this upgrade, we selected the lovely CNC machined units from SIP. Not only do they look the dog’s bollocks (we all love a bit of scooter bling) but they are quite comprehensive in their adjustability too.
Enjoy more Scootering Magazine reading every month.
Click here to subscribe & save.
The units come with an adjustable spring for pre-load; the spring itself is progressive, and the unit also has a 20-click rebound control adjustment. So you can adjust how hard the spring resistance is when the unit is compressed (say under braking) or how soft/hard the unit rebounds/extends (say when going over a pothole — or after hard braking).
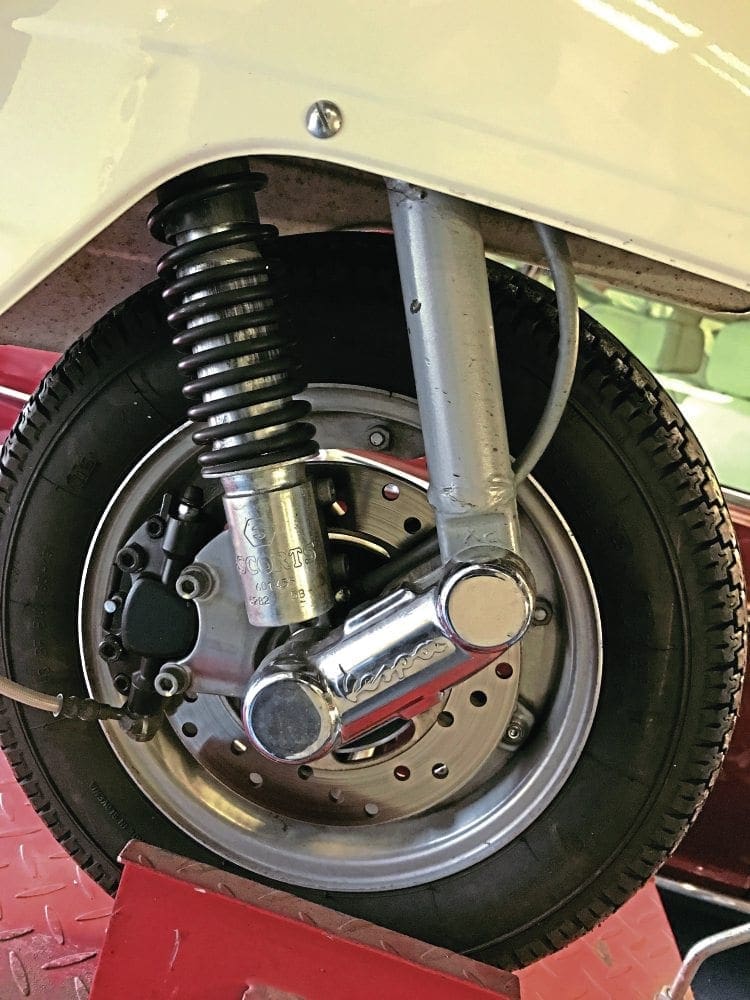
The progressive spring also means comfort at the upper end when riding solo, or a firmer ride when heavily laden or under braking. So these units tackle the three key areas of ride, comfort and handling. In terms of fitting, this another easy item which is literally bolt-off/bolt-on and can be undertaken by any home mechanic. The units come with a comprehensive instruction manual, should you require it, for both fitting and (more importantly) the setting up of the units, which is a personal preference situation.
There is also an online guide for the setup, which anyone can use: http://bitly/shockabsorbers1
JETTING
We had a couple of follow-up enquiries last month, to ask what jetting was used when we fitted the 26mm carb instead of the 20mm carb. After a few dyno sessions, we finally matched the previous air/fuel ratios of the 20mm version by using: 120 air corrector, BE5 atomiser, 110 main jet and a 55/100 pilot. These jet sizes were in conjunction with the Zeus ignition unit, a BGM exhaust, a BGM 177 kit and 60mm crank, fitted to a 2015 Vespa PX125, with un-ported casings.
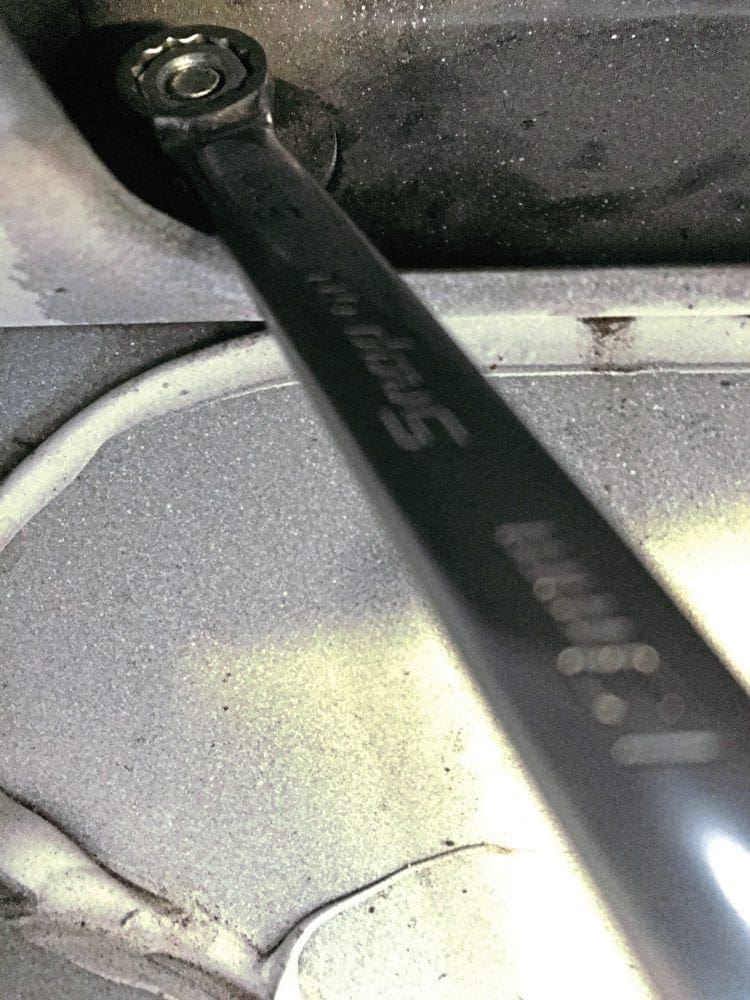
FITTING
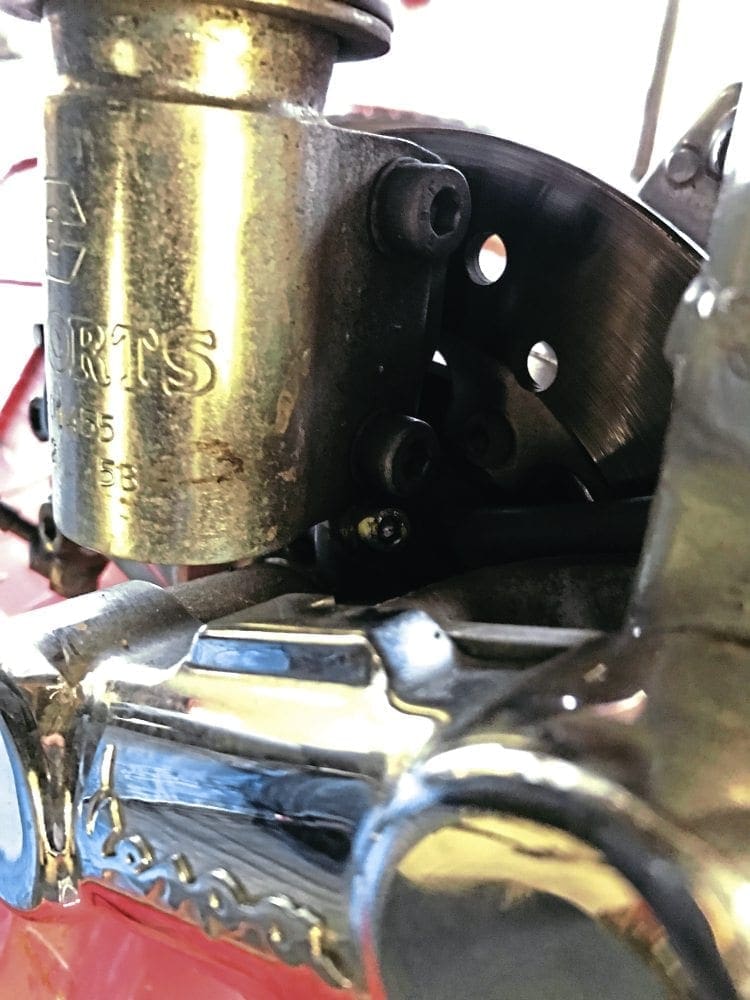
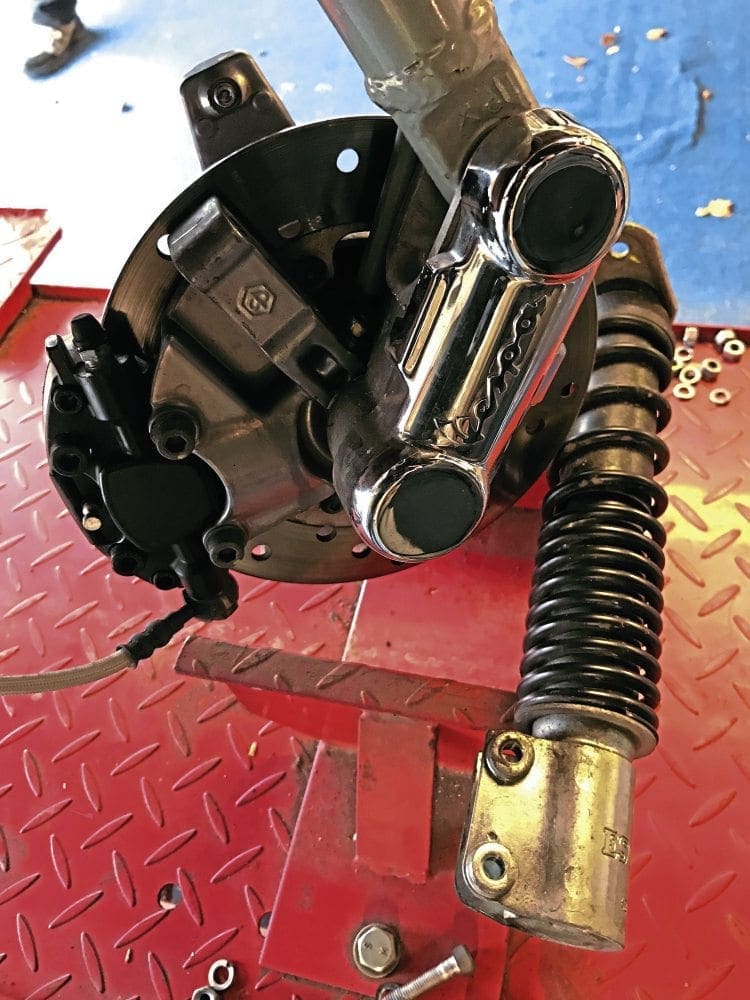
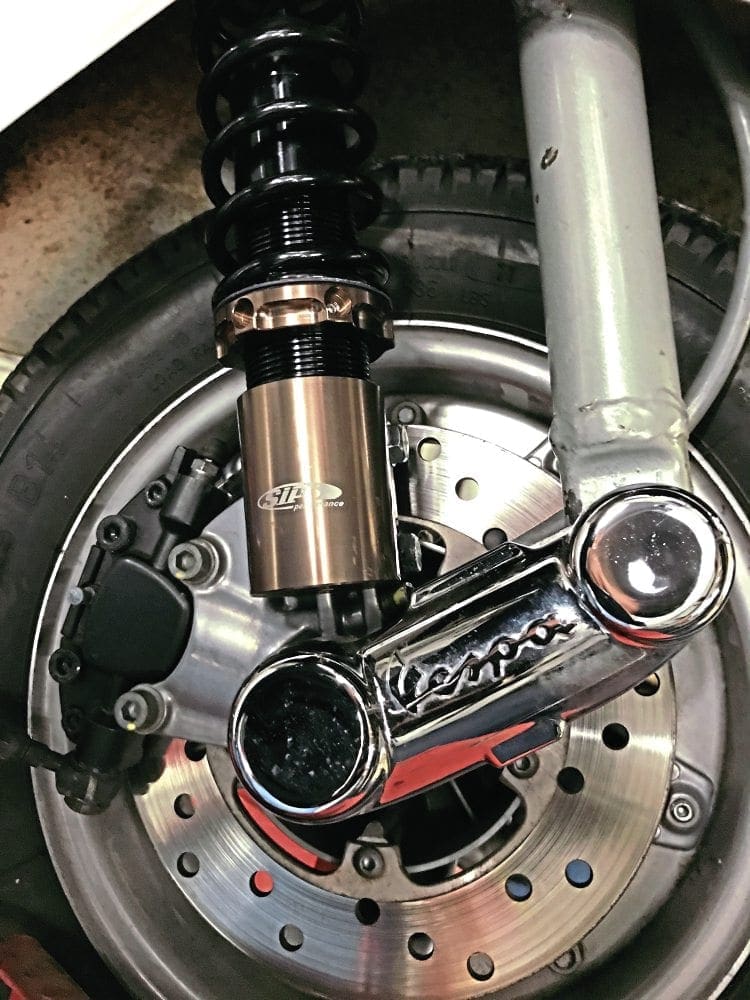
FRONT UNIT


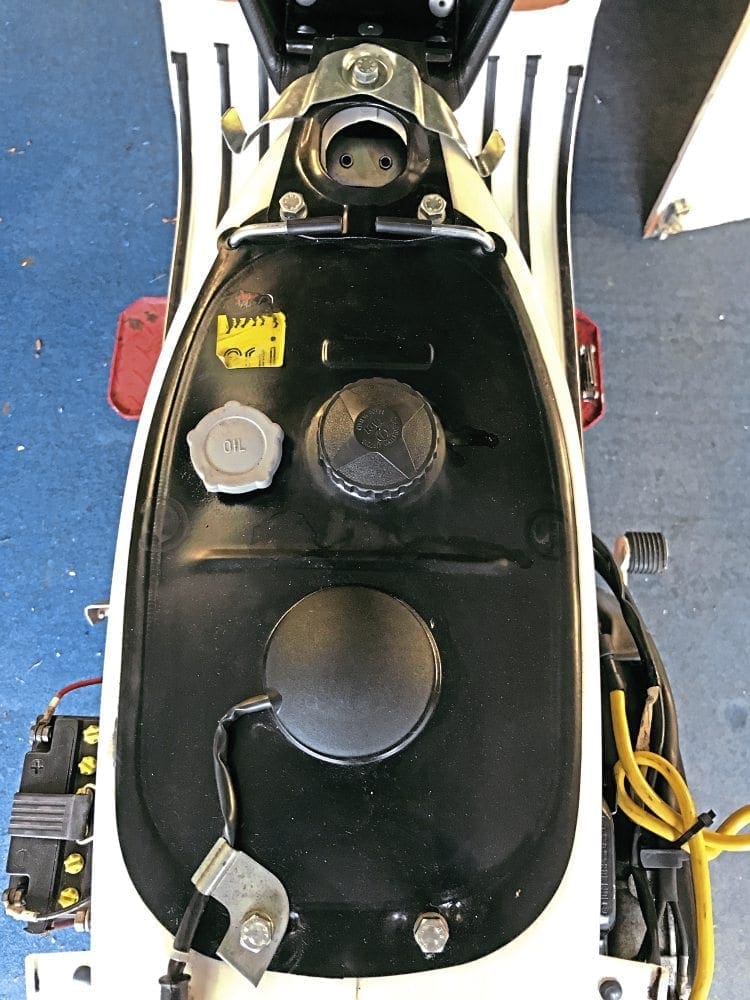
REAR UNIT
15HP VS 11HP?
A SIP Road 2 exhaust and BGM177 kit were fitted to our 6.3hp 2015 PX125 and it hit 11hp, this was lower than expected. As reader Ian Motherslade points out, BGM quotes 15hp. Also, further gains weren’t made when a 60mm crank was fitted. So what was going on? Well, a standard PX125 manufactured between 1998-2008 had 9hp from the factory… but ours is a Euro 3 PX, so less powerful in standard trim, than all previous models of PX. We are ‘starting from the back’ with this engine. Once the ignition restriction was removed and BGM pipe fitted, we saw 13hp. Also consider the difference in dyno readings: ours may read lower than others, but remember that cross-dyno comparisons are not a useful tool. What matters is before/after readings on the SAME dyno, to show percentage changes in power. So if a Euro 3 PX puts out 6.3hp and when tuned hits 13hp, then it has achieved a 106% power increase. As long as other dynos show the same before/after percentage gain, that’s all that matters. For a 9hp, 2001 PX125, to make 15hp with a kit and pipe, that is only a 66% gain, and should be perfectly achievable. So the fact is, Euro 3 Vespas require more work to release the power than pre-2011 models.
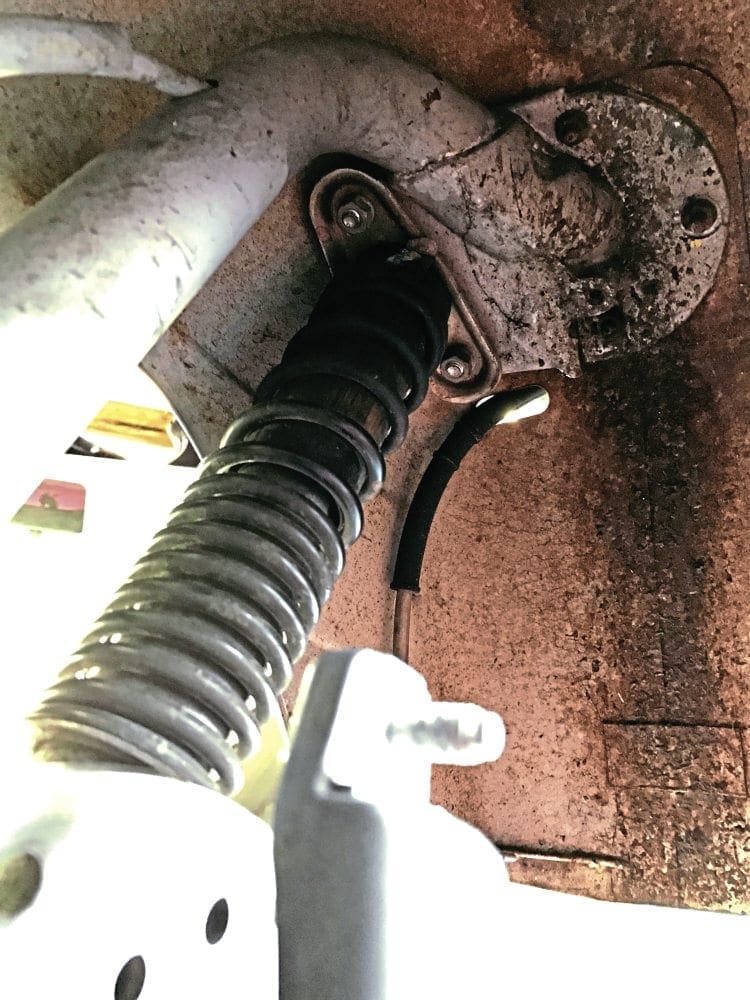
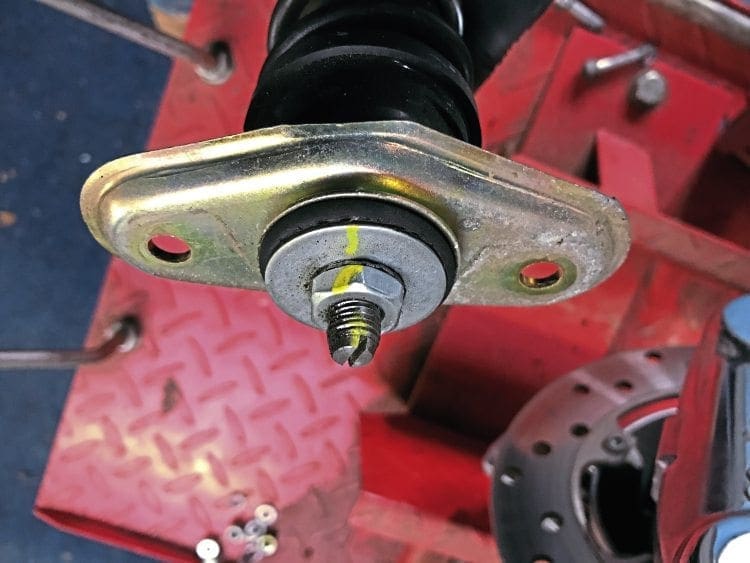
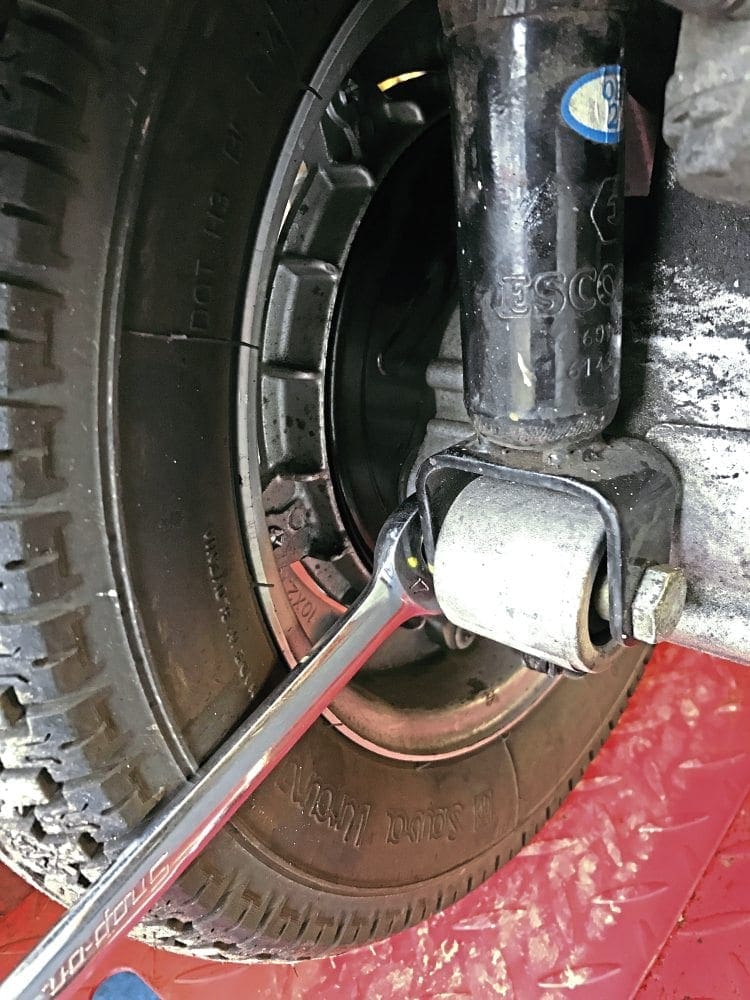
Note: Compare the length of replacement shocker to the old unit. Our standard Escort item was much longer, and so the replacement unit required a distance nut to space it out. These are not provided with the unit and need ordering separately.
Road test time
Initially, I wound up the spring only just enough to take up and slack, and started the rebound adjustment at setting 9 (middle setting) with 0 being softest and 20 being hardest. After a series of road tests and adjustments I found the balance I required to suit my riding style. The front spring needed hardening up the most for me, due to my requirement of limiting diving under heavy front braking. The rebound was set to a happy balance front and rear on setting 12 for me, and the rear spring was left just a bit softer than the front… to add a bit of comfort to the ride. Overall I was very pleased with the upgrade. The looks, build quality, fitment, and technical specifications were great all round. At around £150 per unit these are much more expensive than the factory units, but when you see them in hand, you know where the extra money went.
Still to come
Stan is lined up for a Polini 210 kit and exhaust combo, Wayne is getting the Malossi 201 treatment. Both will be running dyno graphs for before/after comparisons. Meanwhile, I need to have a look at tyre/rim options and gearing combinations. Stay tuned.
NEED FOR SPEED
You may recall our initial speed test for the standard 6.3hp PX125, GPS showed a maximum speed of just 52mph, with a 0-50mph time of 29 seconds. This meant pulling out from junctions into fast flowing traffic was quite harrowing. With a SIP Road 2 pipe fitted we knocked nine seconds off the 0-50mph time and added 5mph to the top speed. So it was time for one last speed test before we uprating the shockers. Spec: BGM177 kit and pipe, 60mm crank, 26mm carb, Zeus CDI unit. Engine power showed 14hp, 0-50mph speed was now down to 12 seconds, and top speed was a genuine 60mph. This was limited by gearing, which we plan to address in coming editions.
Words & photographs: Dan Clare