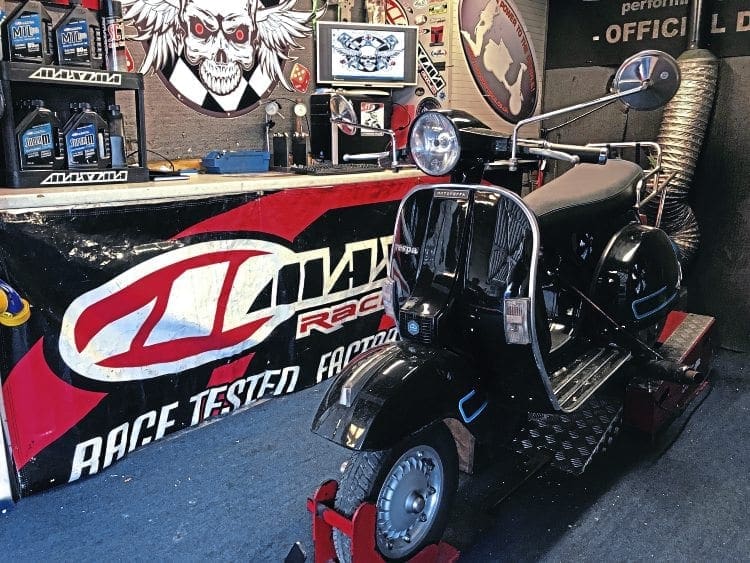
With a heap of tuning and upgrade products for various Vespa machines in our garage, we intend to fit and analyse them over the coming months. With last month’s tubeless rims and BGM clutches feature behind us, it’s time to take a look at the Polini 210 kit…
Last year Stan’s trusty P2, which had previously carried him through thousands of trouble free miles, packed up on him. During his journey to a rally he had holed a piston, and although he managed an ‘on site’ rebuild at the rally, the scooter was now suffering air-leaks and other problems, so it was time for a full rebuild. During this time I had managed to chip away at Stan, and encouraged him to add a touring kit into the equation; he eventually agreed. Stan is of the opinion that the only good touring Vespa is a standard Vespa, I challenged that ethos and put forward my opinion to him, that if tuned properly and built well, a kitted Vespa can be just as reliable as a standard Vespa. So it’s my neck on the chopping block if it all goes wrong!
Enjoy more Scootering Magazine reading every month.
Click here to subscribe & save.
POLINI
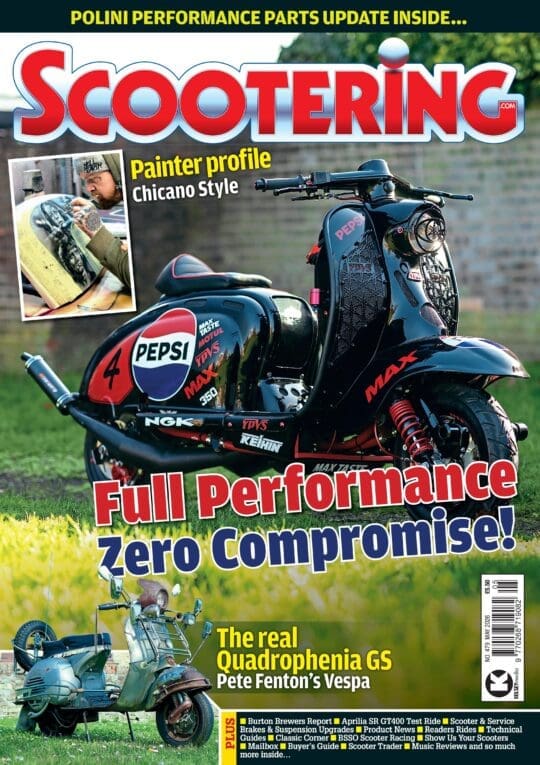
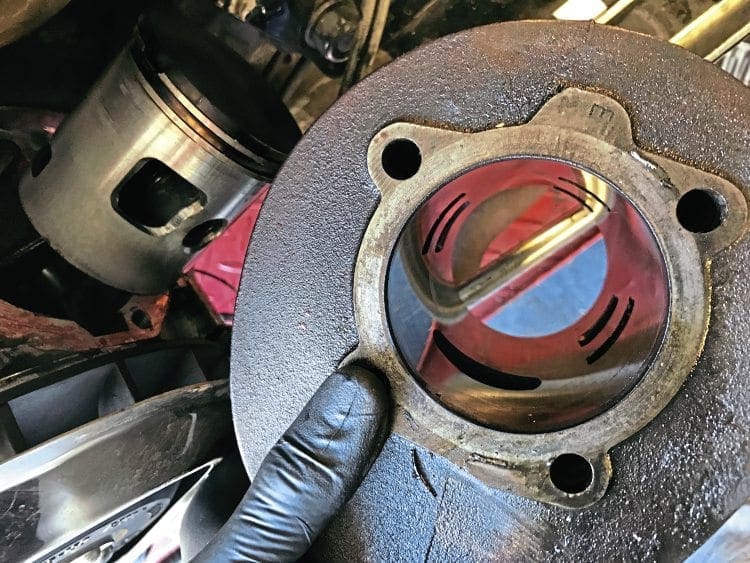
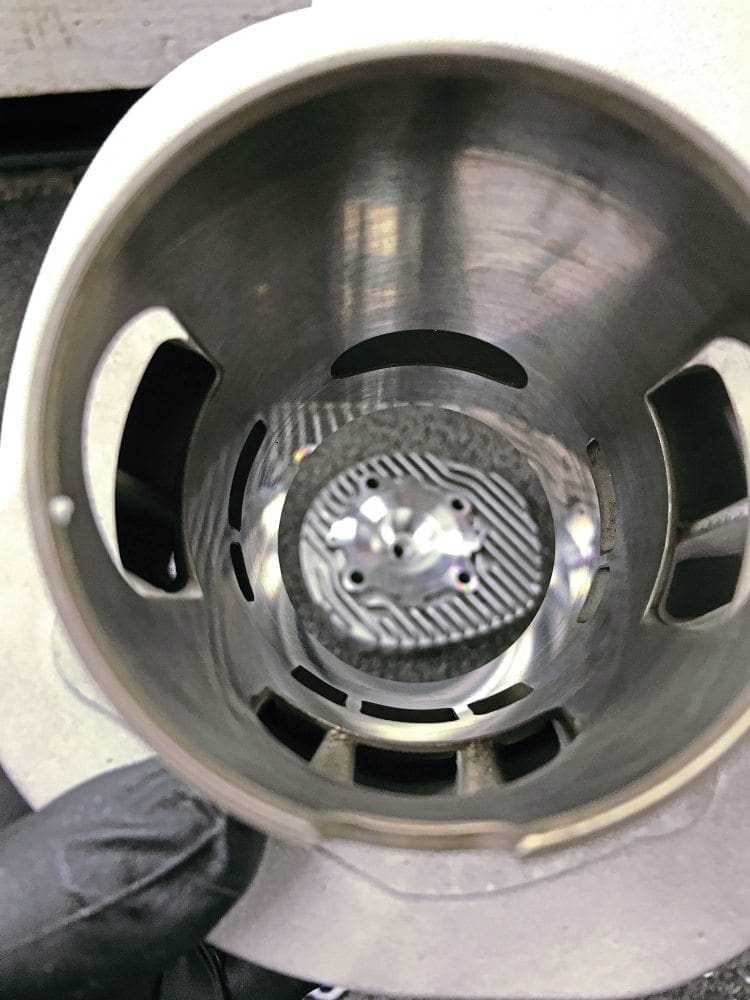
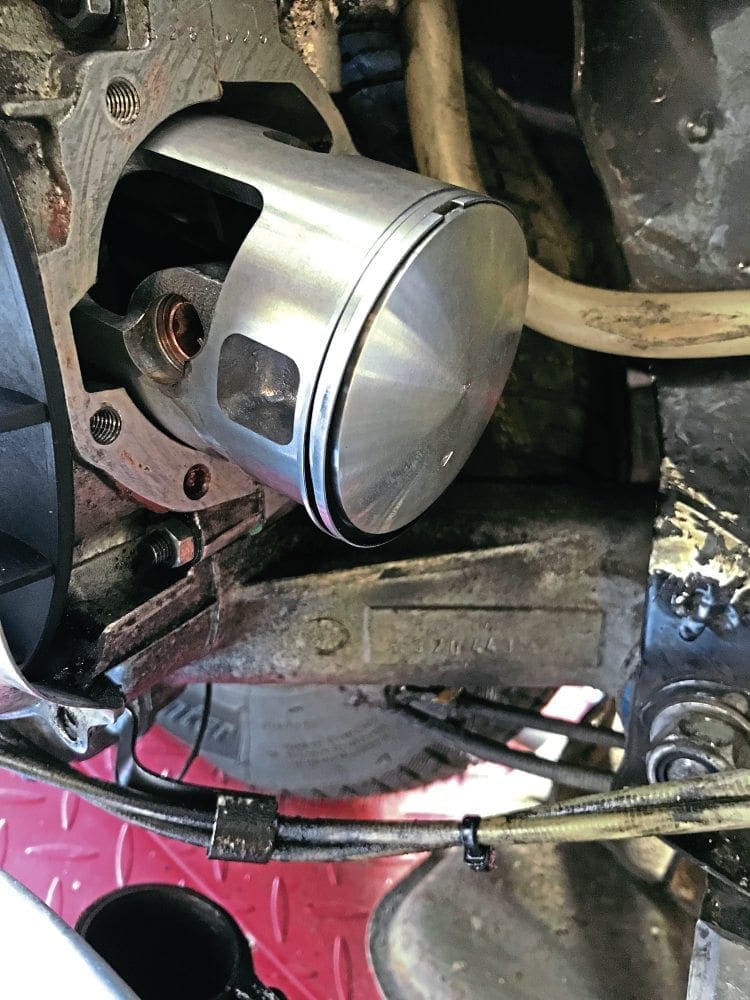
Polini’s reputation for providing a solid touring kit was well established many years ago with the earlier cast iron versions, since then the evolution of this NikasiI-lined alloy version has kept them at the forefront of Vespa performance enhancements. The kit has seven transfer ports and a single exhaust and comes complete with piston, rings, gudgeon pin, circlips, head dowels, gaskets and a very nice cylinder head. Everything required is there, except a new little end bearing, which is a no brainer to replace considering the cost.
The expectation of this kit it to provide a good solid touring curve, but without the screaming revs of other tuning kits, and with no compromise to reliability — the main priority for Stan. The Polini is quite a versatile kit in my opinion, if just used in this manner to replace a standard cylinder, it does that job very well… and with a welcome boost in power, albeit a small one. But if further power gains are desired, the Polini is adaptable, and with the right carb, exhaust and tune it can kick out some serious power! So not just a one trick pony, as it may first appear.
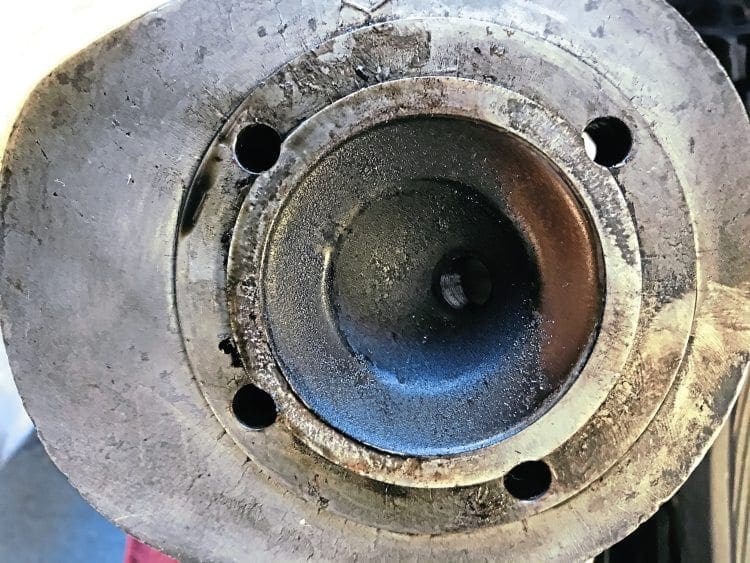
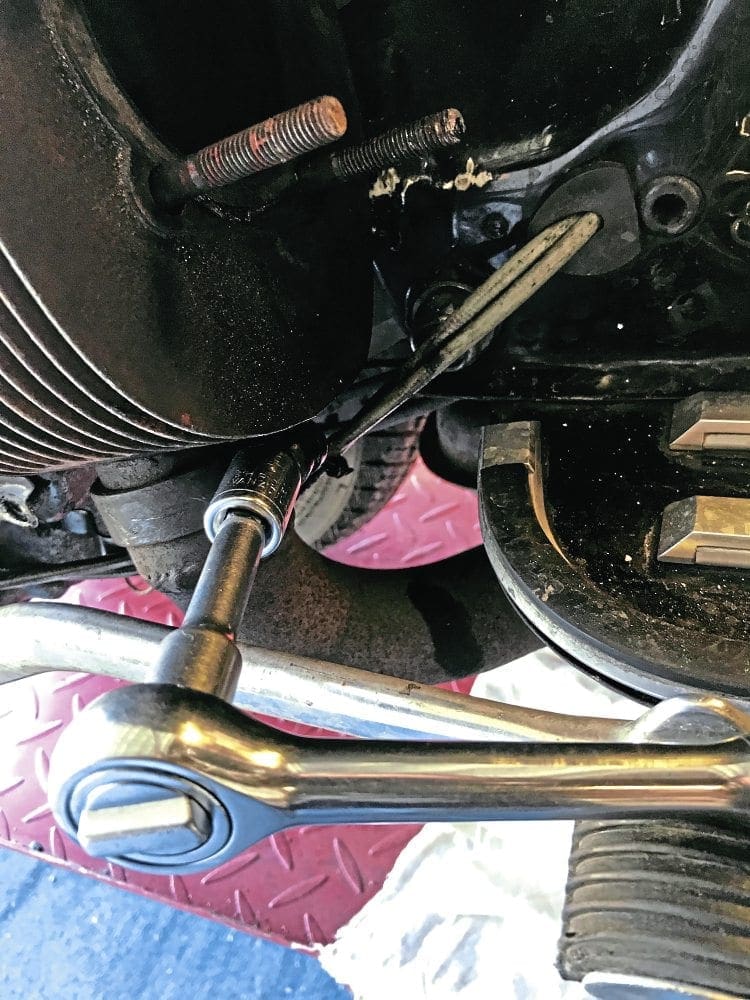
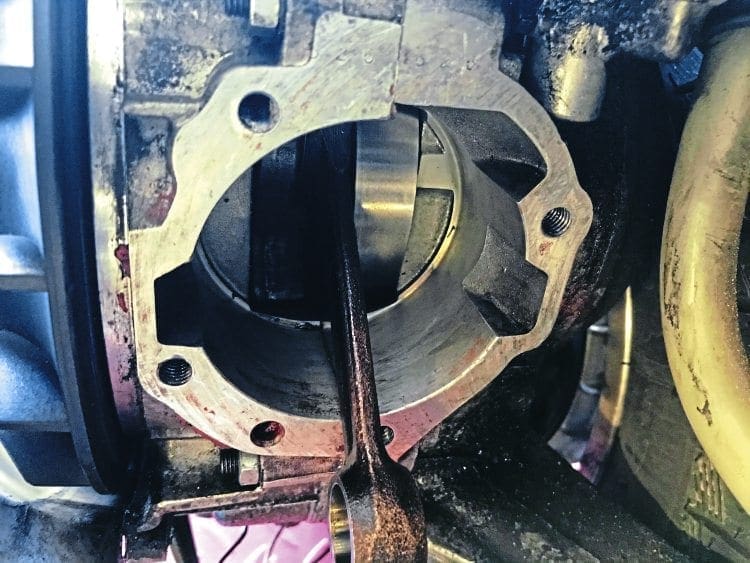
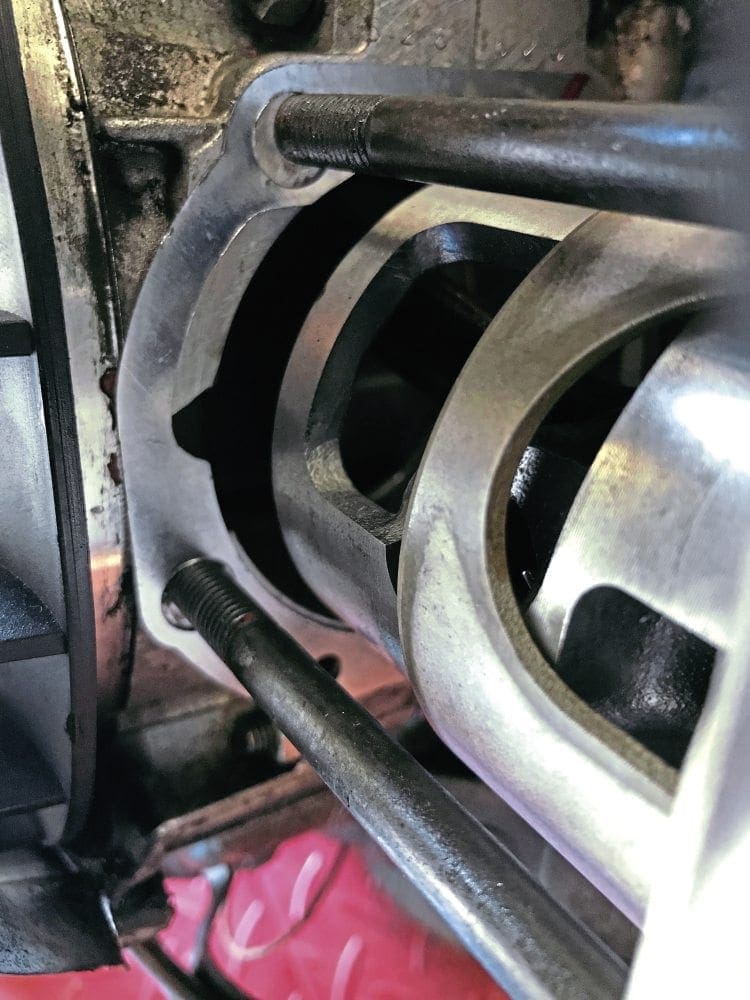
FITTING
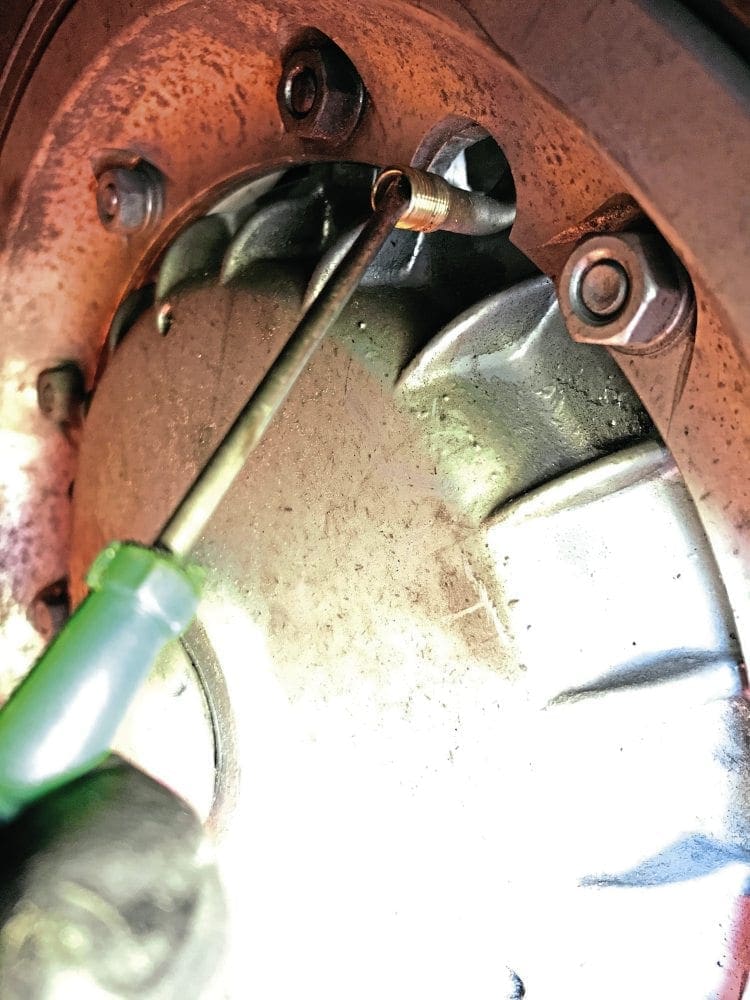
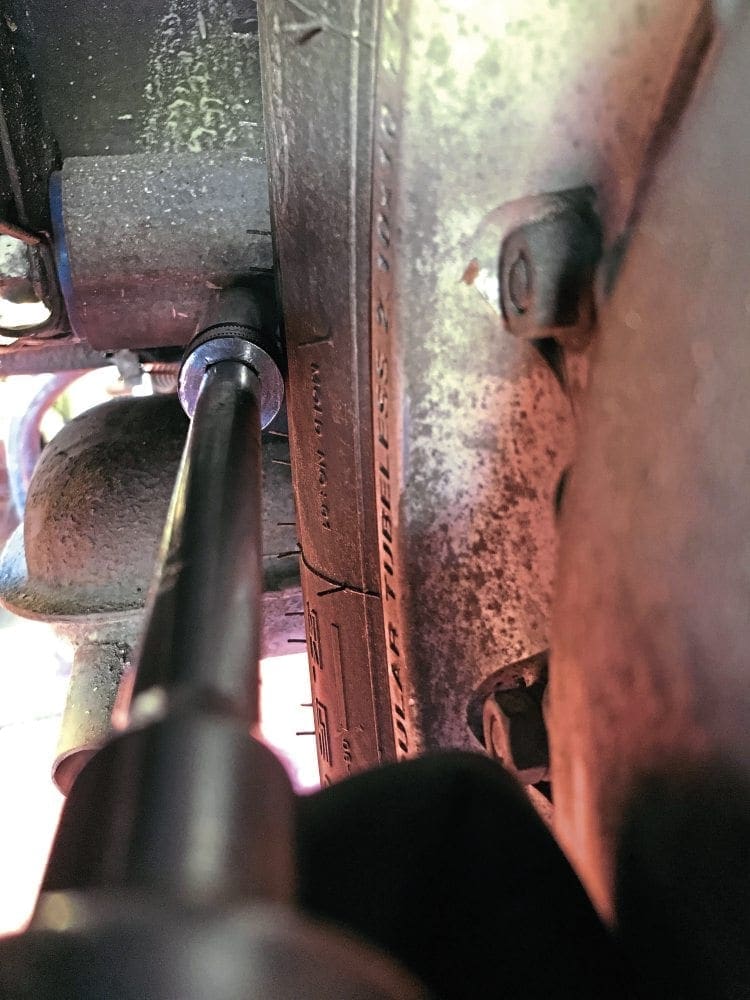
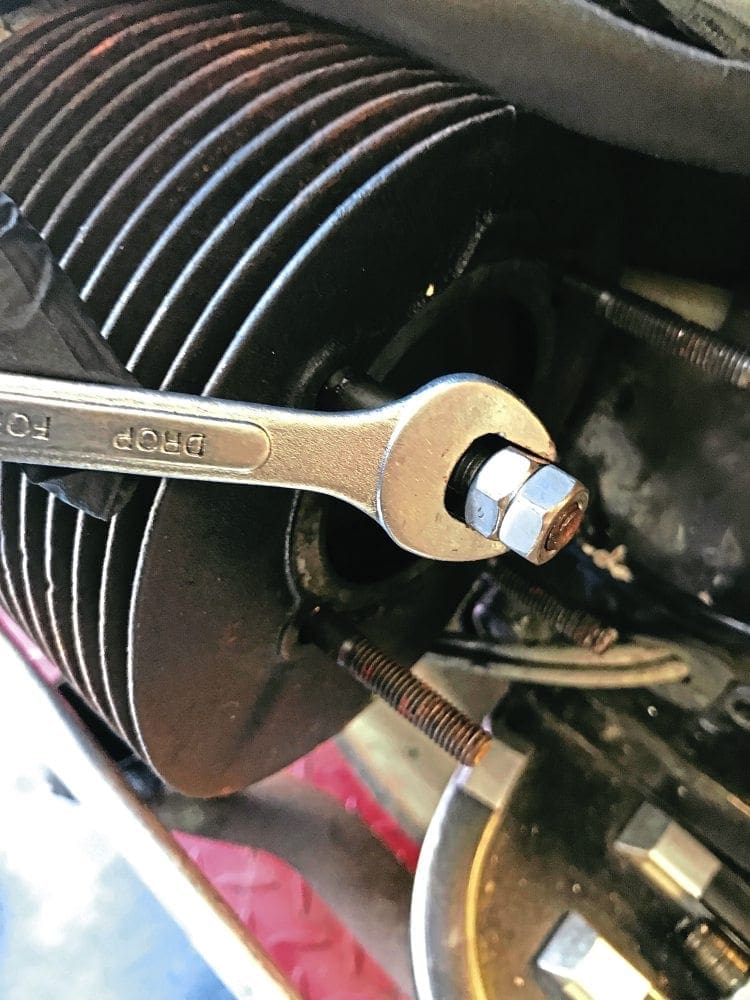
It’s a simple process; any enthusiastic mechanic should be able to attempt it, as long as you have the right tools, including a torque wrench. I also suggest the use of Threebond or Loctite on both the base gasket and cylinder head, but that’s just my personal preference.


DYNO TIME
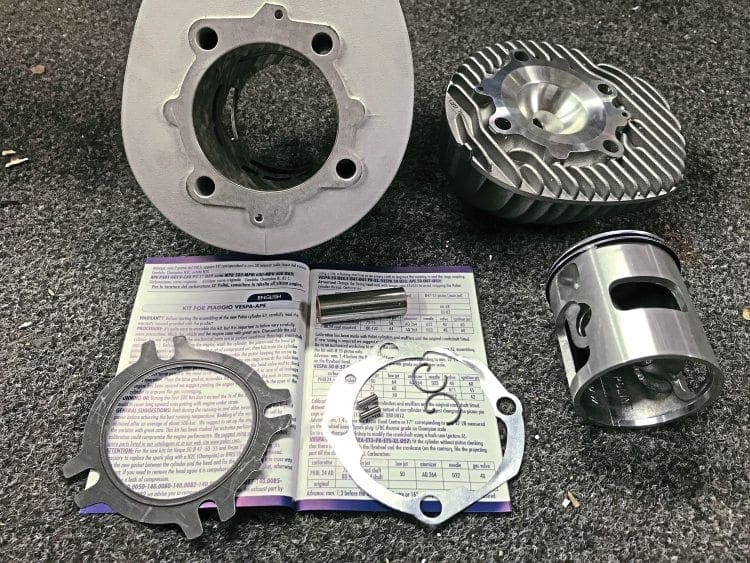
I always like to fit a new plug before a dyno where possible, it’s a cheap item and foolish not to. The kit fired up third kick, and was then left to run a while just to burn the oil of the bore and get up to temp for the first time. Once it had gotten up to temp, and after a few healthy revs to clear its throat, I switched it off and let it fully cool down, before repeating the same process a time or two. It’s not absolutely necessary to do this, but I like to give a new cylinder kit a couple of gentle heat cycles before I dyno it, just to help break it in gently.
Prior to fitting the kit I had done the obligatory pre-kit dyno check to see if the scooter had any other problems and to also get a baseline reading for the power, so that we could gauge the increase performance from the Polini kit more accurately. As expected, this Vespa gave a very predictable 9.5bhp, accompanied by a healthy 12lb-ft torque, but the power was very low down the rev range, the engine was lacklustre in its performance and wasn’t willing to rev on.
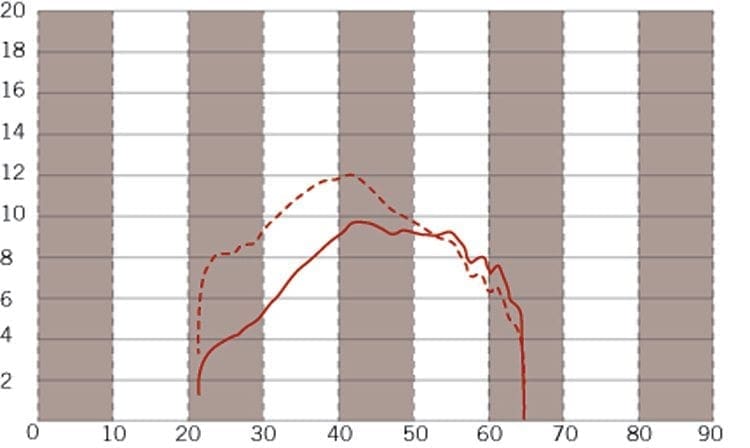
As I then moved on to the post-fitting dyno, it was already evident from the healthy sound and the early pull of the engine that the increase was a good one. The engine now put out a healthy 13bhp and 15.5lb-ft torque, but had thankfully moved its peak rpm range up around 1000rpm too, which means the scooter will pull faster through the gears, and also give a better top speed.
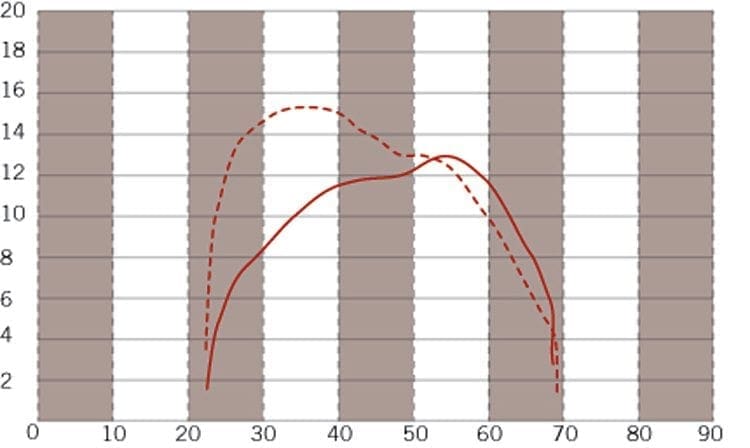
The Polini kit has done its job in this example, and with no other upgrades (yet) a straight swap kit-for-kit has resulted in a 37% gain in power. But not only that, it also revs on further now, and the alloy components should see the engine dissipate the heat more readily, thus resulting in fewer risks of heat seizure. For those wanting something better than standard, but not a big bhp ‘rev-monster’ this is a great option.
NEXT MONTH
As with any two-stroke, the heart of the engine is the exhaust, so a change of exhaust is the next step, to see what boost that gives. This Polini kit has given Stan a good power boost and retains a more ‘standard’ feel, with a gentler/lower power curve than something like a Malossi 210 kit for example… and that’s perfect for Stan. So with the more sedate approach in mind, we will look at the Polini box exhaust, which more closely matches the look, feel and sound of a standard exhaust, than an expansion chamber does. Given Polini designed the pipe to match the kit, it should work well. See you next month, stay tuned.
Thanks to VE for supply of the kit.
Words & Photographs: Dan Clare