Frictional loss is a force often ignored as it can’t be seen — but the reality is it’s slowing you down…
Friction is that annoying thing which occurs just about everywhere on a vehicle but as it can’t be seen as such is often just swept under the carpet. Ignore it at your peril; it prevents you from achieving the maximum performance potential from your scooter. There are several ways friction affects performance but in this article, we are looking at how it affects the wheels. More commonly, it is described as rolling resistance or drag and anywhere it occurs it’s sapping the power created by the engine.
The main areas
Within the wheel, there are three main areas to look at where friction is occurring: 1) The tyre, where it touches the road surface. 2) The hub, including the bearings and anything else that is being driven off it. 3) The braking system, the biggest area of friction that is created. All are subject to high forces being exerted through them and consequently wear will occur. This is where the problem can get exaggerated even further. So remember, just because you have made the rolling resistance as efficient as possible, regular checks will still be needed to make sure it stays that way.
Enjoy more Scootering Magazine reading every month.
Click here to subscribe & save.
The tyre
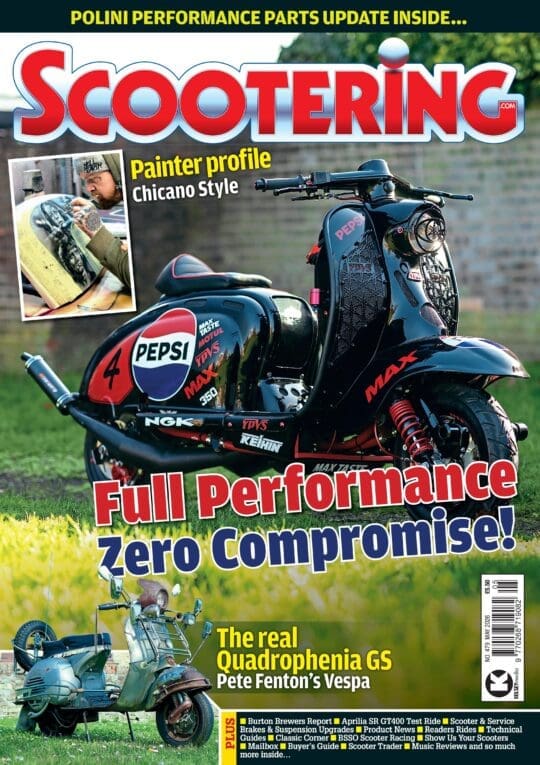
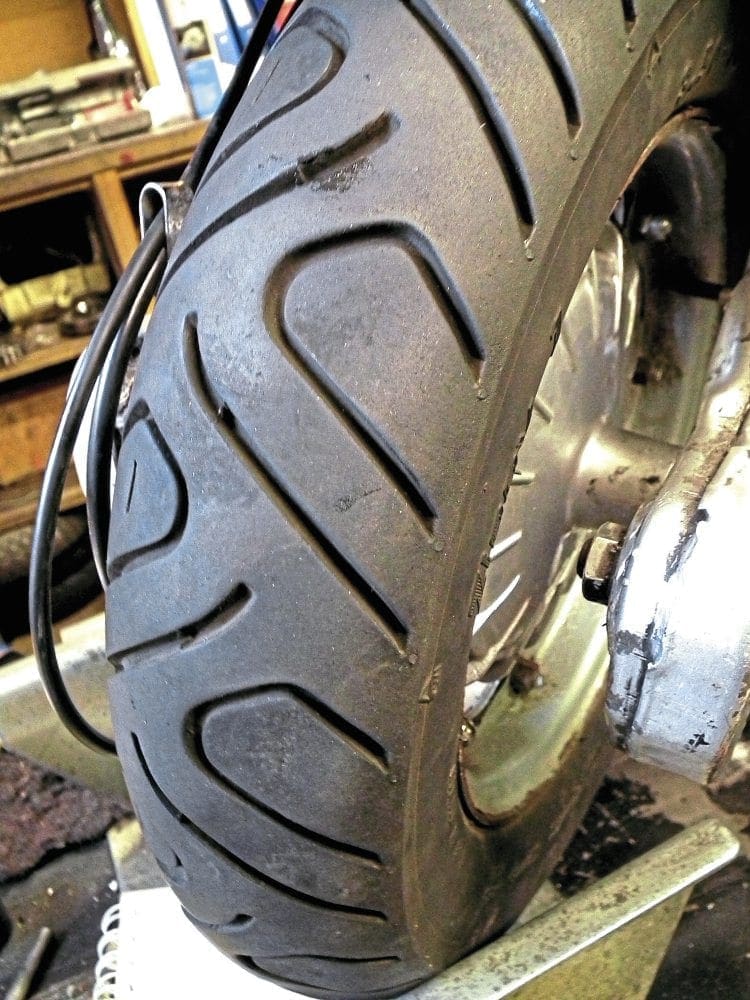
The rear tyre is the last point where the power created by the engine finally reaches the road surface and propels the machine forwards in motion. The front tyre is situated on an axle which just rolls along a surface. As we all know, the tyre surface gets hot and the faster you go the hotter it gets. This is where friction is taking place and being dispersed in the form of heat. The rear tyre gets hotter than the front because of the power being sent through it, thus creating more friction.

There are several ways of reducing friction starting by looking at the type of tyre you are using. If you take a typical block tread pattern scooter tyre there tends to be more contact surface on the road than a sports style tyre. Therefore if possible use a good race type tyre which has good grip but less contact with the road surface. Friction build-up is far less so power loss is less. A good way of looking at it is when a Formula 1 car is using a wet weather tyre compared to a racing slick. With its block tread, it is fine in the wet but once the road surface dries, if it is still being used then it overheats rapidly. Obviously, caution has to be exercised here when using your Lambretta for normal road use. You can’t just use a ‘track only’ tyre or you will not have sufficient grip when it is wet. The best option is to use a sports tyre that offers the best grip in the wet but least resistance in the dry.
Next is the tyre pressures, which are often the most neglected part of scooter maintenance but vitally important. If the pressures are too low the surface contact with the road is greater and there is greater heat build-up. The optimum pressures on a road going Lambretta should be 18psi at the front and 28psi at the rear. If you are riding two up the front stays the same but the rear should be raised to 32psi. Tyre pressures should be checked on a weekly basis and topped up if required. Also if you haven’t used your Lambretta for a few weeks don’t presume the pressures are correct just because it hasn’t been used. There is no excuse to run with incorrect tyre pressures and if you do, then friction is slowing you down. While at the same time you are also wearing out your tyres far more rapidly than you need to. To prove the point using a 70cc Zip automatic scooter, a test was carried out over the 1/4 mile. A time was set with correct pressures and then one with 25% less pressure in both the front and back tyre. The result was a second slower on the time, which is quite significant. There were several runs done on both pressures to back the results up. If that was translated to a Lambretta with its greater weight then this would be even further exaggerated.
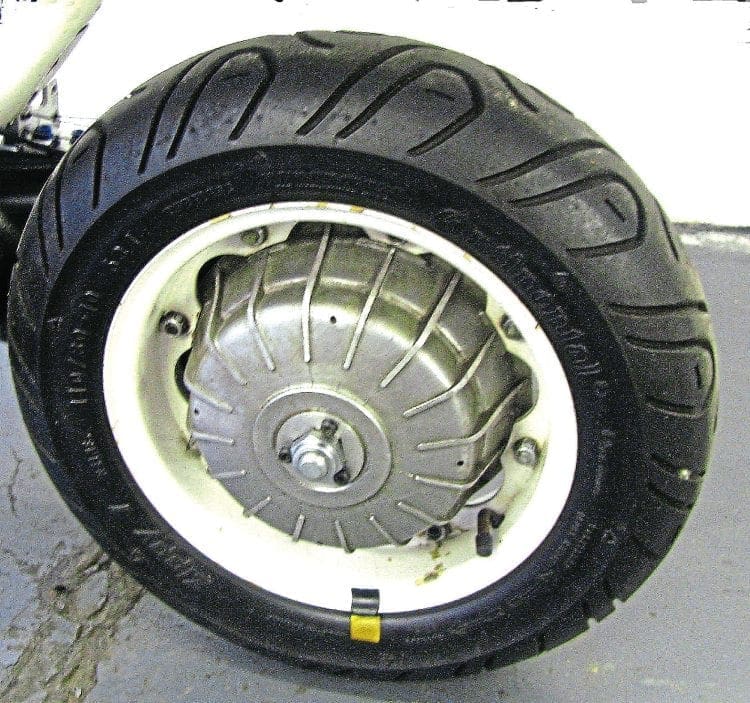
The final related component to look at is the wheel rims. Lambretta wheel rims were never that true and if you have ever looked at the rear one when it is on a dyno the wobble can look quite scary. This is not only causing friction and heat build-up, as the wheel is technically not going in a straight line, but will wear the tyre quicker — compounding the problem even further, Certainly, this is the case when a wide rim is fitted on the rear as some of the Far East examples are not the most accurate in terms of trueness.
It’s only possible to see how far out a rim is when it is spun on a hub. Some are better than others but if you have one that is considerably out then don’t use it. This goes for the front rims as well. If you have several sets, try them all out and see which one is most true and use that. If a rim has a slight dent in it where it may have hit the curb in the past then chances are it will be buckled. Trying to knock out even the smallest dent out will not get the rim back in line completely. Also, it is dangerous as it may cause the tyre to sit incorrectly on the walls of the rim. If you have one with a dent or clip a curb and cause one to happen then the rim is scrap and should be changed immediately.
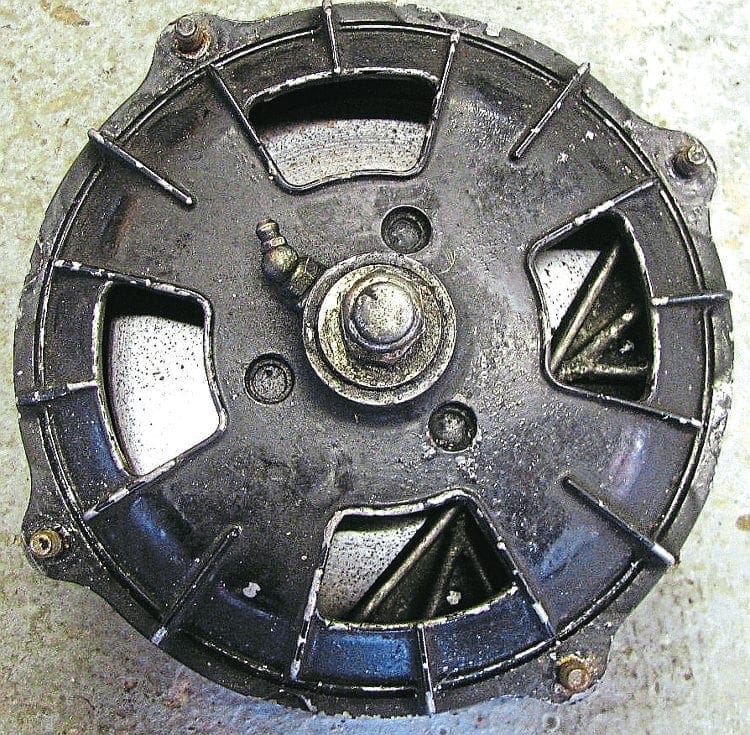
The hubs
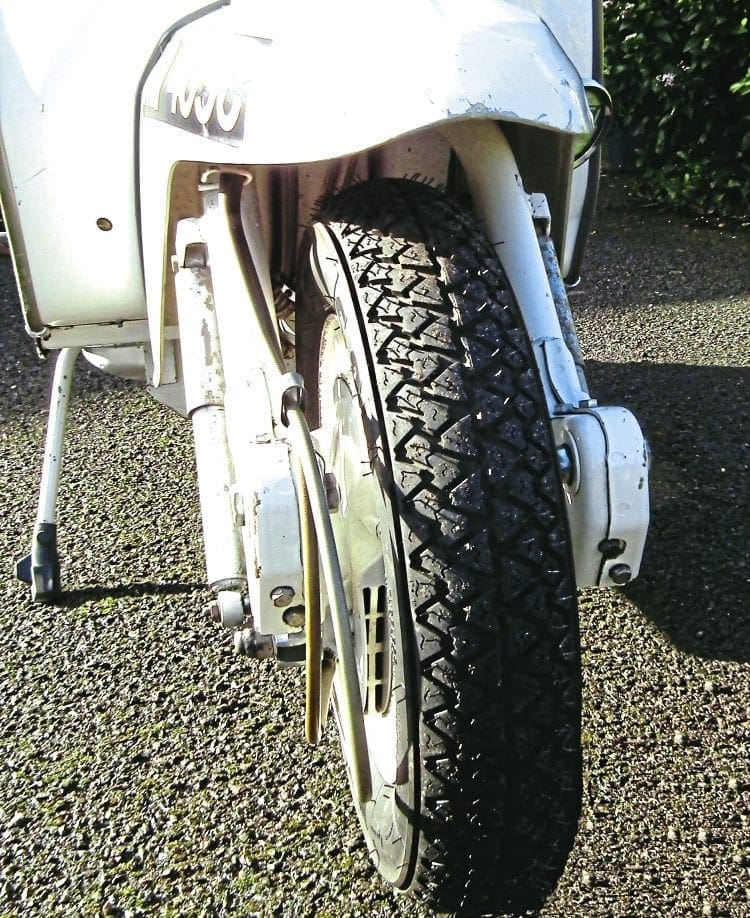
Hubs are also often overlooked, most probably due to the time required to access them. The rear hub itself is connected to the drive shaft and as such can’t be altered in any way. Any resistance comes from the transmission and that was looked at in part two of this series. It is possible to de-fin the rear hub but this should be done on a lathe to make sure it is accurate and all the fins are removed equally. Never remove the entire fin and leave around 1mm to make sure the main body of the hub hasn’t been machined and therefore weakened. Don’t use a hub that has had any welding done to it as this can be a weak point and chances are it will be slightly warped.
Like the wheel rims, check that hub isn’t out of line by spinning it on the drive shaft. Just because it’s aluminium doesn’t mean to say it can’t be out of line. Never powder coat a hub as the heating process involved can also cause it to warp slightly. Finally, when it has been painted make sure there is no build-up of paint where the rim sits on the hub. Remove the paint from this area so the rim sits flush on every mounting surface, otherwise this may cause a rim even if it is true to sit slightly out of line — which results in more friction between the tyre and the road.
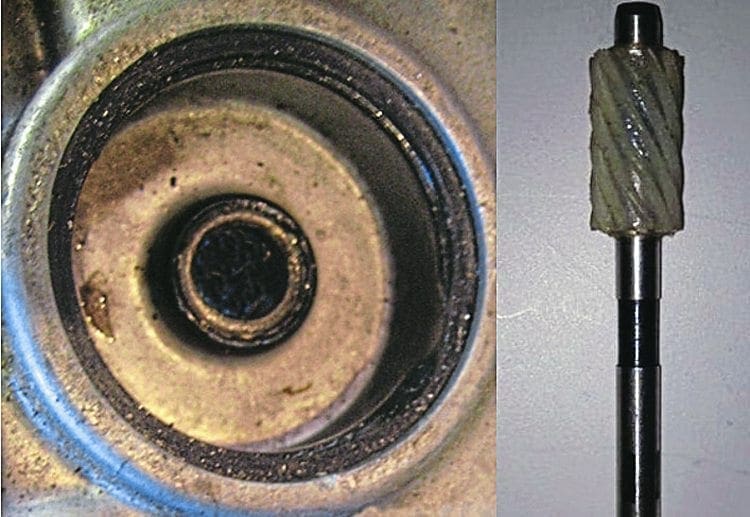
The front hub has slightly more going on within its workings and therefore has more scope to reduce friction. First, the bearings themselves. Try to purchase ones with the least resistance possible. There are plenty of makes to choose from but the deep groove ball bearing type has 30% less friction. SKF is one example of a company that makes them. For the road, you will still need to run with normal oil seals but make sure you use light grease in the lubrication area that doesn’t cause too much drag. The steel sleeve spacer in between the bearings can be replaced with one machined from aluminium as that is part of the revolving mass. The most important part is the wheel spindle; it must be 100% straight.
Though you may not think it, the spindle is prone to being knocked slightly out of line from potholes in the road to driving off the kerb. If it is then this will cause the wheel to run slightly out of true, and also wear the bearings and tyre surface, again causing unnecessary friction. Make sure the spindle is true when fitted and if the front wheel has had a hard impact, check it afterwards to make sure it has not bent out of line. This can be done by lifting the front wheel off the floor and spinning to check for any movement but concentrate on looking more at the hub than the rim and tyre for any fluctuation.
Next is the speedometer drive which, if you have fitted one of the new types of electronic type speedometers that uses a magnetic pick up, means the old worm drive is no longer needed. The worm drive and the cable do take up unnecessary energy running them. Also, the larger oil seal that runs inside the hub to seal off the drive is no longer needed and can also be removed which again is gripping the hub.
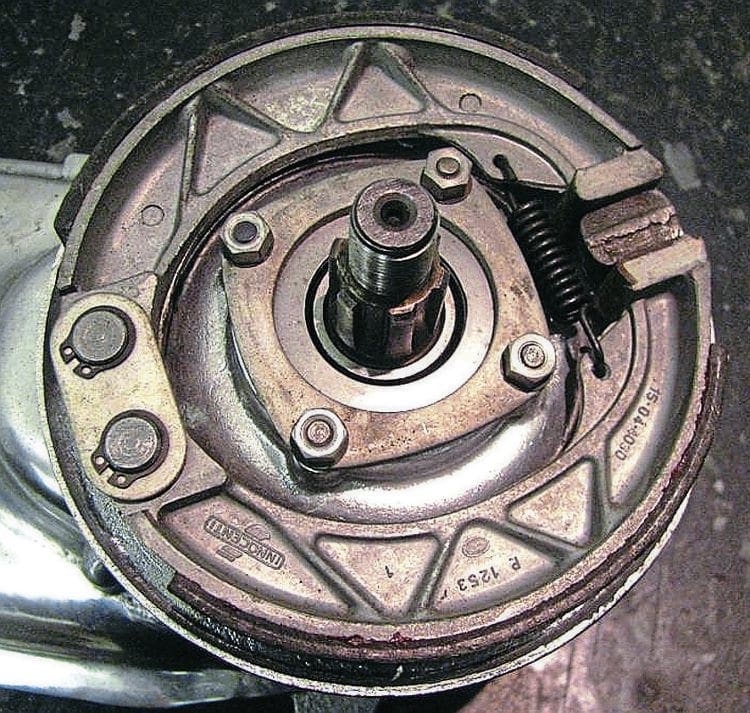
Brakes
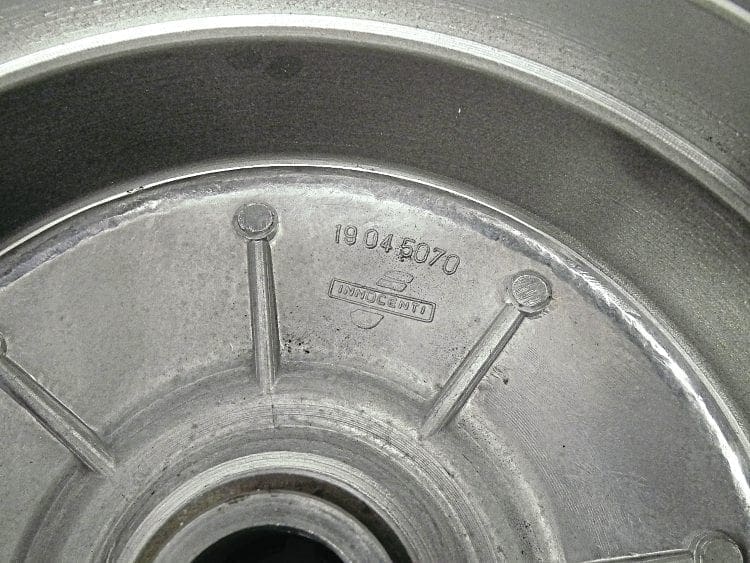
The brakes while necessary are the curse of friction, after all, that’s what causes them to work. When a brake is operated that is fine but when not in use should not be making contact at all as this will contribute to slowing you down. Traditionally the front hub, certainly on a tuned Lambretta, is disc operated while the rear brake is drum operated and that’s the way it should stay. It has been the fashion certainly over the last decade to run a rear operated disc brake. There are several reasons why this should not be the case though.

Firstly, braking should be 70% on the front and 30% on the back. This changes to 50% equally but only in wet conditions. Taking that as a fact, it is not necessary to run a disc at the back because it isn’t needed. Not only is a rear disc brake heavy in weight when fitted with all its mountings but the extra weight on the moving mass from the disc fitted to the hub is even greater. Because there is always slight contact on the pads and disc certainly when new this is causing a large amount of unnecessary friction.
A good drum operated system on the rear brake is all that is required and adequate enough. In the past, the Lambretta rear brake has had the reputation of being poor but with the latest hub designs, this should not be a problem. With improved brake pedals and bushes it should be possible to exert maximum pressure on the shoes to work efficiently even under heavy braking. When a hub is fitted after painting, make sure there are no traces of paint on the brake lining.

Turn the hub over to make sure there is no contact between the hub and the shoe, if there is, this will probably be a raised edge on the shoe itself. Remove the hub and see where the high spot is and gently file it down. It should be possible to run a brake that responds with minimal movement of the pedal but at the same time spins freely without catching and causing any friction.
The front hub, it must be presumed, will be disc operated. If a drum brake set up is used then the same principle applies to that of the rear in making sure nothing is rubbing. If you are using a disc then you can either use the traditional Innocenti type or the modern hydraulic style. Reducing friction in either is not possible as such but one thing to check for is a warped or worn disc, certainly on the modern style set up. This can happen through wear over time. Regularly spin the wheel to check the disc isn’t catching the pads anywhere and if it is remove the disc and check it. You will tend to notice a high spot on the disc as it will tend to discolour it where heat and more importantly friction has built up.
Summary
The three areas mentioned in this article are vital in stopping frictional forces within the rolling mass. Some are simple to execute and are preventable such as incorrect tyre pressures. Some are easily remedied like a buckled wheel rim after an impact. The key thing to remember is regular maintenance to make sure everything is running as efficiently as possible. Again, with such components as wheel bearings do your research first to make sure you get the ones that are the most efficient possible. Remember, frictional force can’t be seen but is a big enemy when it comes to the performance of your Lambretta.
Words & Photographs: Stu Owen