Safety is always paramount; the hub and rims take a lot of force under acceleration and braking, are yours up to scratch? This month: hubs and rims
The Lambretta front and rear hub in standard form are unique in their design. Not only do they house the braking system but also directly bolt to the wheel. Unlike conventional motorcycle wheels, which have a fixed spoke rim, the Lambretta uses four fixing points attached to the rim. While this design works very well, regular maintenance is required to make sure everything is safe and working perfectly.
Front hub
The front hub is attached to the forks via a spindle which is bolted either side into the fork link. In the case of a disc brake there is an extra fixing on the right hand side link. On the spindle there are two 3mm thick washers which sit in the recess of the link. The spindle nuts secure these washers into the link to hold the hub in place. These bolts should be tightened at regular intervals; if they come loose it is possible the spindle washer could come out of the recess.
Enjoy more Scootering Magazine reading every month.
Click here to subscribe & save.
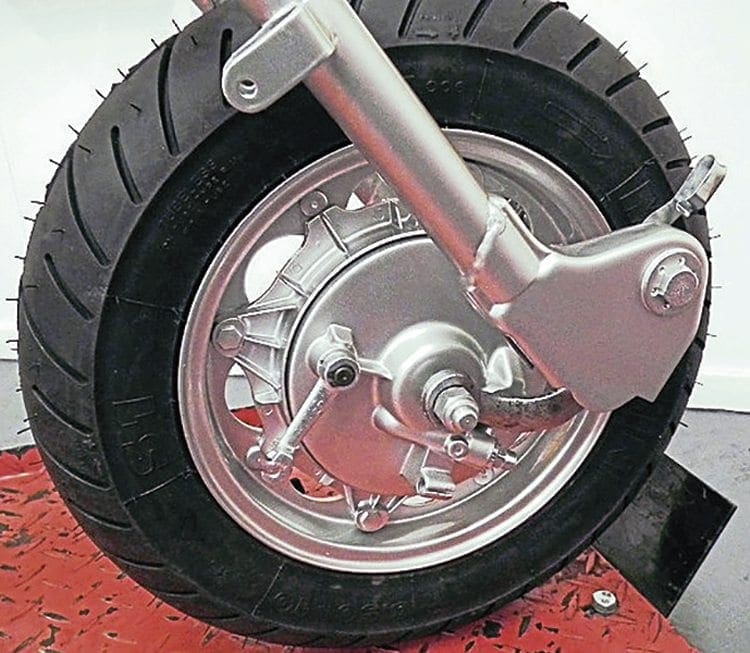
Another item to check is the hub retaining nuts. In the case of a drum hub there are two nuts either side of the hub holding it in place. On a disc hub there is just one on the left hand side. Make sure these are fully tightened first so there is no slack or movement. When this is done you can then tighten the outer spindle nuts.

If you have had the hub off for servicing or changing a tyre, when refitting, make sure spindle washers are fully located into their recess before tightening. Sit the spindle through the links and then place the washer on the spindle. Wind the spindle nut flush to the washer so it is in position, but don’t tighten it. Repeat the procedure on the other side; you then know everything is in place to tighten up. Failing to do this can cause a spindle washer to move slightly out of place, which then steps as you tighten it up. If this does happen it will need replacing as it won’t sit in the recess properly.
A good tip here is to place a block of wood under the tyre so the spindle sits in position between the links. This is much easier than trying to hold the hub in position while at the same time locating the washers and tightening the nut.
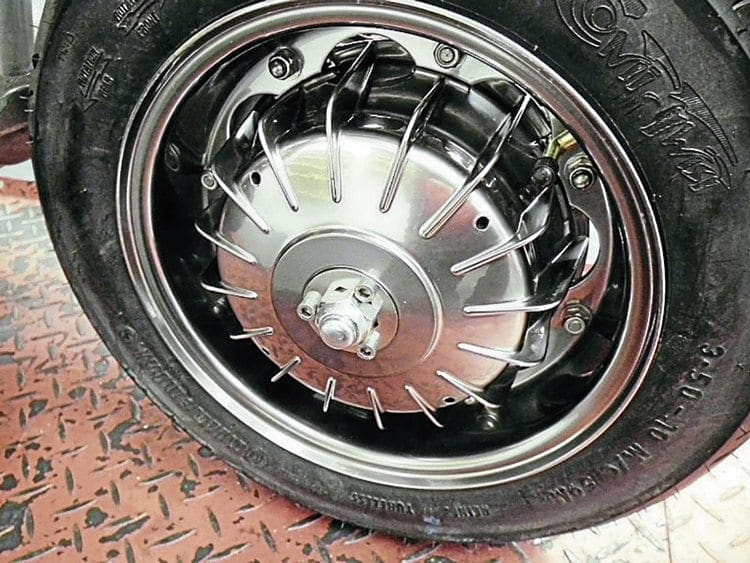
Front wheel rim
The front wheel rim attaches to the hub by means of four 8mm thread studs, secured by four 8mm thread nylocs, the outer diameter being 13mm. Underneath each nut there must be a 13mm flat washer. On occasions a spring washer has been used instead but this can dig in to the hub or spread as tightened. Never use spring washers, only flat washers when fitting.
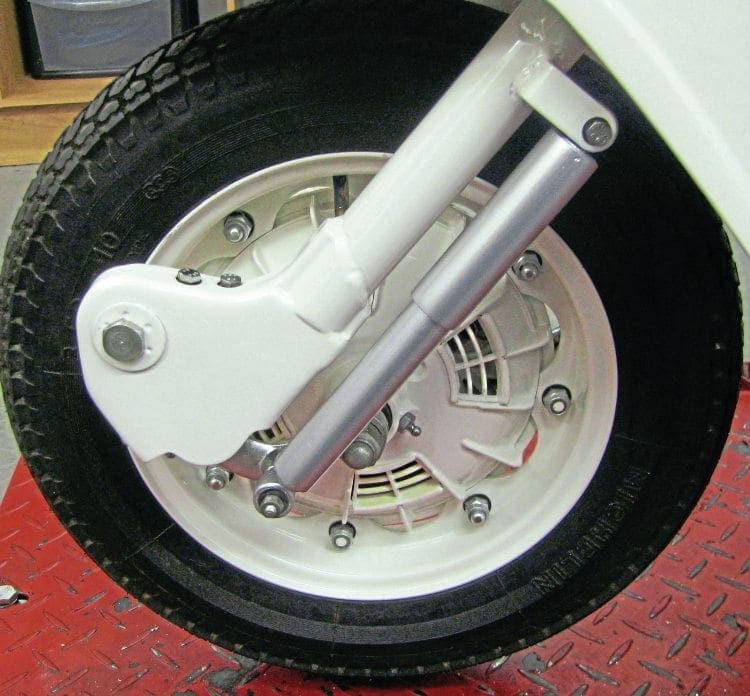
The wheel nuts should be checked regularly for tightness and if using a torque wrench set it to no more than 20lb-ft as it could cause the stud to shear off. Consequently if the nut fails to hold 20lb-ft of torque or won’t tighten then it must be presumed the thread is stripped on either the nut or stud and must be replaced immediately.
If checking a standard drum hub or Innocenti disc brake the procedure only needs to be done every 500 miles. If however you are using a modern hydraulic disc brake this procedure needs to be done more frequently. The reason is the load through the studs is far greater under the improved braking.
Always use good quality nyloc nuts. If you have removed them completely, to change a tyre for instance, then they should be replaced. If you are using domed nuts, like factory specification, again make sure they are of good quality. On some occasions poorly made ones have not had enough thread cut into them, meaning they bottom out on the stud first. This can result in the nut not fully securing the rim, causing it to come loose. One final note, if you’re going down the purist route, make sure all the domed nuts are the same size. Innocenti used 14mm outer diameter domed nuts before switching to 13mm later on in production. If you need to change a spare tyre on the side of the road it can be frustrating if you only have a 13mm socket available but a rogue 14mm nut on the rim!
Rear hub
The Lambretta rear hub has its own unique design as it’s only fixed on one side, the hub held on by a tapered cone which is secured by a 27mm nut. This is a good design in terms of easy wheel removal, and regular maintenance checks will prolong its life. If the main hub nut is correctly tightened it will remain perfectly in place. However if the hub has been removed for brake servicing, care and attention is needed to make sure it is refitted correctly.
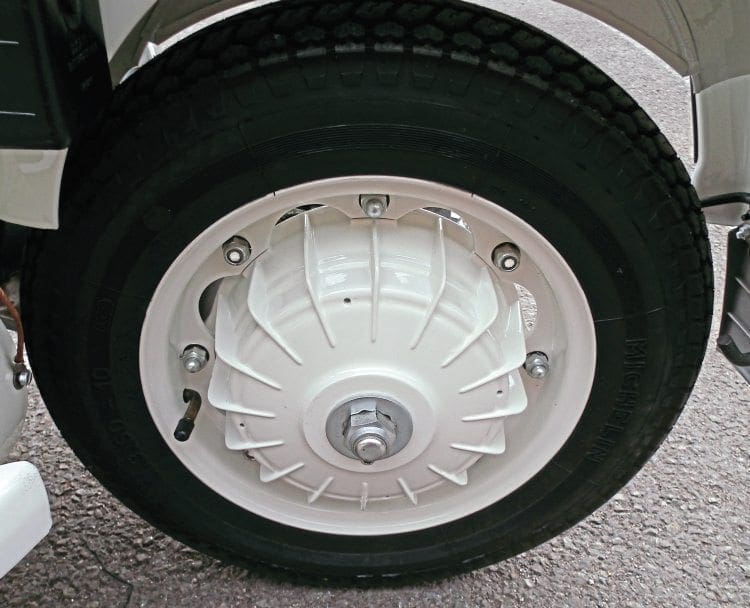
The hub cone should be cleaned and its outer surface perfectly smooth and fit the thrust washer which sits underneath the cone. With both in place locate the hub on to the splines. Once in position the large 27mm nut can be tightened, making sure its flat washer is sitting correctly underneath first. Once the nut is flush against the outer surface of the hub pinch it tight. If you have changed or adjusted the brakes shoes, check if they are rubbing by spinning the hub. Now fully tighten the hub on to the cone.
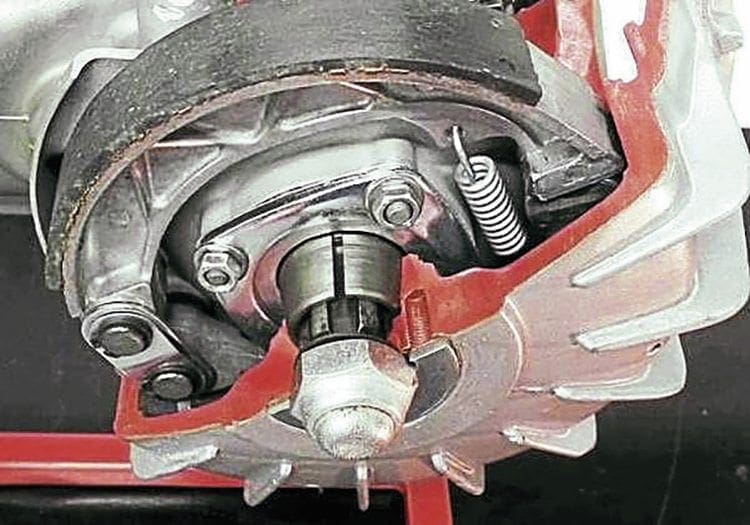
There are various torque settings suggested but I find it is best to carry out the procedure with a large spanner. Assuming you have tightened the nut up as much as possible by hand it will need around 90° more. To do this, take the lock ring and place it on the nut so the lock ring hole is around 90° away from the thread hole on the hub it has to align with. Now tighten up the nut until both are inIine and this will make sure you have a secure enough fit. Once in position take the 7mm Allen screw and secure it tightly. From time to time the 7mm thread which the Allen screw sits in can become rusty and clogged up because the thread goes in to steel. Before refitting it helps if you run a 7mm tap down the thread to clean it fully.
Lastly, when fitting the lock washer, make sure it is fitting flush with the hub. If it’s raised slightly on one side then it needs looking at. The usual culprit is the washer which sits underneath the nut. Some aftermarket washers are not the best fit and can be exposed around the edge of the nut. When the nut is fully tightened none of the washer should be exposed. The six sides of the 27mm nut should be straight on the edges. If they are worn where the lock washer sits it cannot do its job correctly, if both nut and washer are worn they must be replaced.
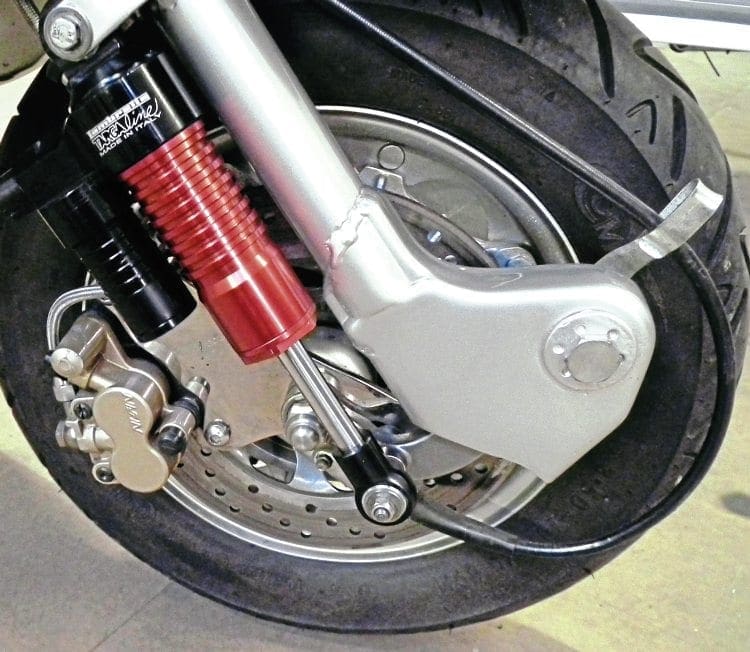
Rear wheel rim
The rear wheel rim fits in exactly the same way as the front wheel, everything is the same and the four nyloc nuts must be tightened using the same 20lb-ft of torque. The only difference is the maintenance schedule. As all the power of the engine is transmitted through these studs, they are under permanent stress. It is best to check them every 400 miles or in the case of a long journey check them before starting out. Any Lambretta which has a high bhp output should be checked every 250 miles. Failure to follow this procedure may cause the wheel nuts to come loose. This in turn causes the rim to dig in to the studs as the power is delivered, which in time will cause them to shear. Of all the maintenance covered, checking the rear wheel nuts is of the utmost importance.
From time to time it may be necessary to change a hub stud. This can be an awkward procedure as the stud head is only 3mm high. Over a period of time water may also get in to thread, thus seizing it on. While heat helps remove the stud, this is not always an option as it can burn the paint. The stud head is 12mm in diameter so the best option is to buy a 12mm hex socket. This is six sided so it is a perfect fit. Attempting to do this procedure with a ring spanner will probably result in the head rounding off.
As the edge of the socket face will have a slight chamfer on it, a good tip is to grind it flat. This allows the socket head to fit flush with the hub allowing all 3mm of the stud depth to be covered. Finally, remember it is a left hand thread so when undoing you turn clockwise. The front hub studs are exactly the same in size and thread direction, so it is just a repeat process.
Words & photographs: Stu Owen
This article was taken from the July 2016 edition of Scootering, back issues available here: www.classicmagazines.co.uk/issue/SCO/year/2016