Polini’s 210 kit offers ‘bolt on’ performance but does putting in a little extra effort bring out its best? We decided to find out.

We live in a golden age of scooter tuning. Never has the selection, quality and affordability of parts been better. The problem isn’t where to start, but where to finish and a quick search of the internet will reveal an array of opinions about the merits of simply ‘bolting on’ a basic set-up or going further by matching ports and fitting upgraded internal components. We decided to take two Polini 210 kits and fit them to a pair of PX200s. One would simply be bolted on while the other would benefit from more attention to detail. Before outlining the results of our experiment it’s worth recapping the history of what’s turned into Scootering’s longest ever project.
Back in Black
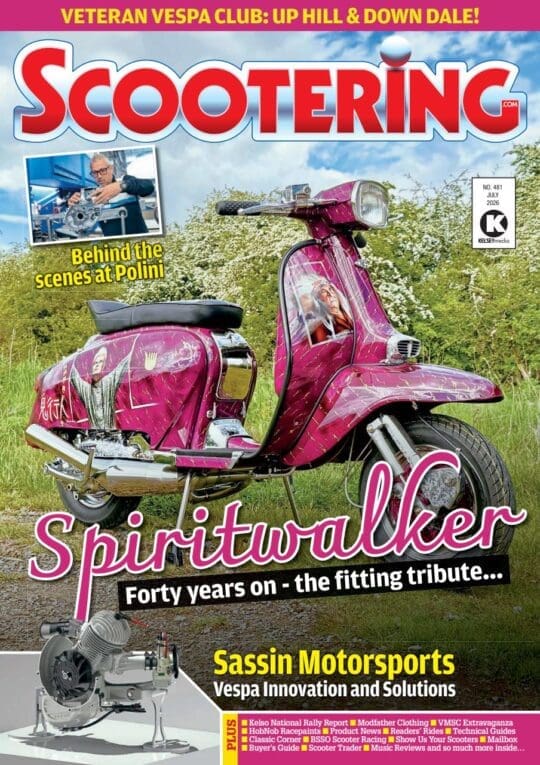
Incredibly ‘Project Polini’ began in September 2016, when my PX holed a piston riding down to Woolacombe. This was a surprise as prior to that weekend I’d ridden my standard, non autolube, Spanish P2 for thousands of miles without any problems. Having spent that weekend sourcing parts and rebuilding the top end I was confident of a trouble-free journey north. Sadly, that wasn’t to be and by the time I limped into the garage at home I’d endured more soft seizures than I could count. I’ll skim through years of frustration by saying that engine was rebuilt three times but, whatever we tried, it took no more than 100 miles for the piston to blow. With my patience exhausted I ditched the Spanish motor and bought an Italian autolube lump. Confident that the gremlins were now consigned to history I took up our former editor Dan’s offer to rebuild the new engine with a Polini 210 kit that Norrie Kerr at VEUK had offered us for a long-term test. We knew we were barking up the wrong tree when the Polini piston quickly went the same way as its standard predecessors.
Enjoy more Scootering Magazine reading every month.
Click here to subscribe & save.
The PX was consigned to the naughty corner for 12 months while I concentrated on our Targa Twin build. During that time Dan tinkered with the PX, finally tracing the problem to a faulty fuel tap! The filter had clogged and when the fuel reached a certain level the supply was instantly severed with catastrophic results. The moral of that story is to check the basics.
With a new tap fitted the Polini was ready to go on its first road trip, just as Covid arrived.
“That night, fuelled by beer, we hatched a cunning plan.”
Moody Blues
Meanwhile in Essex, Brad, a long-time friend of the magazine, had bought what appeared to be a beautifully put together Polini 210 street racer. With paint by KAS and assurances that no expense had been spared in its build, it was featured in our October 2018 issue as a lovely example of its kind. Unfortunately things quickly unravelled and a couple of months after that article Brad’s engine seized. The cause of his problems was quickly traced to poorly prepared gasket surfaces which had created an air leak. Ignoring the signs that this may indicate a less than perfect build quality, Brad cleaned things up, popped in a new piston and caried on enjoying his new toy. That was until he lent it to me for a rideout and the clutch side oil seal popped.
That night, fuelled by beer, we hatched a cunning plan. As the oil seal repair required Brad to split his casings why not do a little porting work at the same time? It’d certainly be interesting to compare the results with my bolt-on build.
First of the gang…
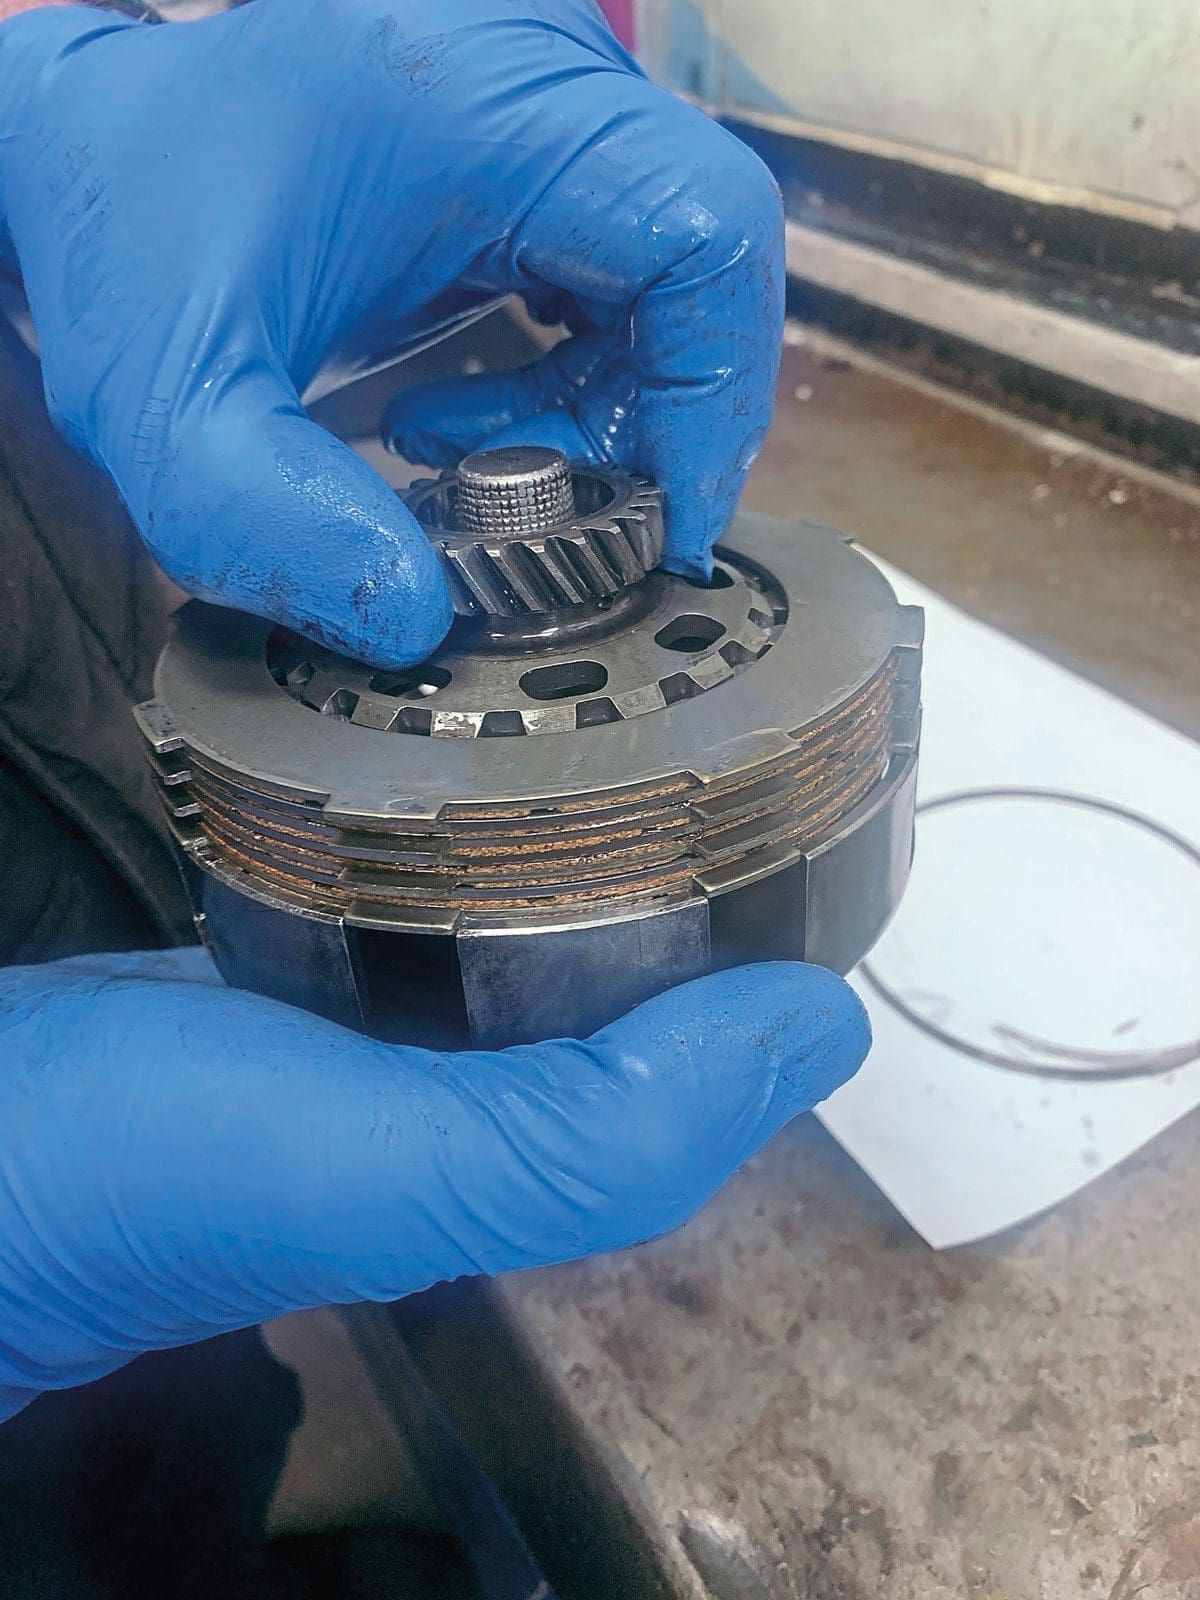
In 2020, with lockdown restricting all but essential travel, I did little more than keep my PX running. Even so it was clear that the gearing was far too short for my needs. First was used up in a matter of metres, second and third were fine but the motor revved so high in fourth that I was constantly trying to change up. While this was perfect for a street racer around town, it would be very hard work for touring. Strangely, while every permutation of Lambretta gearing’s been explored, there’s not so much information available for Vespas. That is unless you ask Norrie Kerr and he very quickly suggested changing the primary gear for a 24-tooth example. There are several ways to do this but as we wanted to keep to the bolt-on approach the clutch sprocket was simply swapped with one of BGM’s off-the-shelf 24-tooth specimens. While the clutch was separated a set of CR80 clutch plates was also added. (See the April 2021 edition for more information.)
The transformation was instant, the extra tooth settled things down immediately. First became usable and in fourth the motor no longer felt like it was going to scream itself into destruction.
We are family
Fortunately, this information reached Brad while his engine was still in pieces and at this point it’s worth explaining how he was going about things. Although he’s handy with a spanner, most of Brad’s scooter work is done by his father Mike who was, quite literally, building scooters before Brad was born. His brother, Russ, also works as a specialist engineer in motorsport, neither expertise nor equipment is a problem to Brad.
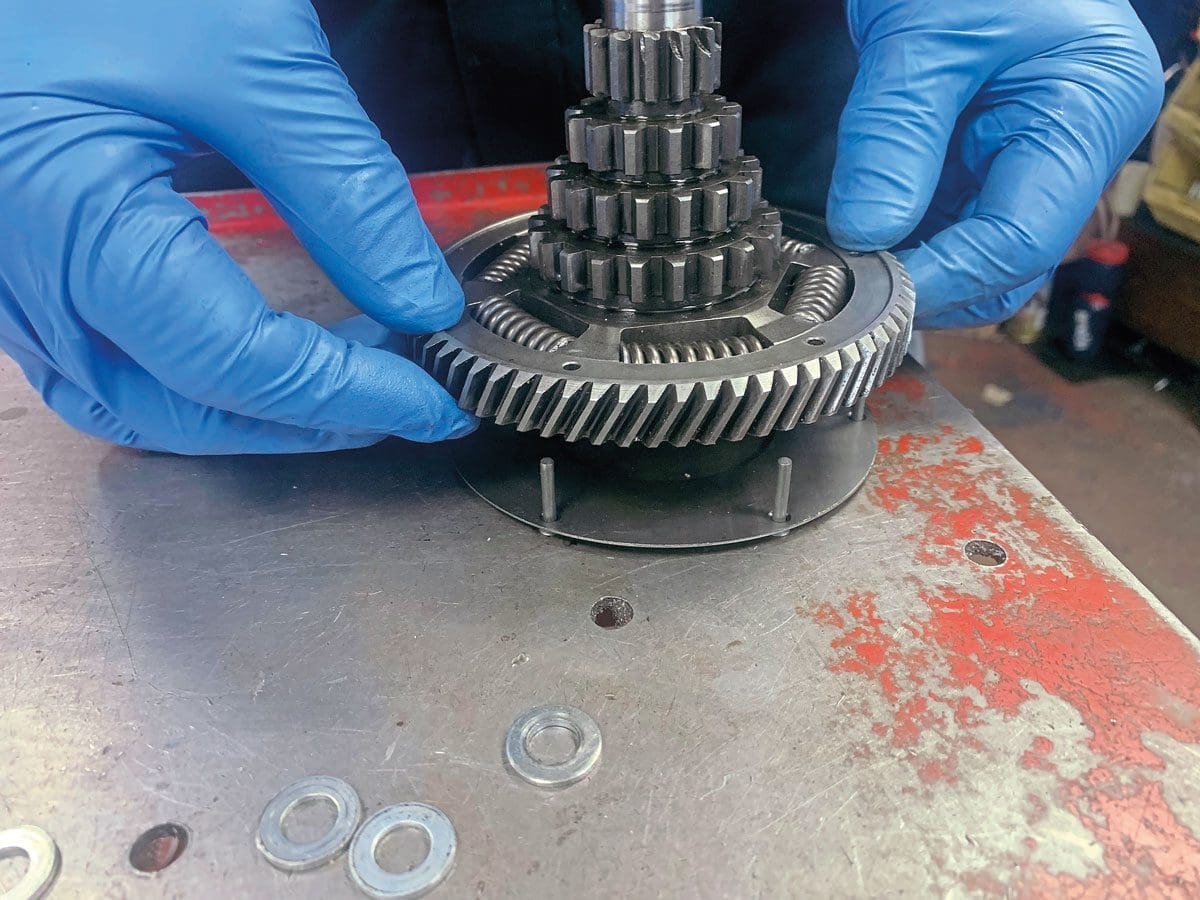
In Mike’s opinion the blown oil seal was simply the tip of the iceberg and a full rebuild was needed. With one eye on cost and another on efficiency the trio decided that as the cush drive needed rebuilding the gearbox should also benefit from an upgrade. In line with my experiences the gearing would be raised, but Brad would use Malossi’s 24/63 straight cut gear kit.
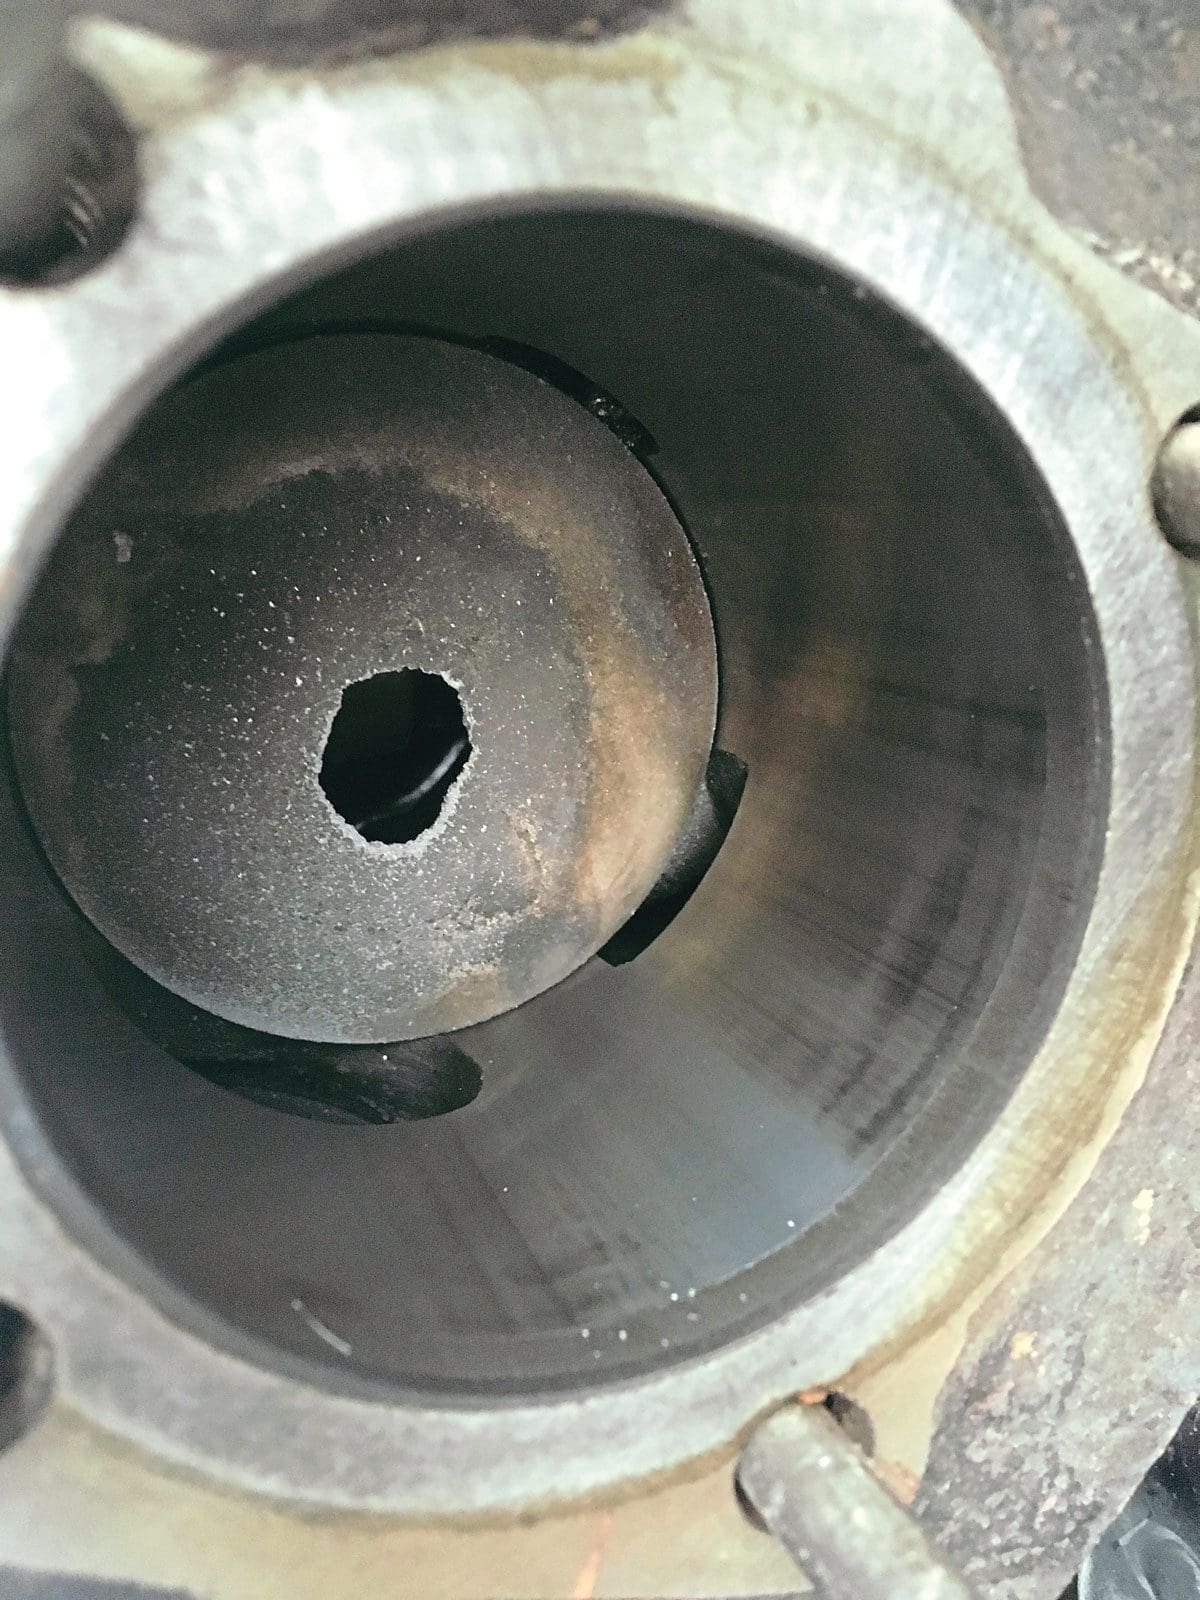
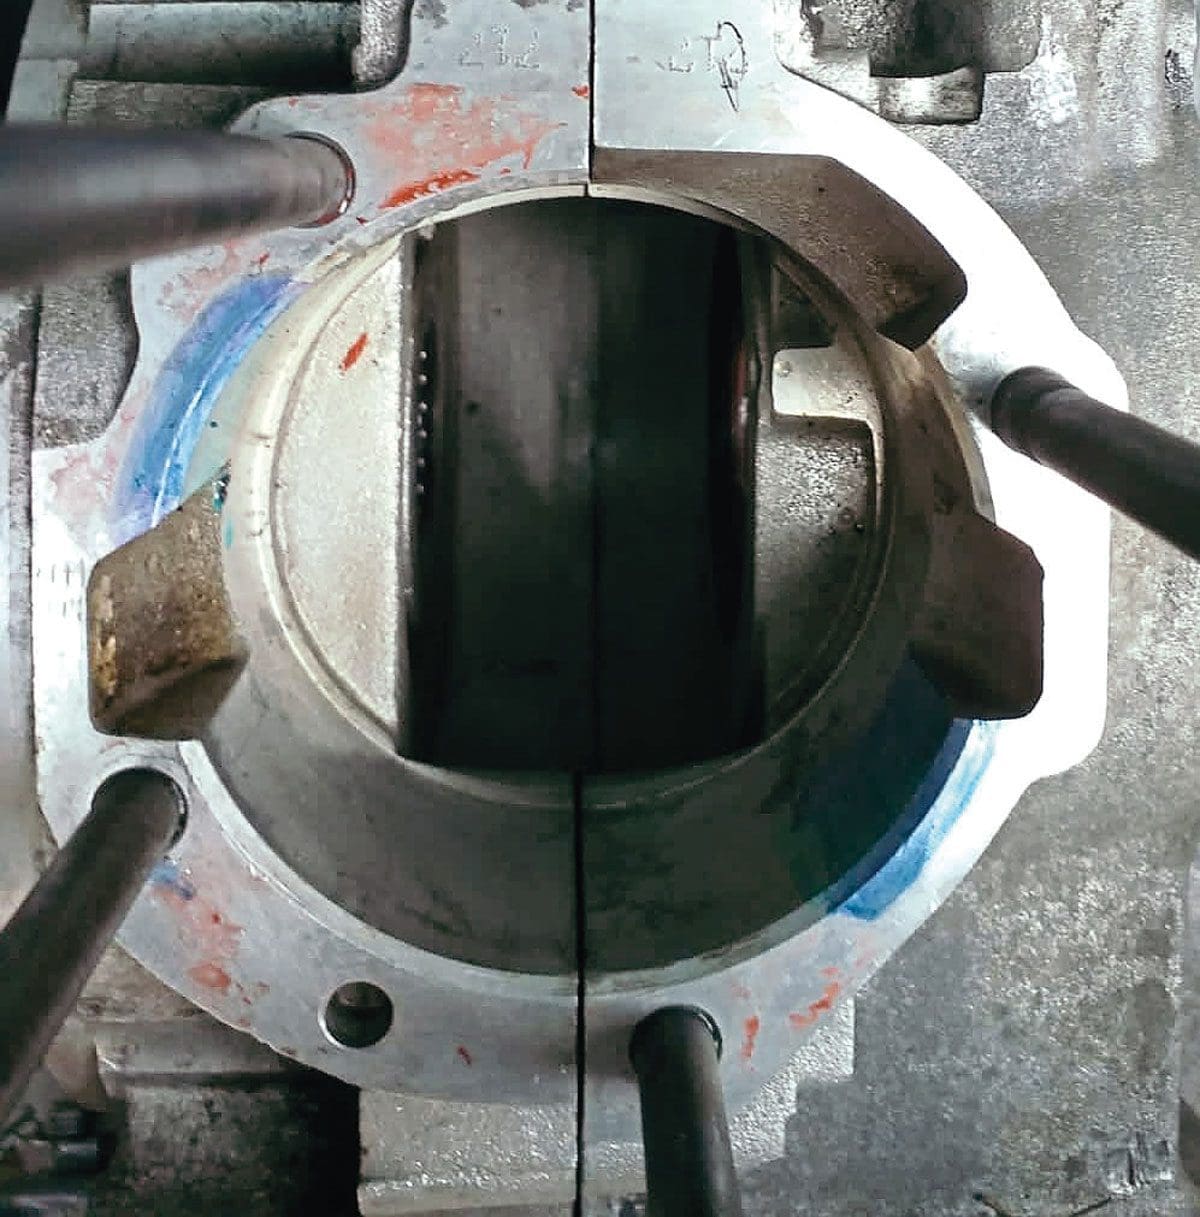
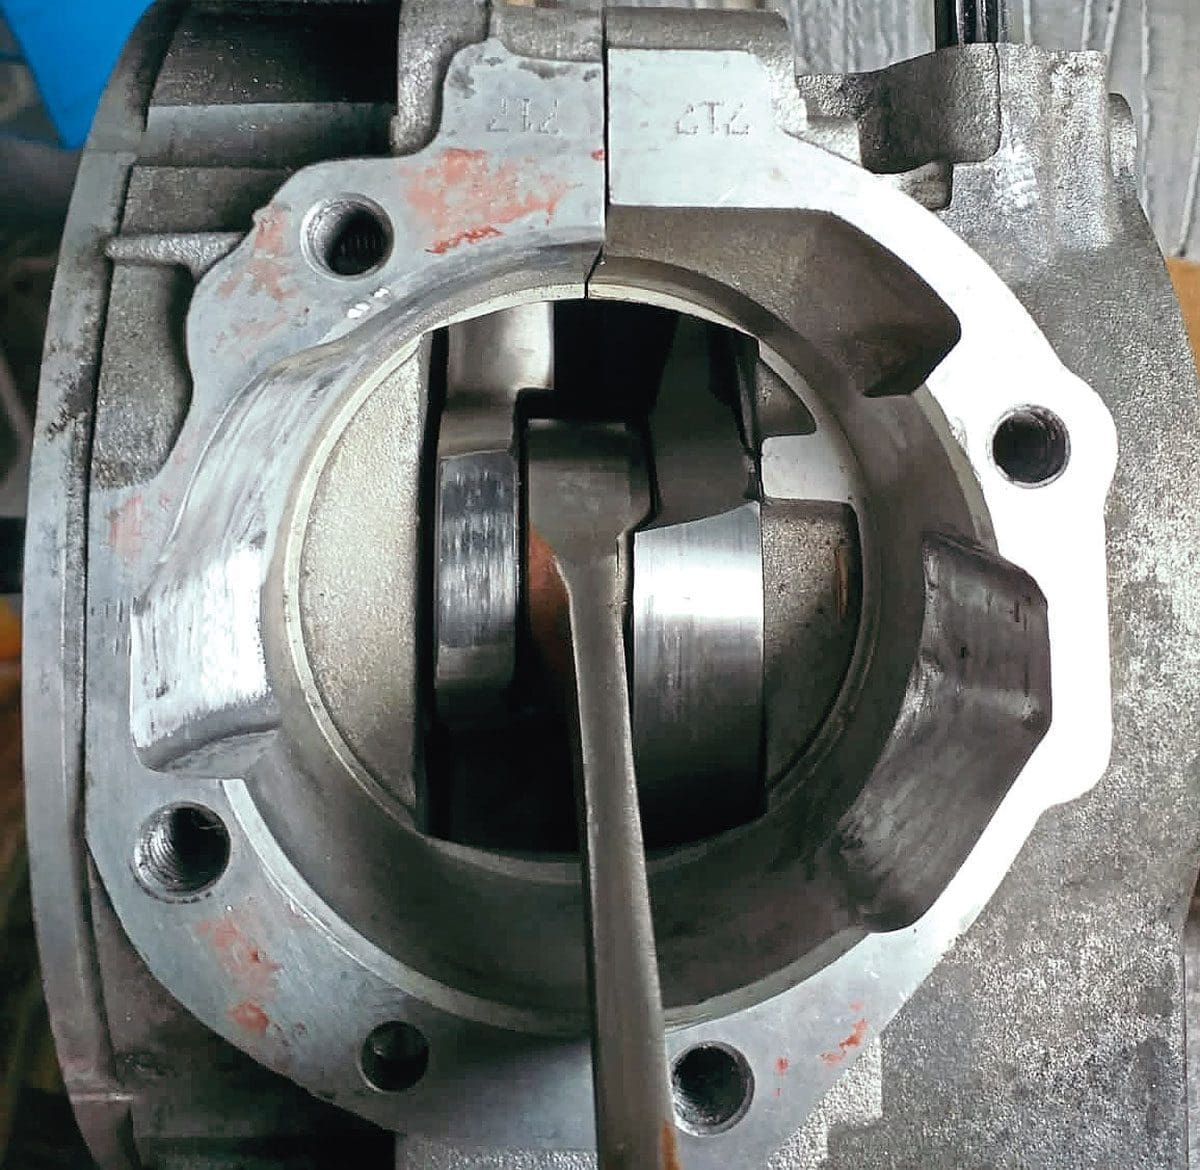
As standard, the Vespa primary drive is managed using helical gears, which are generally quieter than straight cut ‘teeth’. However straight cut gears remove the constant pushing and pulling which results from the helical cut. This constant pushing and pulling wears the drive side clutch bearing and becomes more relevant when the motor is producing more power. The Malossi kit’s an important upgrade for any tuned engine but it does require splitting the cush drive. That isn’t the end of the world, but it does require patience and if the job’s to run smoothly some specialist tooling is an advantage. (See the October 2021 edition for more information.)
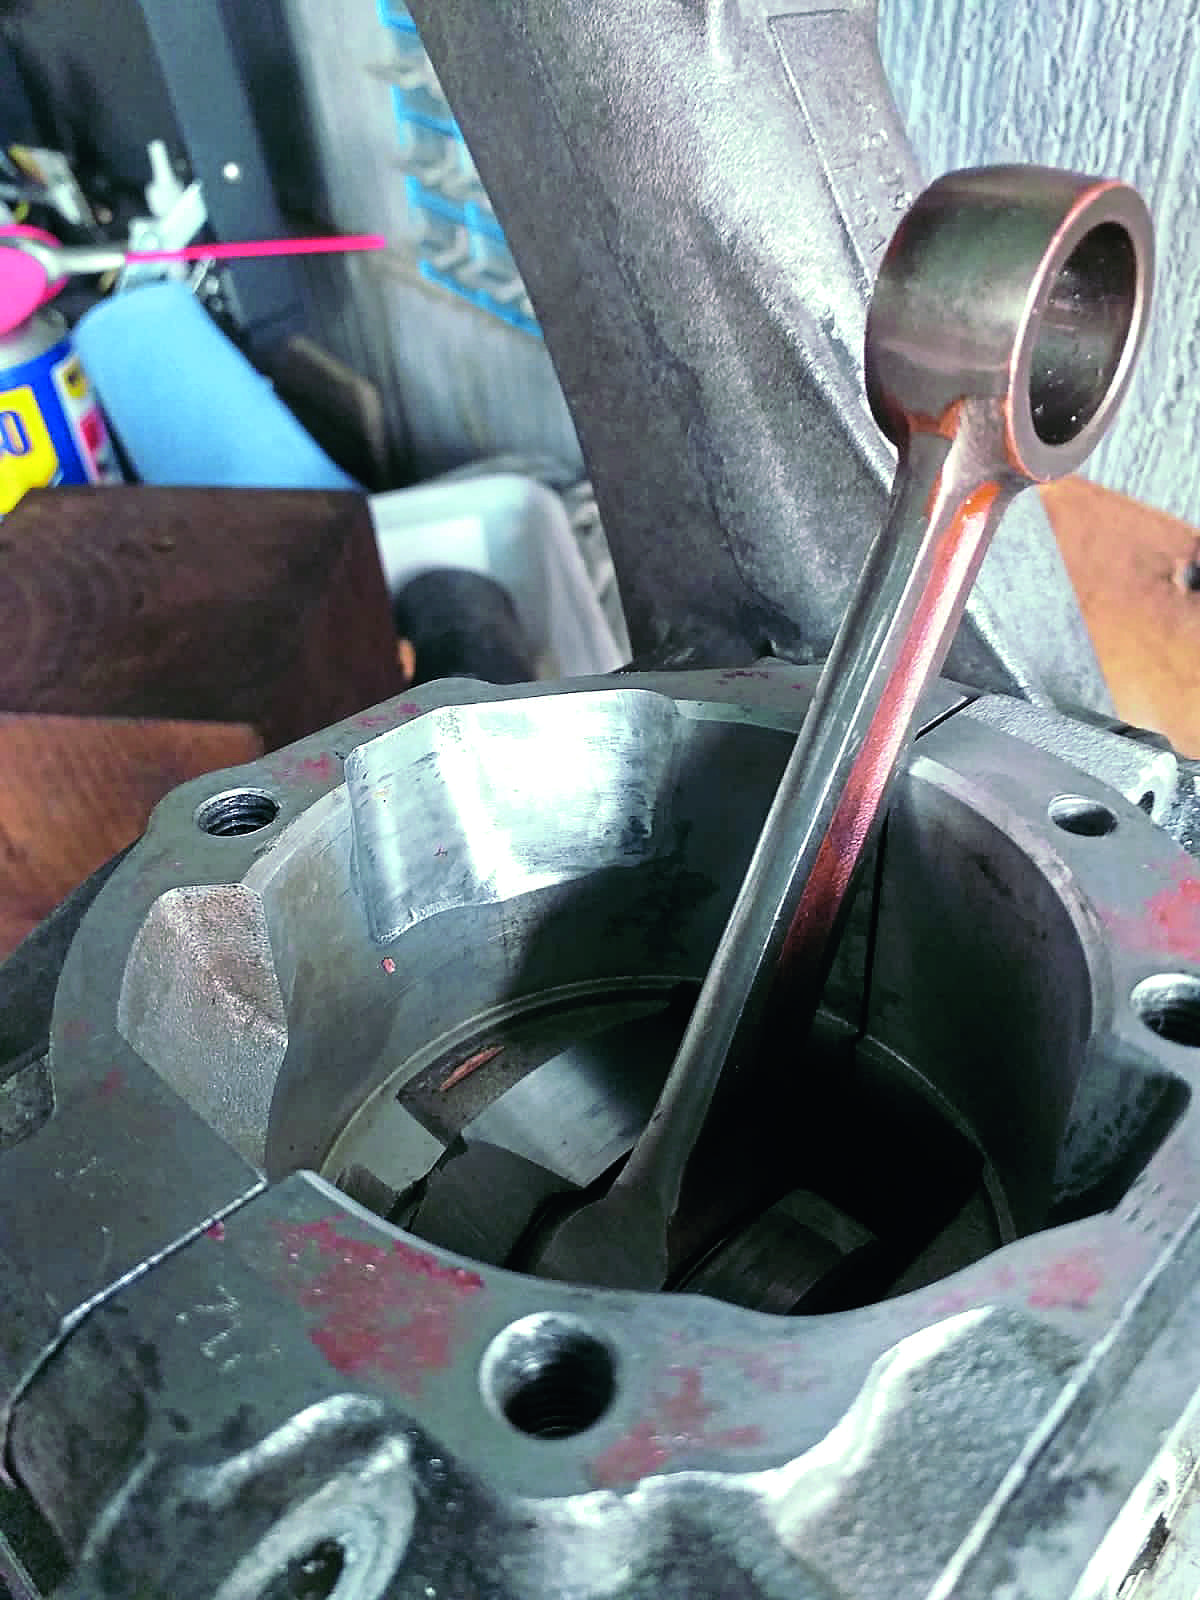
Once Mike had matched the ports to the barrel, Brad’s engine was reassembled. Both the 57mm welded Mazzucchelli crank and banded SIP clutch were salvageable, otherwise the engine could be considered ‘new’.
Fortunately the engine was reunited with the frame just as I dropped in for a brew. Having thrown me the keys, Brad suggested that I take it for a quick spin to see how the two compared. It didn’t take long to realise that more work was needed. The gearing was spot on, throttle response was excellent and the SIP 3 pipe sounded lovely. However once on the dual carriageway things took a downward turn. Once up to speed the engine was pinking badly. There are several things that can cause pinking but as we were happy with the engine’s timing the mixture seemed to be the most likely culprit. I daren’t roll the throttle off in case the mixture suddenly weakened and I daren’t continue riding at the same throttle setting. In the end I pulled the choke open, throttled back gently and gingerly rode back to Brad’s house.
Big Love
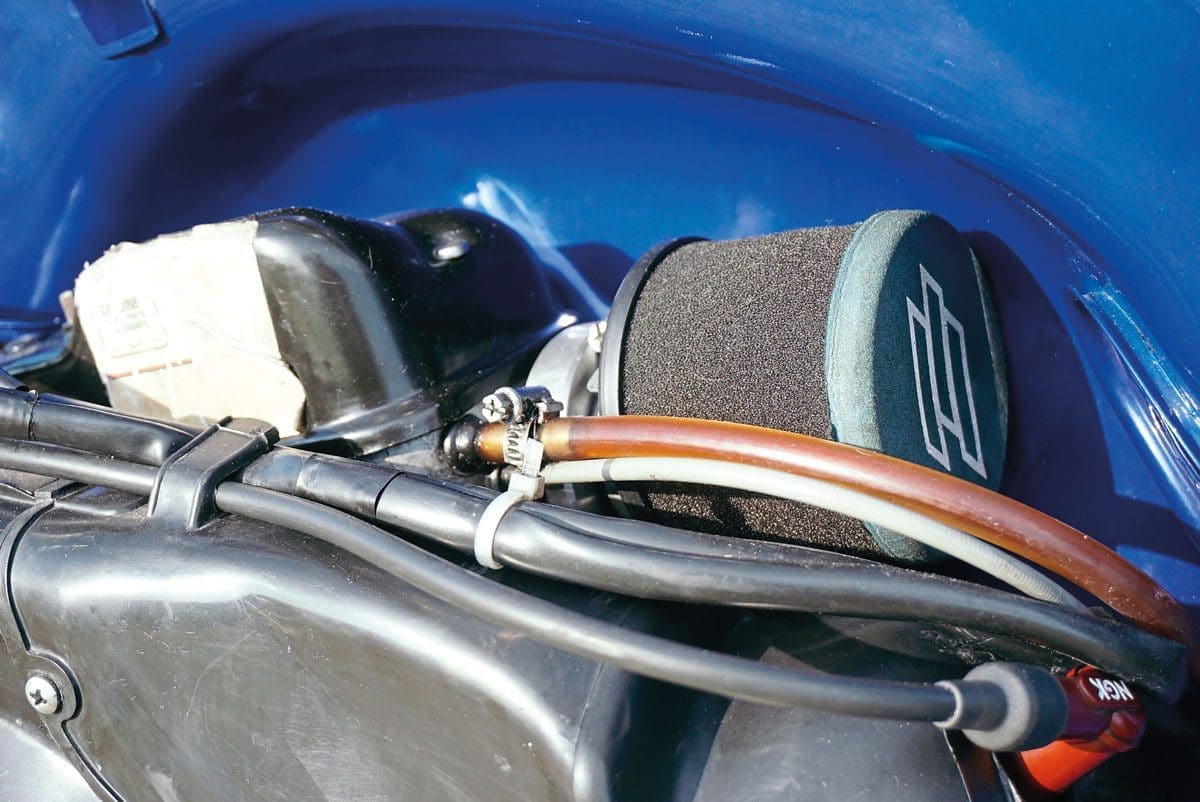
A quick examination of the plug confirmed our fears but the question was how to cure it. Obviously a bigger carb was needed but both Brad and I are fans of autolube. I realise that’s not a fashionable opinion, and I’m not going to debate that here, but in short I think autolube’s convenience far outweighs any risk involved in using it.
Thanks to the spacing of Vespa’s carb stud holes this restricted our options to a 26mm SI, if we needed to go any larger then autolube would be off the table. Fearing that I’d encounter the same pinking I plumped to fit one of BGM’s 26/26 fast flow carbs while Brad opted for a reworked example from Rich Tyler Engineering in Birmingham.
With the new carb fitted Brad took his scooter for a good thrash and having returned with a beautifully coloured plug we pronounced our scooters ready to test. Well, almost, I still wasn’t completely happy.
Pipes of peace
When Norrie had originally supplied the kit he’d kindly included a Polini exhaust. As Brad’s engine was fitted with a SIP 3 and we were trying to keep the comparison meaningful I’d set the Polini exhaust aside and fitted a SIP 3.
To most scooterists ‘bigger is better’, and that logic dictates that a SIP 3 must be better than a SIP 2. However SIP’s naming system doesn’t relate to version numbers, it relates to the application of the exhaust. Although the SIP 3 is recommended for engines in a mild state of tune I couldn’t get on with it. While Brad reported smooth running and an excellent spread of power I was really struggling at the bottom end, to the extent that I began to dread stopping at a red traffic light. Refitting the Polini exhaust and rejetting cured all these problems instantly. Proof, once again, that fitting the correct exhaust to a two-stroke is critical to its smooth running.
Finally we were ready to run a side-by-side test but the ongoing Covid situation meant that the South of France, our first choice for the test, would be out of bounds. Instead we’d have to settle for the South of England. Next month I’ll tell you how we got on…
Words: Stan
Images: Stan, Brad, VEUK, Ron Daley’s