Our T5 project’s progressing nicely… this month Stan shares some tips he’s gathered along the way.
Words and photographs: Stan
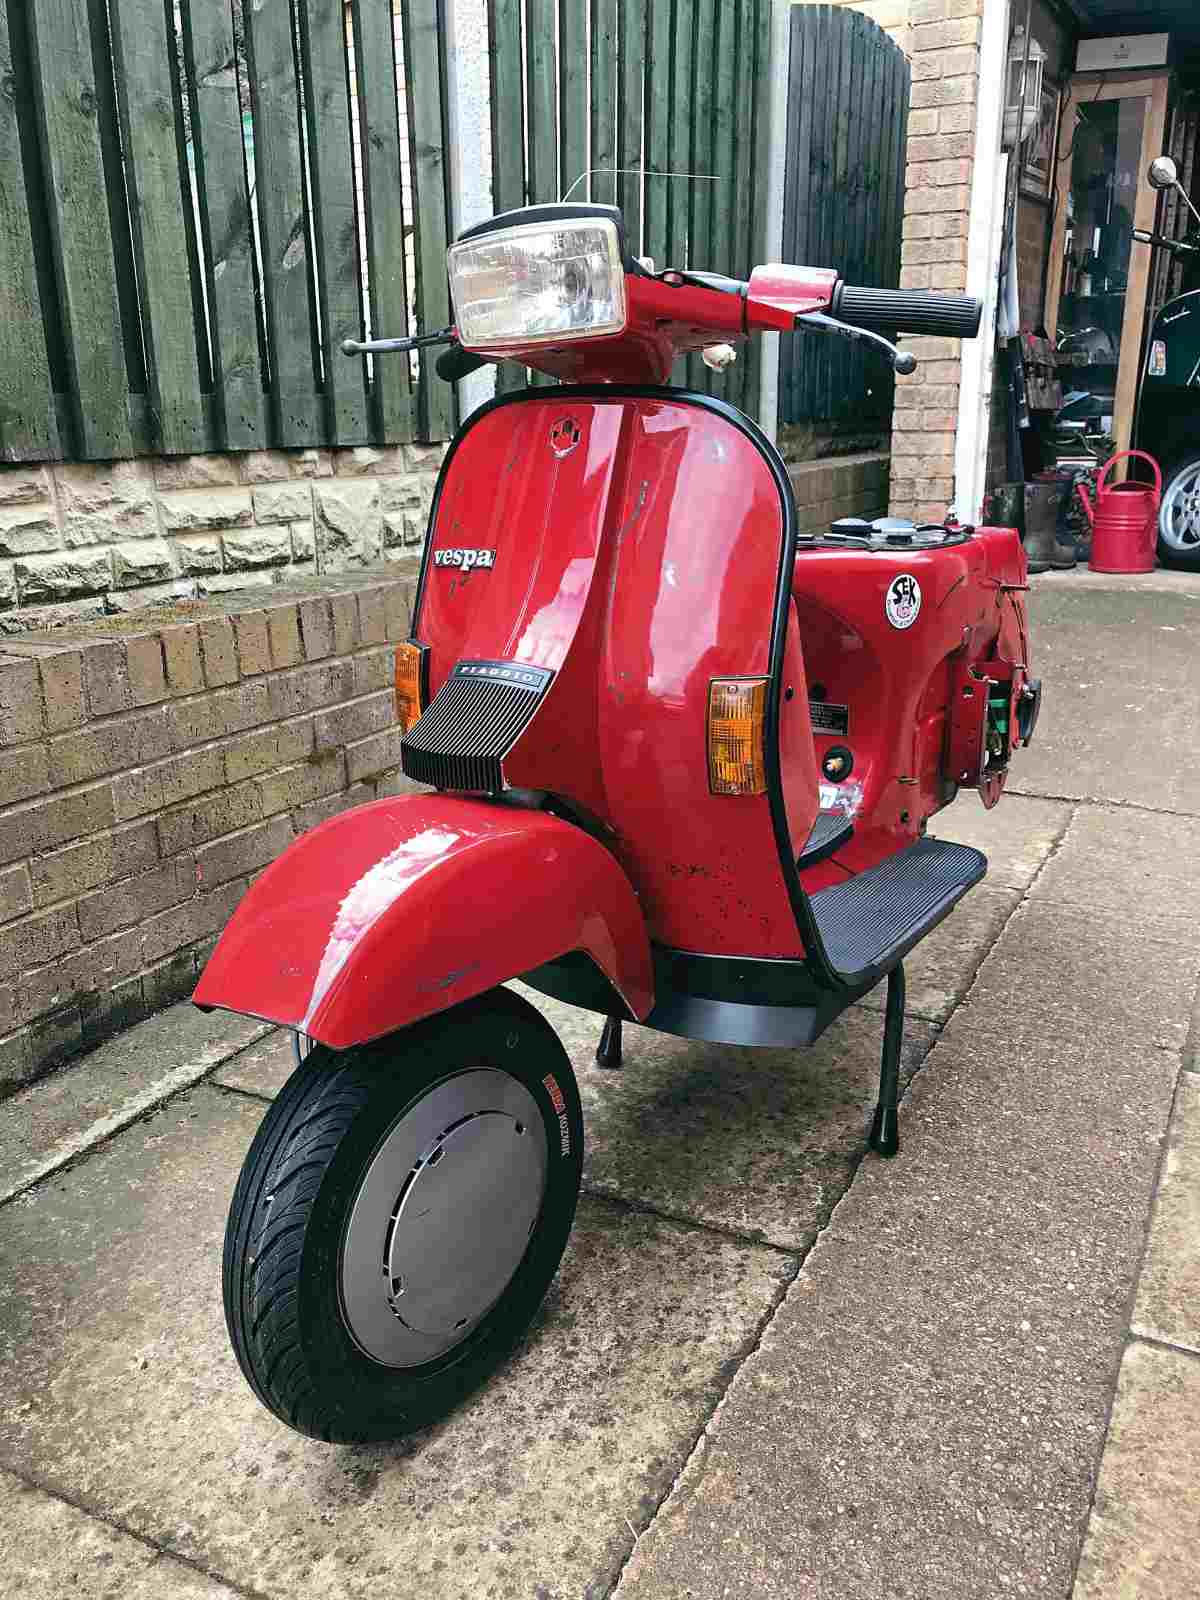
Although this is the first time I’ve been up close and in the guts of a T5, I’m no stranger to rebuilding a P-Range. The most important thing is to know one’s limits and for me that’s an engine rebuild. So, while ours is being sorted by someone who knows what they’re doing, it’s time to reflect on how the frame went together. Whether you’ve built a dozen scooters or done nothing more than change a plug, there’s always something new to discover. On this build it was fitting the loom.
Enjoy more Scootering Magazine reading every month.
Click here to subscribe & save.

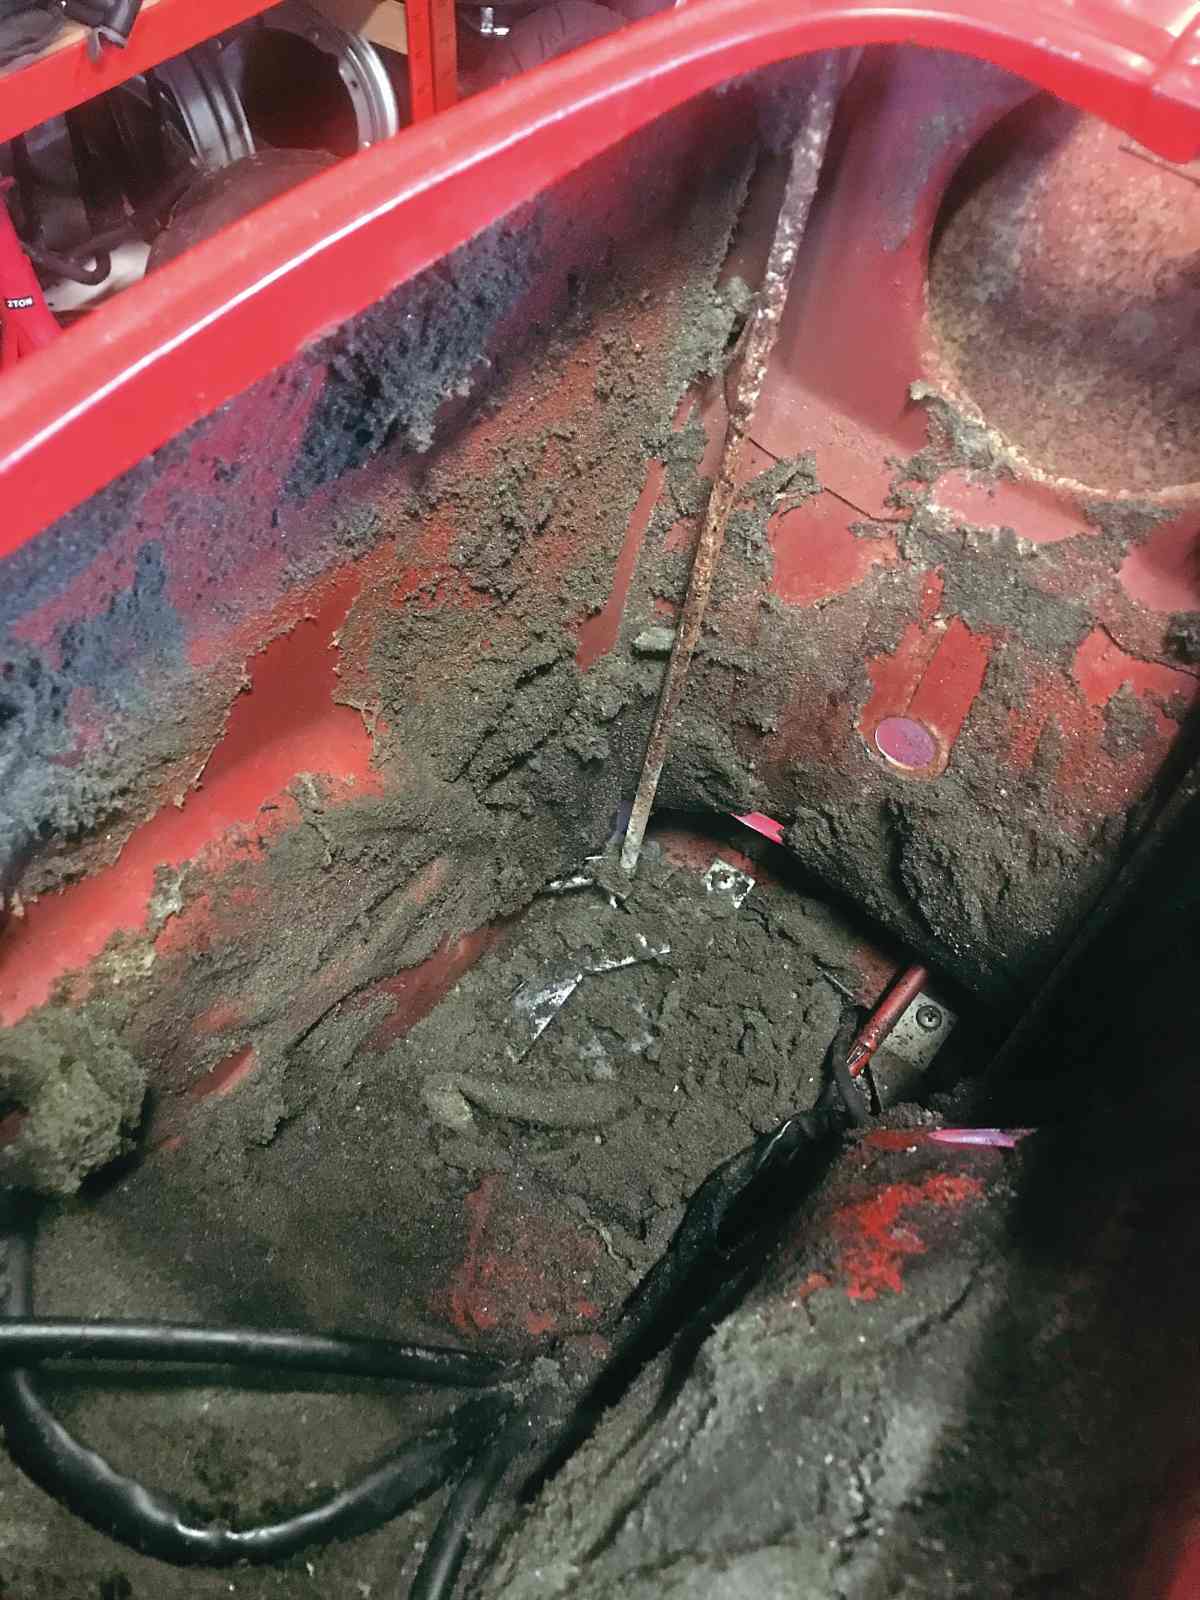
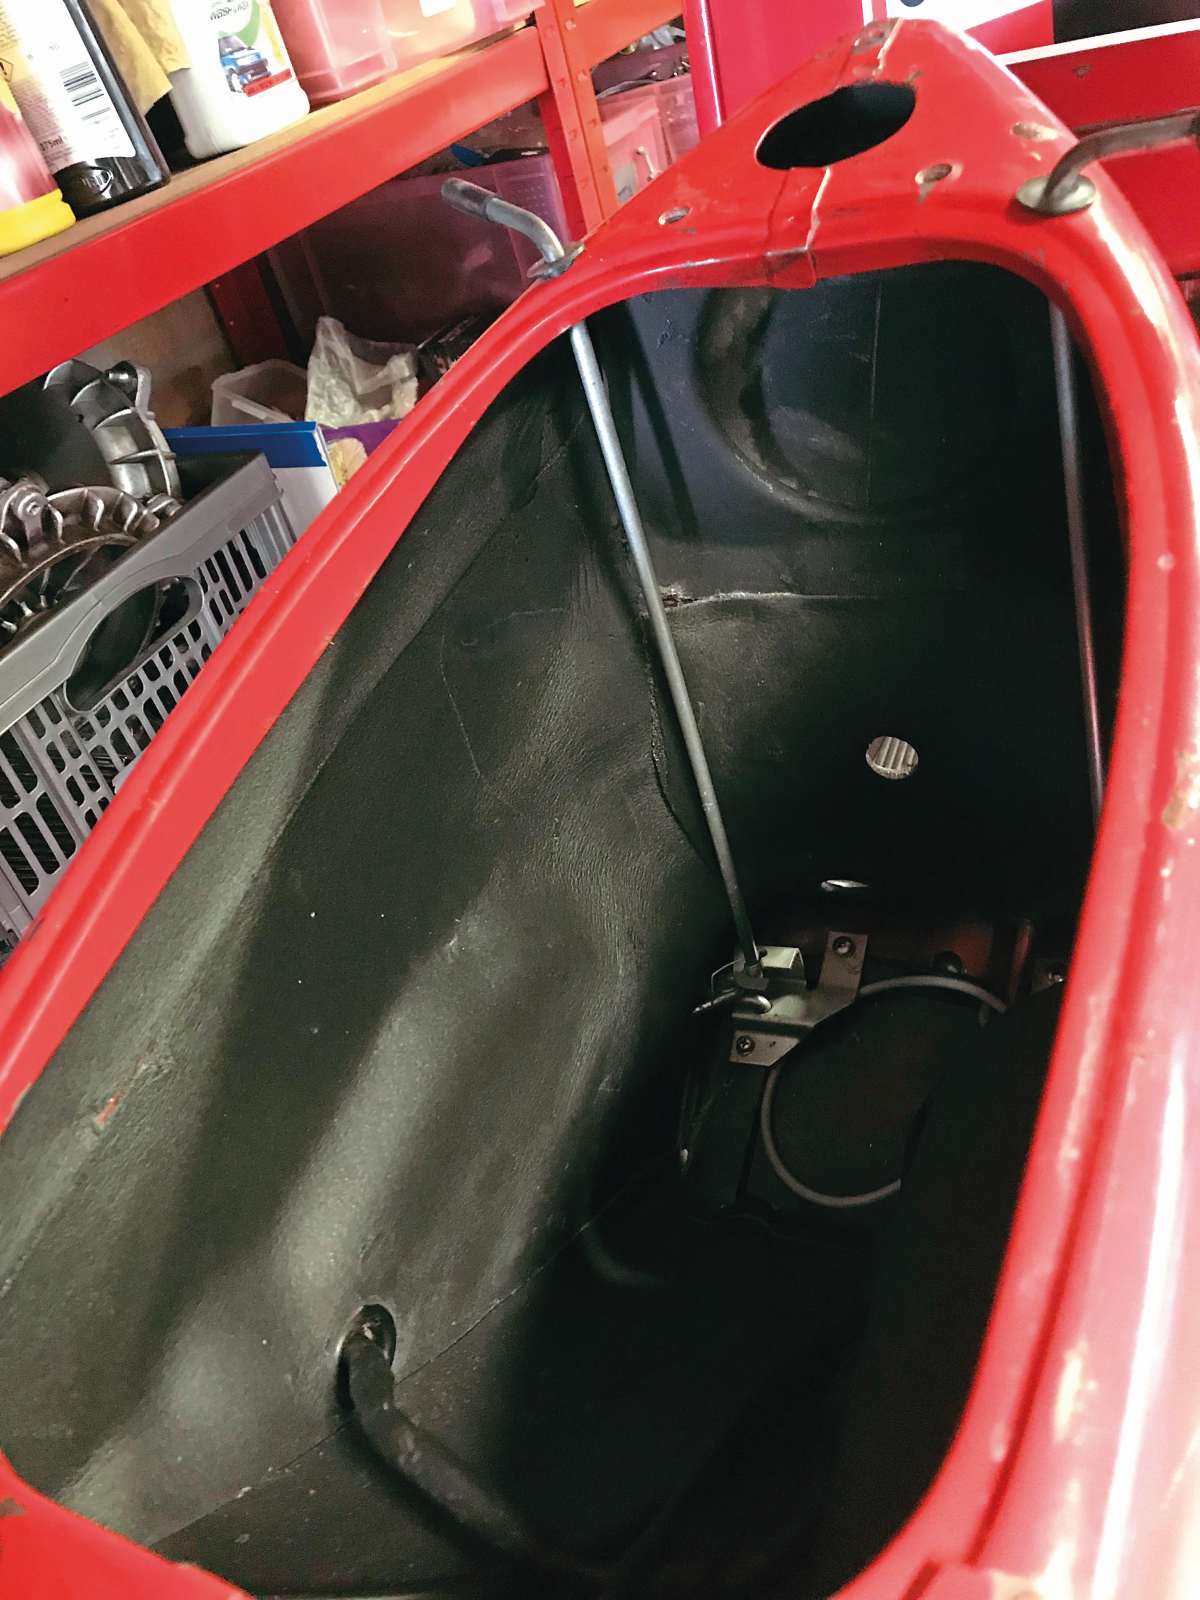
Self-adhesive sheets of 3mm sound-deadening foam have transformed the frame tub. 

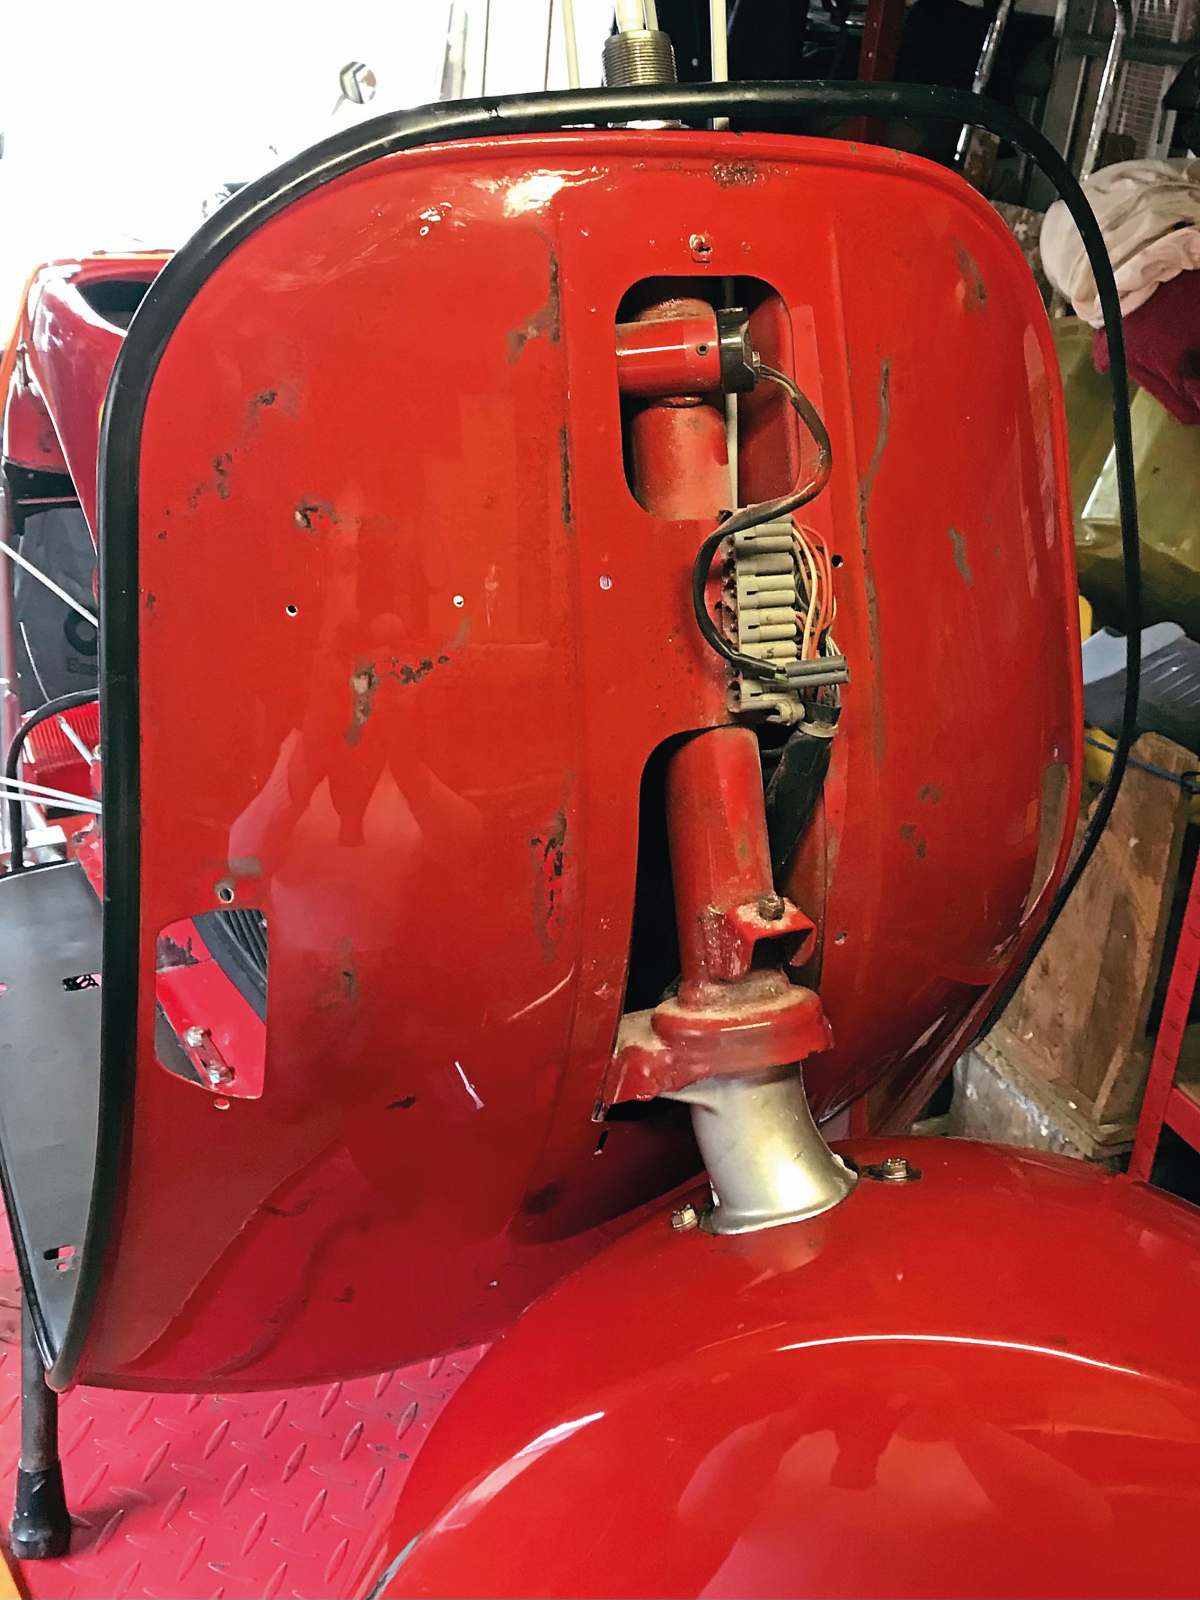
Ever wondered which hole t o sli p it in? 
Fit a sp eedo cable ou ter by threading the inner
in from below and then using it a s a guide.

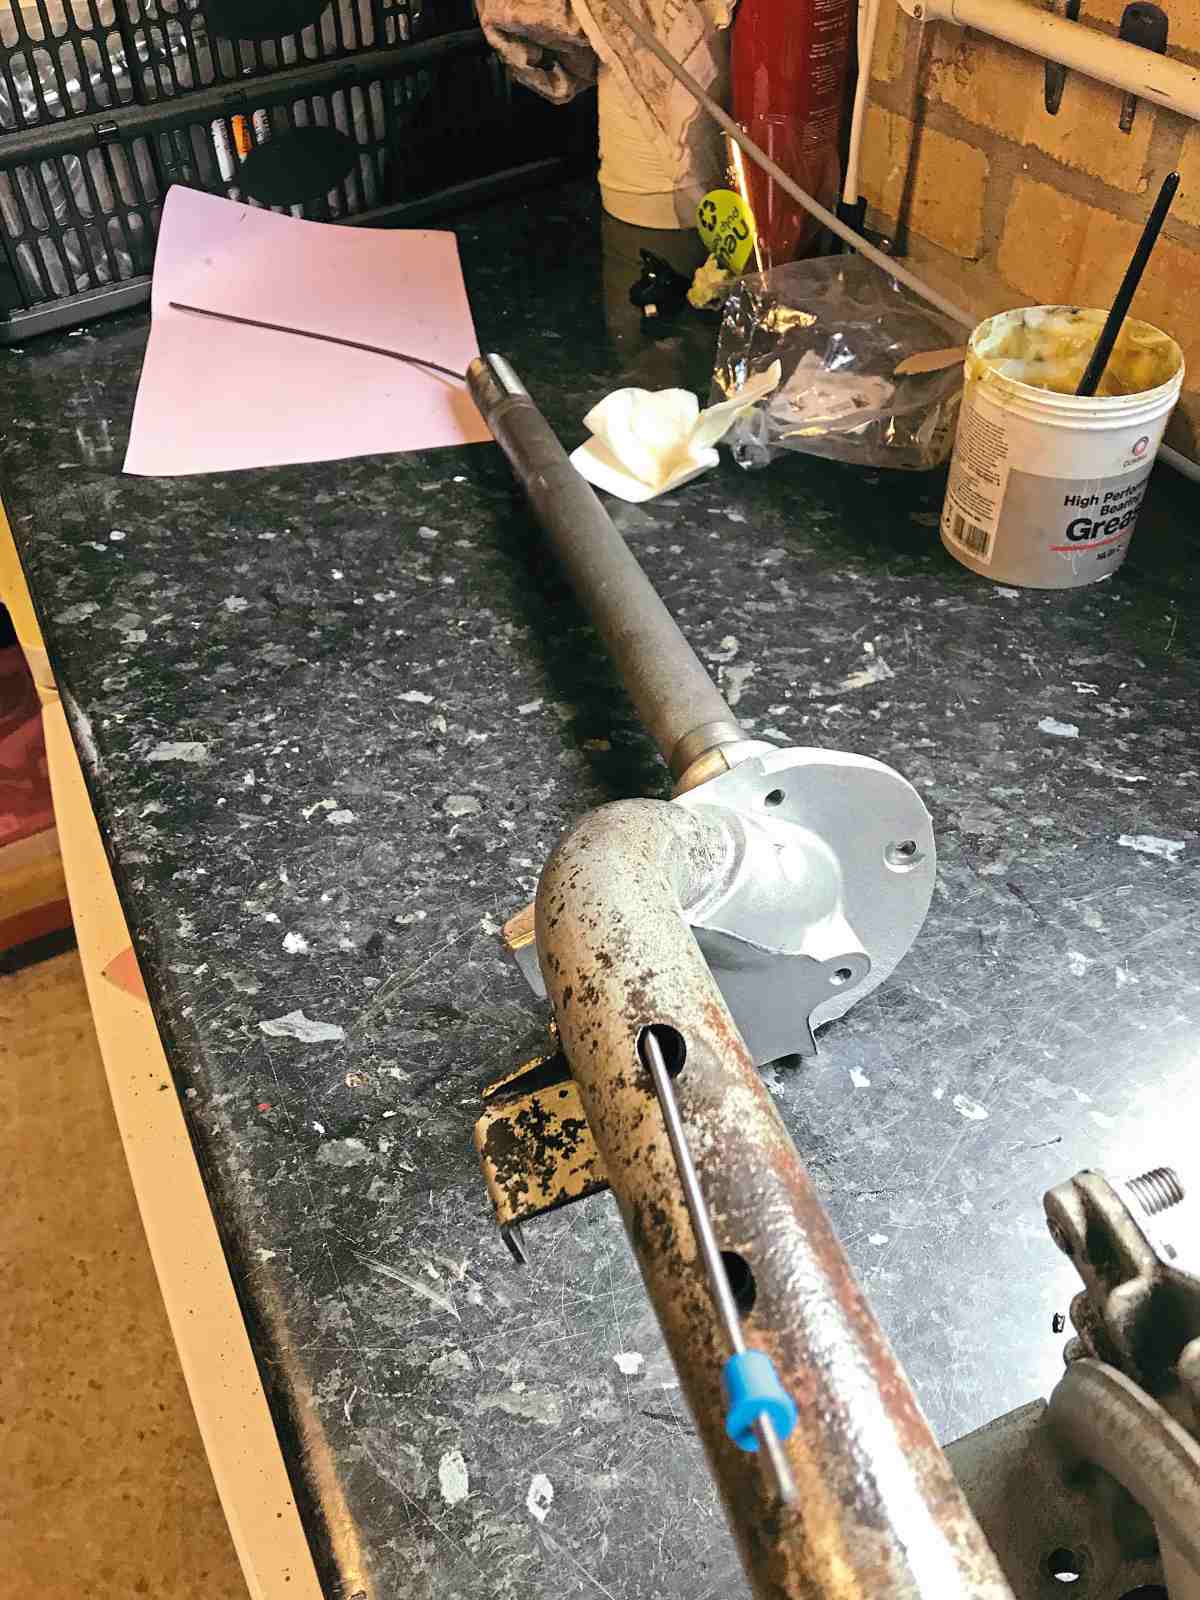
Through the eye of a needle
Removing a PX loom is easy – simply disconnect everything and pull it out from the front. However, replacing one is a completely different matter. Like most people I’ve always inserted the loom from the front, relying on a variety of cable ties, old cables and string to pull it back through the frame. In hindsight I should have realised that they wouldn’t have faffed around like that on the production line. However, it took a one-line post on the T5 Owners FB group for me to see the error of my ways. The sticking point, when threading the loom, comes at the point where the front tube meets the frame tunnel, just in front of the foot brake aperture. Because the various pressings overlap at this point and give the joint strength it’s a tight squeeze. My experience is that if a loom’s going to strip its sleeve during installation, this is where it happens. The process isn’t helped by the fact that the various branches of the standard loom form ‘barbs’. These run against the loom’s direction of travel and can jam things up further. The barbs are a clue, the loom’s not meant to go in from front to back!
I may be late to the party, but it came as news to me that the connector block, which sits under the horncasting, is just the correct size to squeeze through the bottleneck. Instead of wrestling with wires and skimmed knuckles, start by threading the loom in from the tank end. Make sure the connector block’s laid facing downwards, take the loom’s weight with one hand and then thread it into the tunnel. Ease the connector block through the bottleneck by reaching into the brake opening and pushing it forwards; the loom’s rigid enough to carry itself up the frame stem. You may need a pair of snipe-nosed pliers to ease it the last few millimetres but the entire job can be done in two minutes. In honesty it was so easy that I forgot to photograph it… doh!
I’ve tried searching the T5 page for the poster’s name but have been unable to locate the original post. Whoever you are, I salute you. Fortunately, many of the other lessons I’ve learned apply across the P-Range. Hopefully there’s something of use to everyone.
Be prepared to reach deep. 
The oi l tank’s secured here, not a t the top. 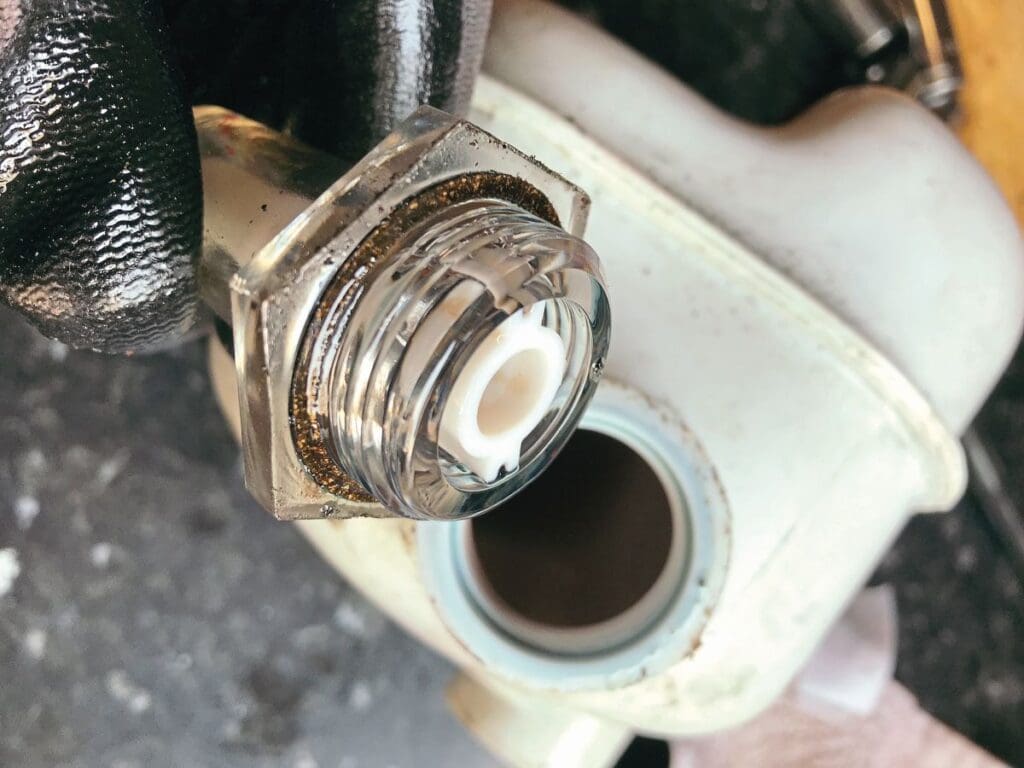
There ar e th ree seals o n th e oil tank, replace them all when serv icing the tank. 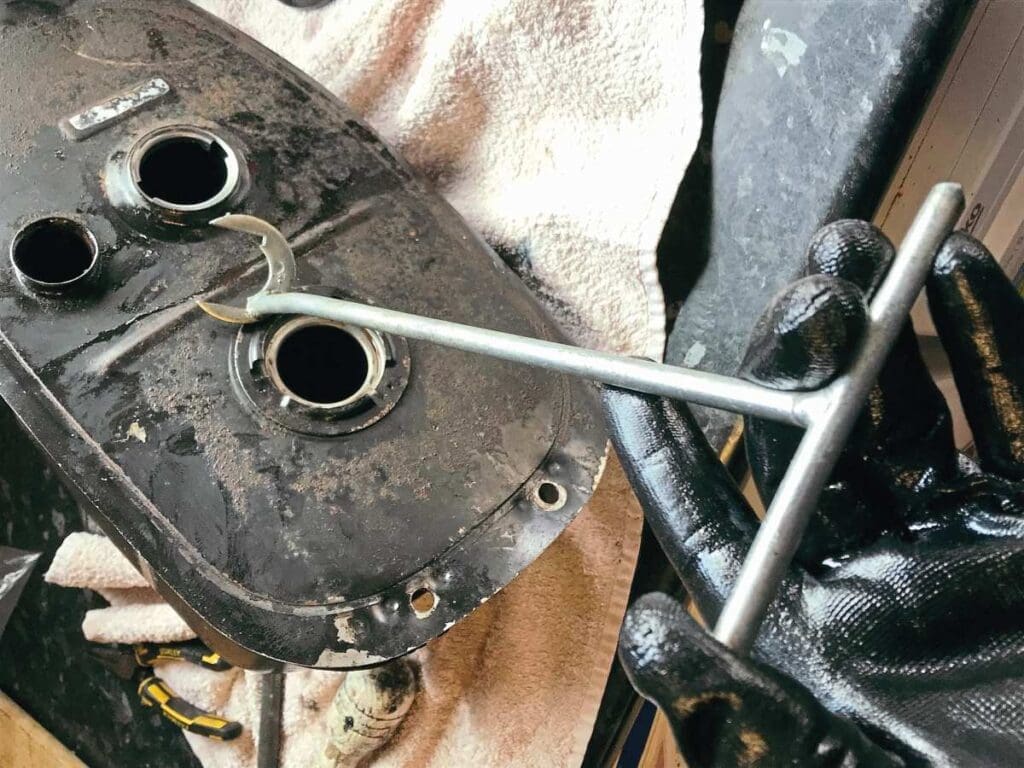
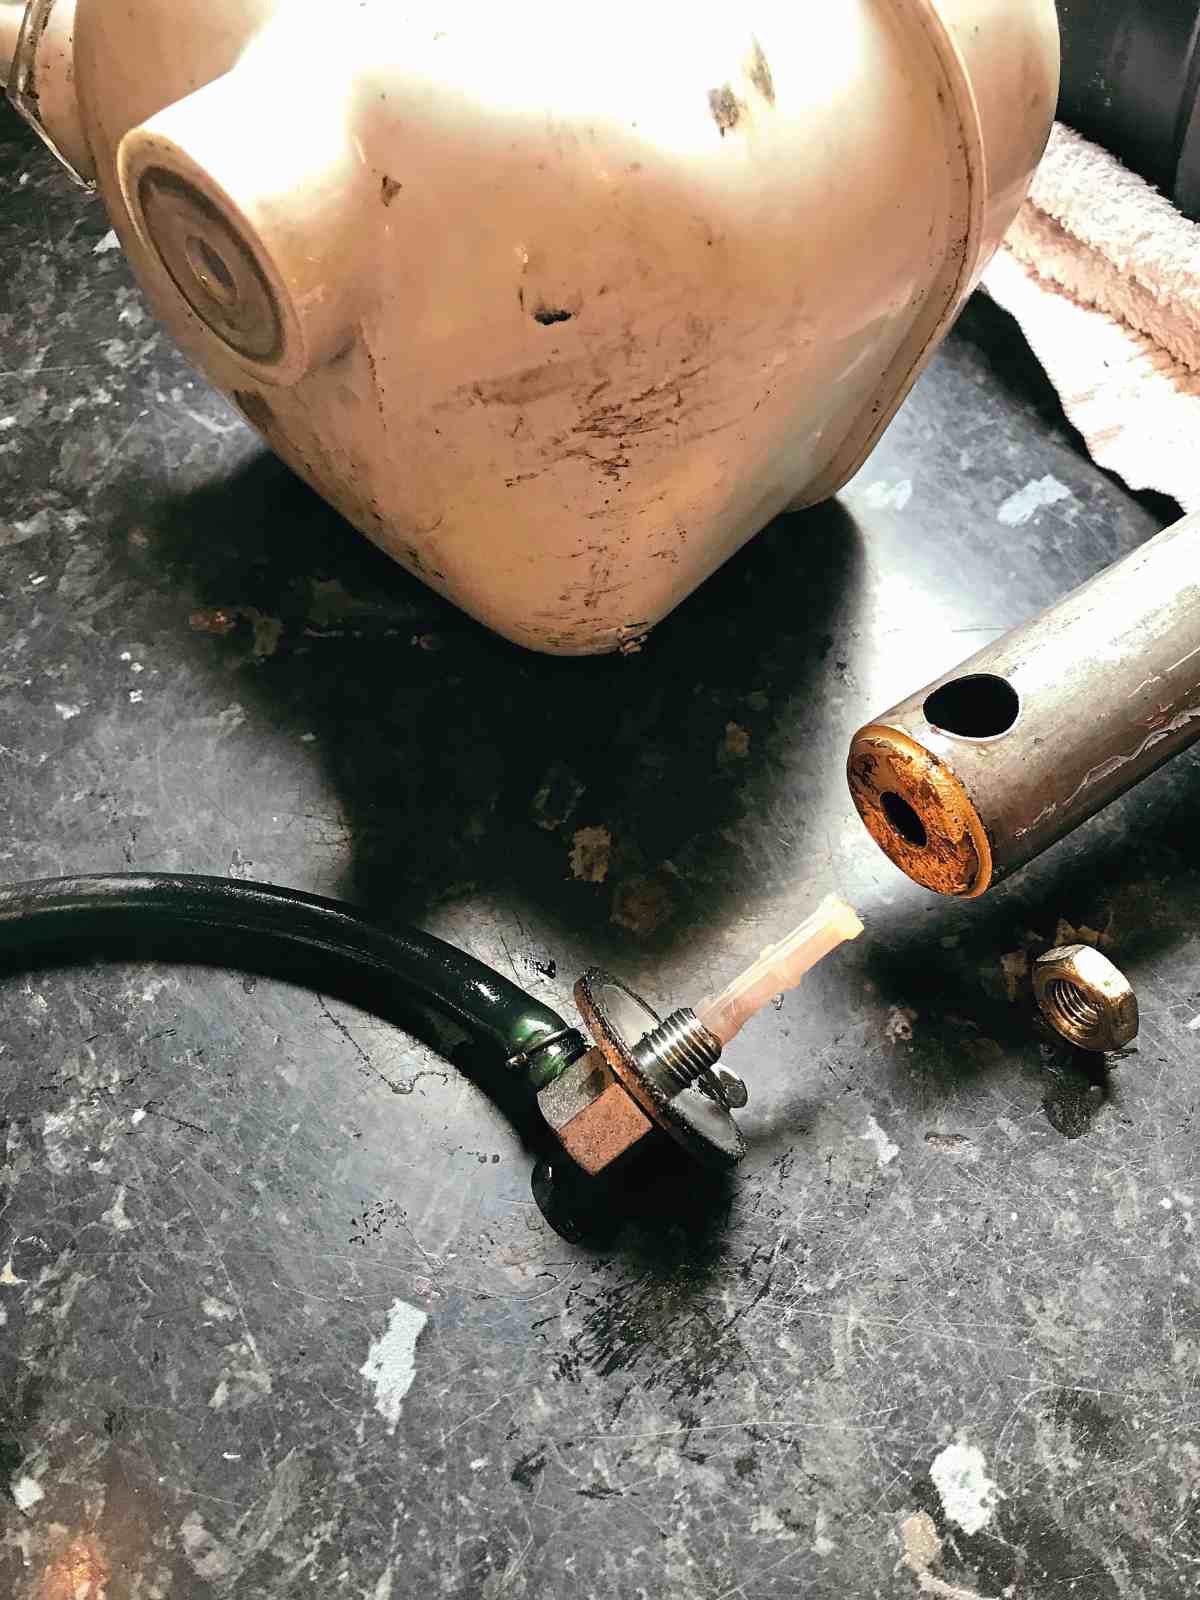
Removing th e fuel tap needs a special tool, though a plumber’s basin wrench will often fit. It’s much e asier going in through the fuel sen der’s aperture.
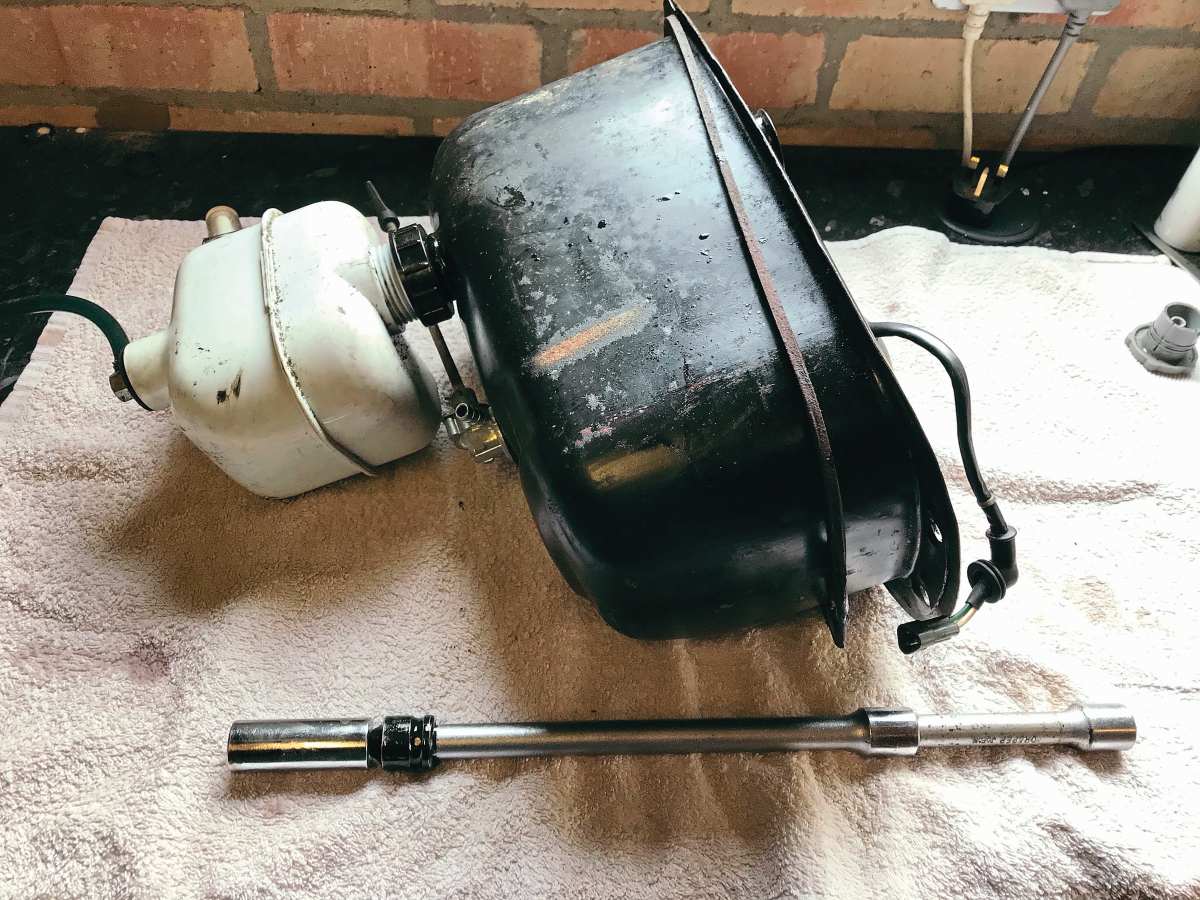


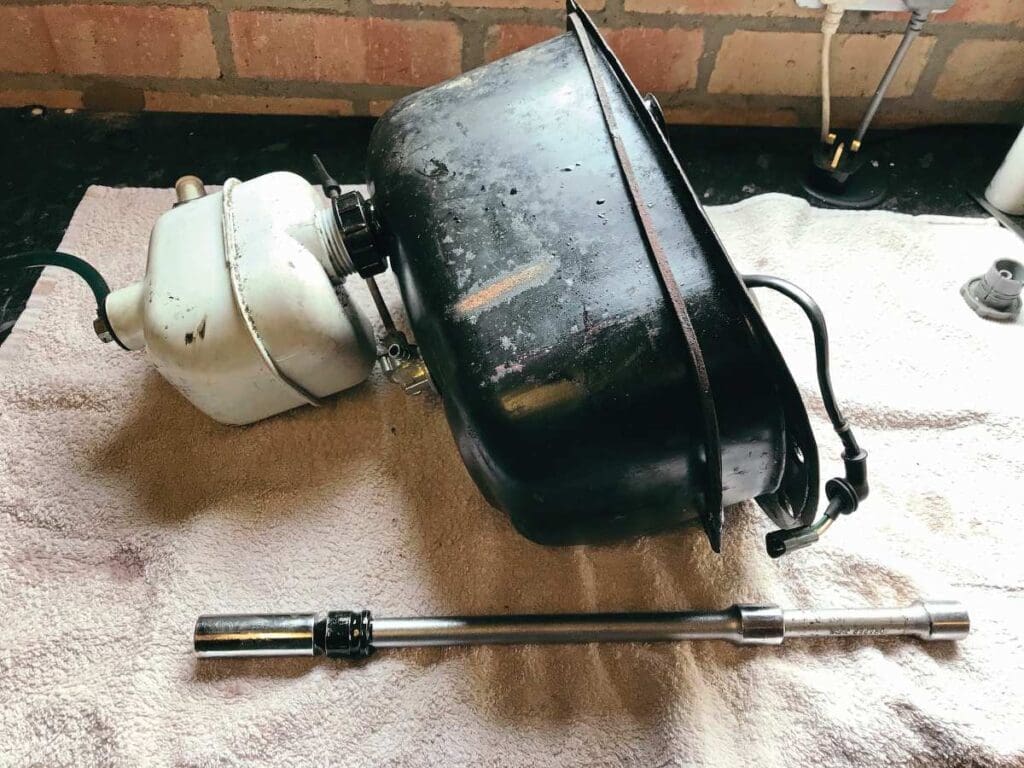
Tanks a lot
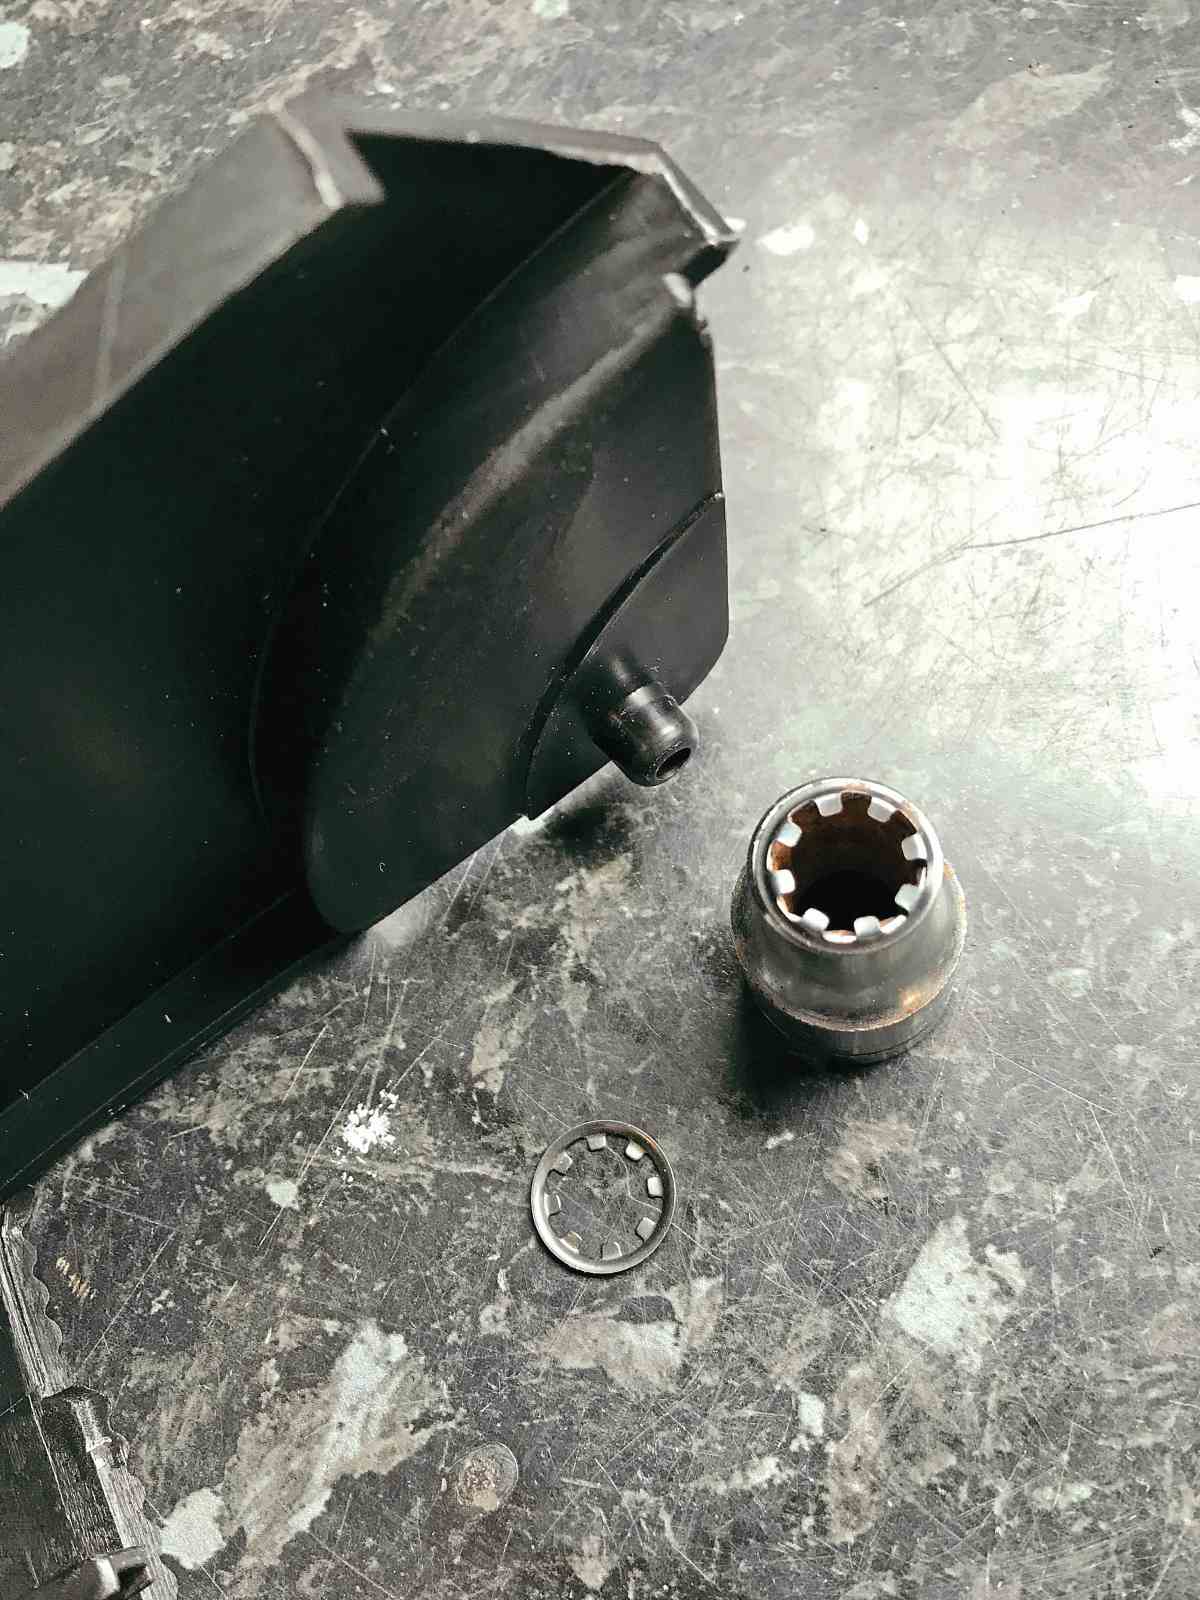
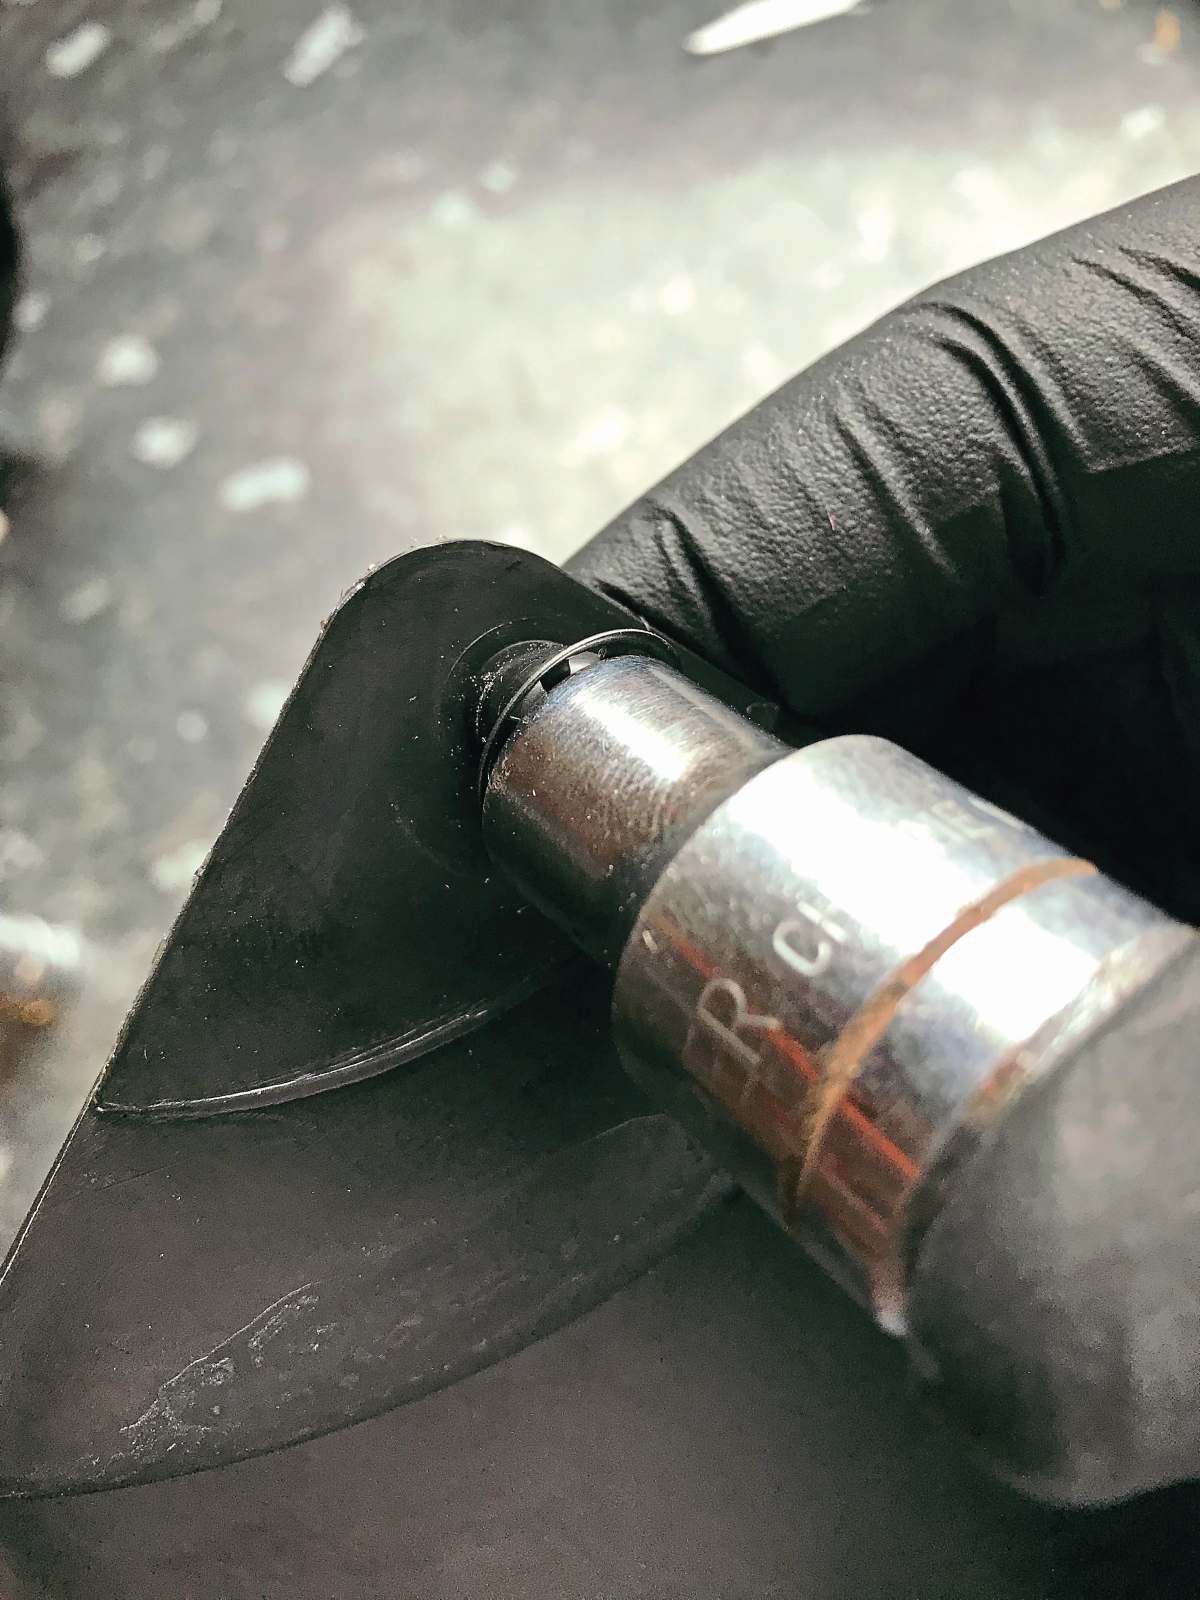
The first sign that something’s wrong with an autolube tank is when two-stroke oil starts weeping between the frame seams near the engine mounting bolt. If that’s your problem, fear not, it’s an easy job to deal with. Having removed the tank, remembering to switch off the fuel and plug the end of the oil pipe, it looks like the oil tank is held on by a compression type plumbing joint but that’s only part of the story. In order to release the oil tank, not only is a deep 17mm socket needed, you’ll also have to make an extra-long extension bar. Only with this combination is it possible to release the nut, buried at the base of the filler tube, which holds the tank in place.
In addition to the pipe itself, there are three points at which the tank can leak. These are the sight glass joint, the oil tank union (It’s not a ‘tap’ as it doesn’t switch off) and the main compression type joint. If you’re replacing one, replace them all. They cost pence and although tank removal isn’t a difficult job, it’s not one that anyone wants to repeat regularly.
When reassembling it’s much easier to drop the union nut down the tube and get it seated with the extension bar before fitting the tank. Don’t forget to slide the compression joint on first, and push it to the very top of the filler tube as the union has a very short thread length.
Bumper success
All PX rear bumpers are secured to the frame with two push-on clips. These can be tricky to locate and if not pushed home fully the bumper will always vibrate. The most effective way to secure these is by pushing them home using an 11mm socket.
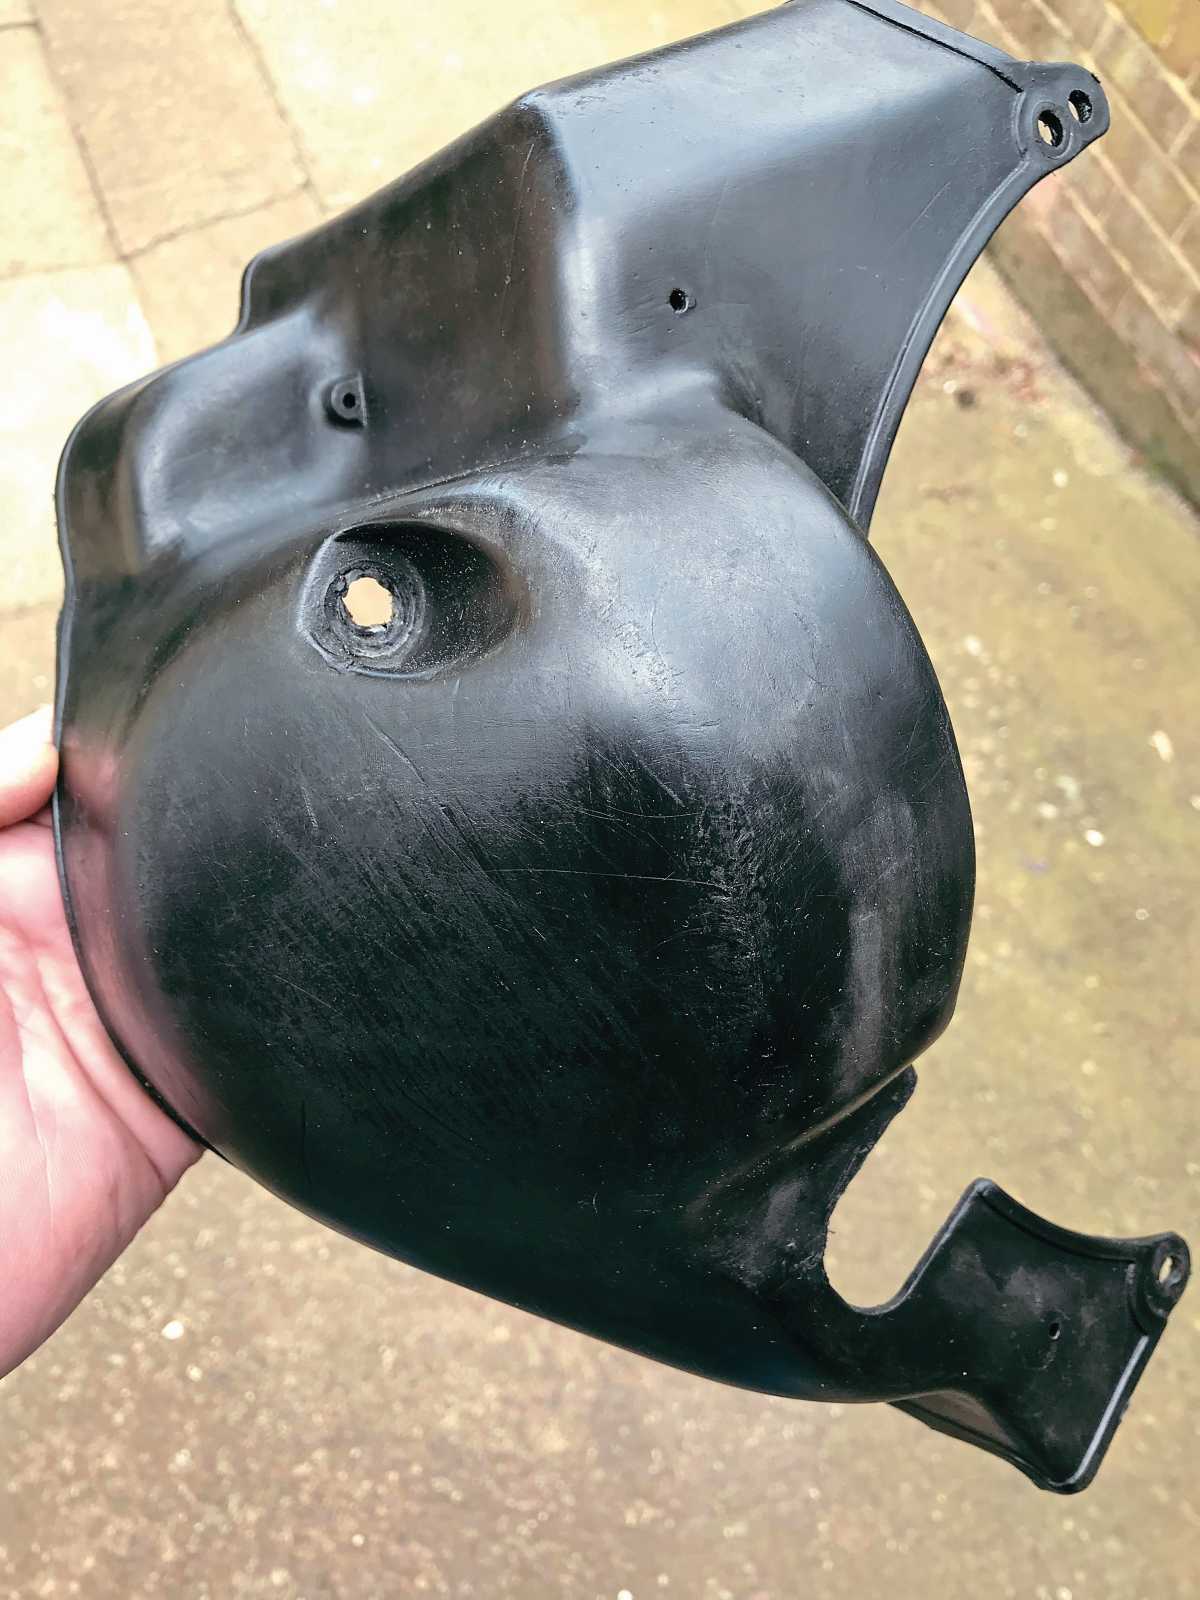
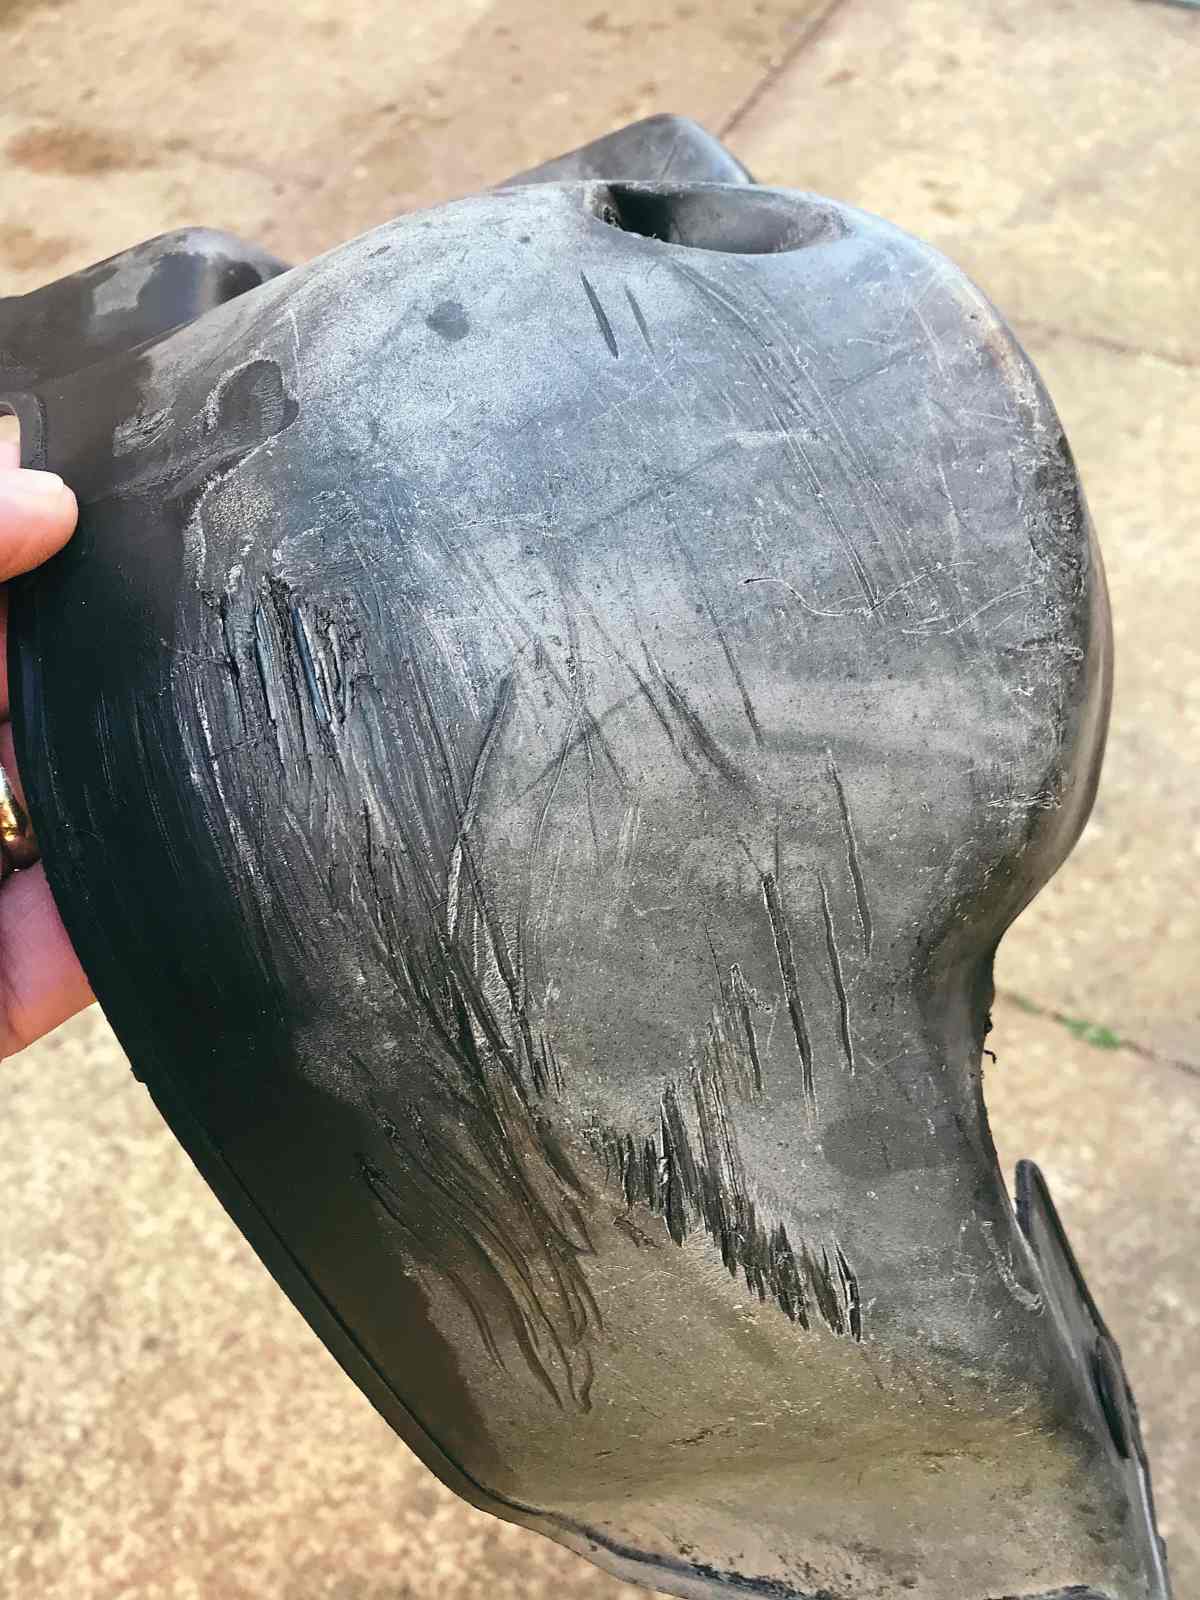
Fancy a shave?
One of the T5’s distinctive features is the noise-dampening crankcase cover. With ours showing evidence of some fairly enthusiastic corning it was tempting to simply order a new one. However, by ‘shaving’ the surface using a Stanley knife it was possible to remove most of the damage. A careful rub with some fine wet ‘n’ dry restored its textured surface and a few coats of black trim restorer brought back its colour. It’s not perfect but perfection’s not the aim of this build. We’re also lucky in that all the noise-deadening felt has survived. This was gently hand washed and once dry, the surface was sealed with a dusting of acrylic fabric paint.
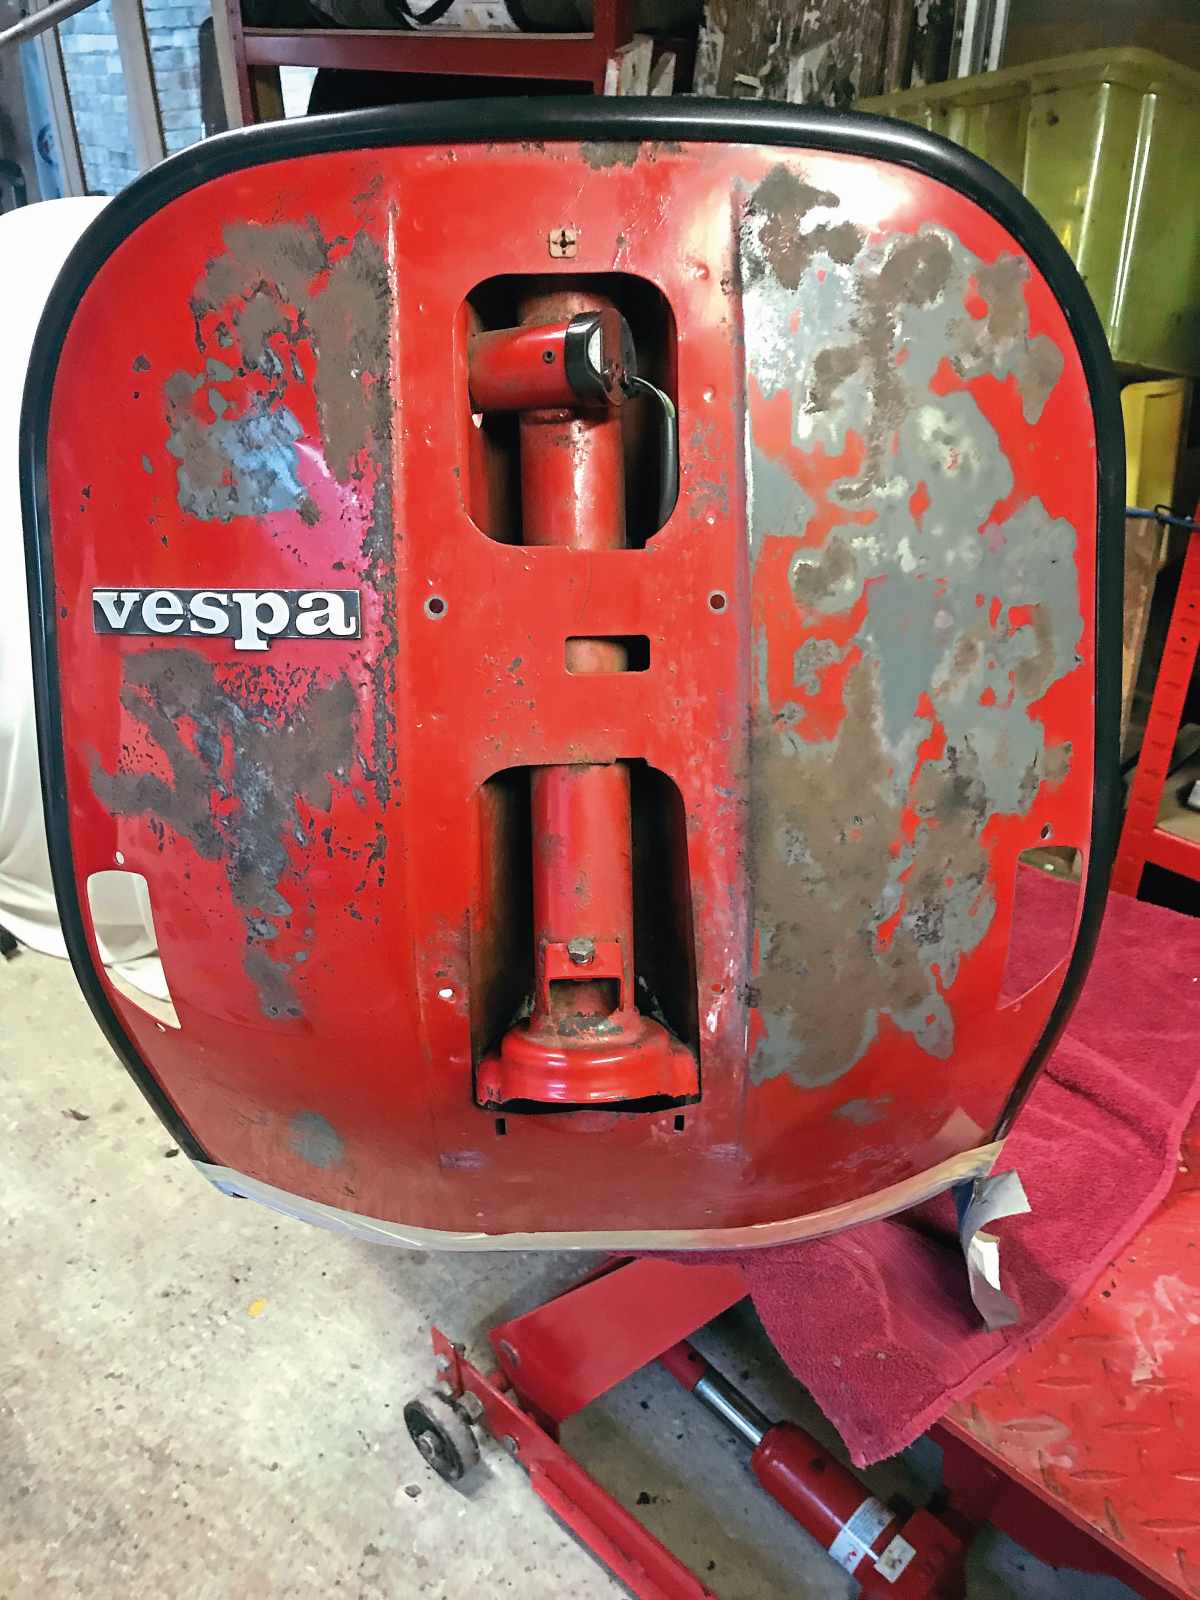
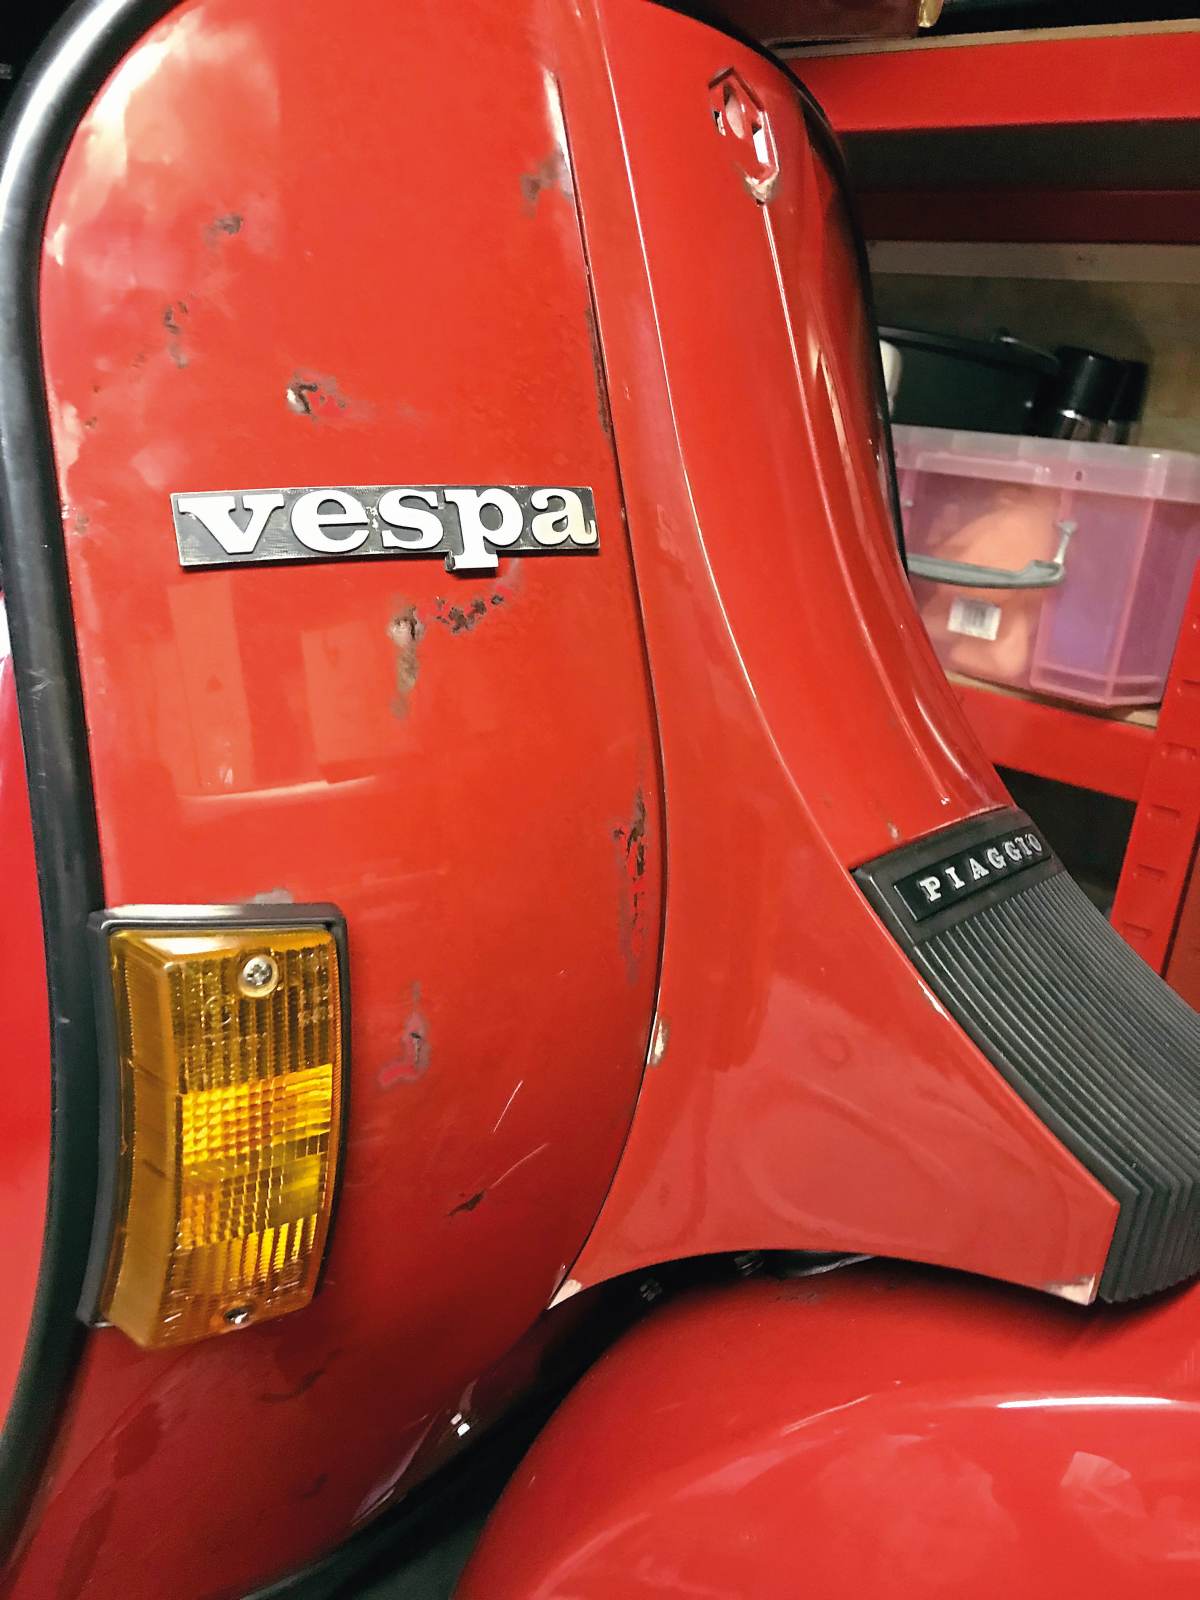
New old paint
Regular readers will know that throughout this project my aim has been to keep our T5 original and that included the paint. Sadly, the legshields and mudguard had previously been attacked with a wire wheel. Even I had to concede they were too far gone to save but I was determined that any repair would match the rest of our T5’s ‘lived-in’ appearance. I’d already taken some advice from a contact in the VW ‘patina’ scene who said that given a good base coat it would be possible to age the surface using graphic paint effects.
At this point, and not for the first time on this build, Rick Galloway of EDM Racepaints came to the rescue. I’d arranged for him to apply the base coat but when I dropped off the frame and explained the plan, he asked why I was faffing around so much. He assured me that by gently applying thinners with a cotton bud over any rust I wanted to retain and the careful use of wet ‘n’ dry paper, he could seamlessly blend old with new. I have to admit I was sceptical but the results speak for themselves. The results are so convincing because Rick is a self-confessed T5 nutter, he knows exactly how and where they show their age and has mimicked this to perfection.
Keeping trim
One of the worst parts of any P-Range build is replacing the legshield trim but using Martin Daley’s system I’ve managed to save our T5’s original set. I’m not even going to try and explain the easiest way to do this. Instead, I suggest watching Martin Daley in action in this handy YouTube video, he’s slowed things down for the video, but his all-time best is 20 seconds!