Words & Photographs: Stu Owen
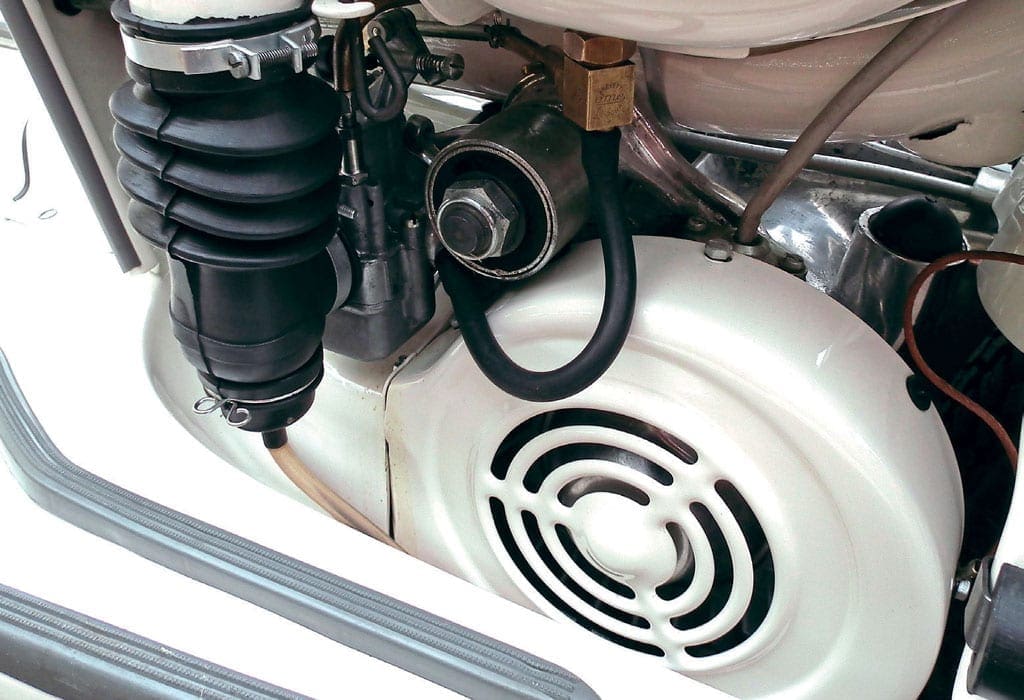
The head and fan cowl are a fundamental part of the Lambretta engine cooling process. If they come loose, overheating will occur.
I’m pretty sure anyone who owns a Lambretta has had either the head or fan cowling come loose at one time or another, having to fix them any way possible to get home without one or the other falling off, and more importantly, making sure that the engine doesn’t overheat due to lack of cooling.
They work by both cowlings creating an enclosed space, allowing cool air from the fan to be forced around the barrel and head. If one does come loose, then the efficiency drops leading to a rise in engine temperature. A lot of the problems arise from the design created by Innocenti in the first place.
Enjoy more Scootering Magazine reading every month.
Click here to subscribe & save.
Even on a standard machine, the small bolts are not secure enough and are prone to coming undone from vibration. Once they do, it has a knock-on effect.
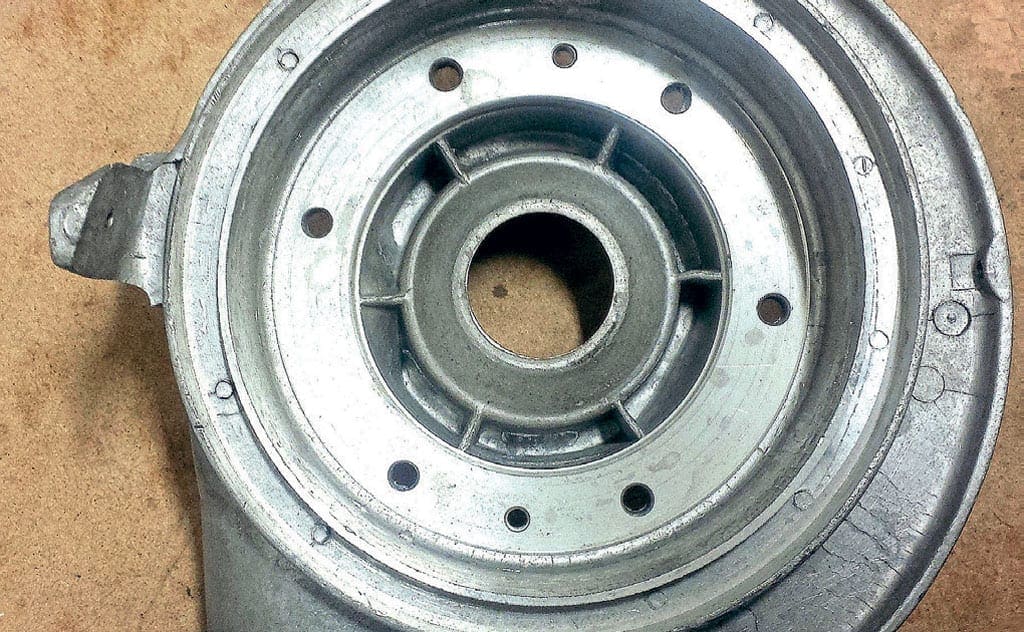
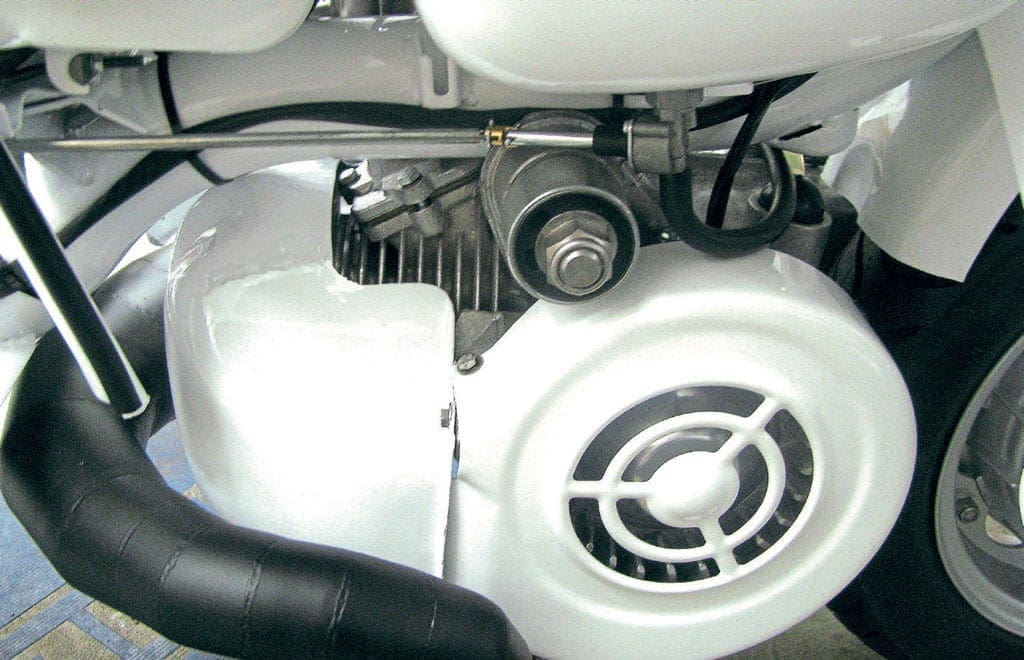
Flywheel cowling
Starting from where the air is first created via the flywheel fan, the flywheel cowl serves two purposes. One is protection from the spinning blades, but equally important is the route for air to be sucked in before being forced outwards towards the head. Any Lambretta from the Series One onwards has a total of five 5mm bolts securing it.
Problems arise, in that they are only 1cm in thread length and can easily strip the thread in the aluminium body of the magneto housing. Initially, they were fitted with a small, flat, wavy washer to secure then against the cowling.
Putting a slightly wider and thicker washer is a much better option, but means even less thread makes contact. To help with this problem, instead you can fit a 5mm bolt, 1.5cm in length, which will allow it to grip into the entire length of the thread available.
If a thread is stripped, then the usual option would be to tap it out to the next size. Unfortunately, there isn’t much material available to use, so attempting it will usually fail. If you are getting a thread welded up, then ask the welder to build the area up. This will allow you to tap deeper into the thread and also allow going up to the next thread size as an option.
The new Uni brand magneto housing has this already built in with a deeper thread area, and also sufficient metal go up to the next thread size without any problems. This is one component where a company has looked at an existing Lambretta problem and solved it with relatively small changes. If your Magneto housing is in a bad state of repair, this is defiantly one option to look in to.
Another thing often overlooked, and certainly on an engine with its original carburettor, is the bolt directly underneath where it sits. The only way to gain access to it is by removing the carburettor. Though it is a poor design in the first place, it shouldn’t be ignored because it’s difficult to get to.
Regardless of this annoying feature, make sure all five bolts are used and the cowling is as secure as it can be. If one bolt is loose or left out, then the vibration can not only loosen off the other bolts, but it can start to cause a split in the cowling itself.
If a split does occur, then due to the thinness of the metal then it is best to get it changed as soon as possible. Remember, if a cowling does come loose or breaks away, it can easily get caught in the fan. If it does, it will chew it up in an instant. If you are a long way from home, you will be without any form of cooling.
Head cowling
If you thought it was difficult to keep the fan cowling fixed with its five small bolts, then the head cowling is even worse with just three. Thankfully, one of those is an 8mm bolt, but even so, the big size of the cowling means that if any one of them are not secure then keeping it bolted down can be difficult.
For the two small 5mm bolts that secure into the magneto, housing space is limited and tapping out to the next size is almost impossible. It is imperative that both are always secure, because just one on this side of the cowling won’t hold long. Again use 1.5cm long bolts to make sure they go as deep as possible into the thread.
On the other side where the 8mm bolt goes into the head stud, there are several things to look out for. Firstly, make sure there is a big enough washer between the bolt head and the cowling. Again, Innocenti only fitted a small wavy washer.
Although you don’t want it to be too big and cumbersome looking, use a wider diameter washer so it will make contact with as much of the surface area as possible. Because the bolt is securing into steel, doing it up tightly isn’t a problem. Where it can be is if you use too long a thread on the bolt itself. Its shares the same threaded securing as the cylinder stud. If that stud is slightly longer, you may not have enough for the 8mm bolt.
It is possible for the bolt to bottom out on the stud and although it will feel tight, there may be a tiny gap and the cowling may not be secured. If this does happen, then it will be free to rattle around and cause it to wear around the securing washer. Always make sure the cowling has been clamped tight to ensure this isn’t happening.
A good modification, and one Innocenti should have originally done, is to put another hex bolt on to the cylinder head opposing the original one. That way, two 8mm bolts will now secure the head cowling. There is just enough room to do this as the contour of the head cowling falls away.
It can be tricky where to mark the hole for drilling, and needs doing with the engine out of the frame or measured on another engine first. This method will secure the cowling solid, but even so, still fit the 5mm ones as an extra precaution.
Areas of wear to look for on the cowling are the usual splits that occur along the leading edge which sits next to the magneto housing and around the hole where the 8mm bolt sits on the other side.
Again, if this starts to happen replace it, as the engine vibration will soon cause it to fall apart.
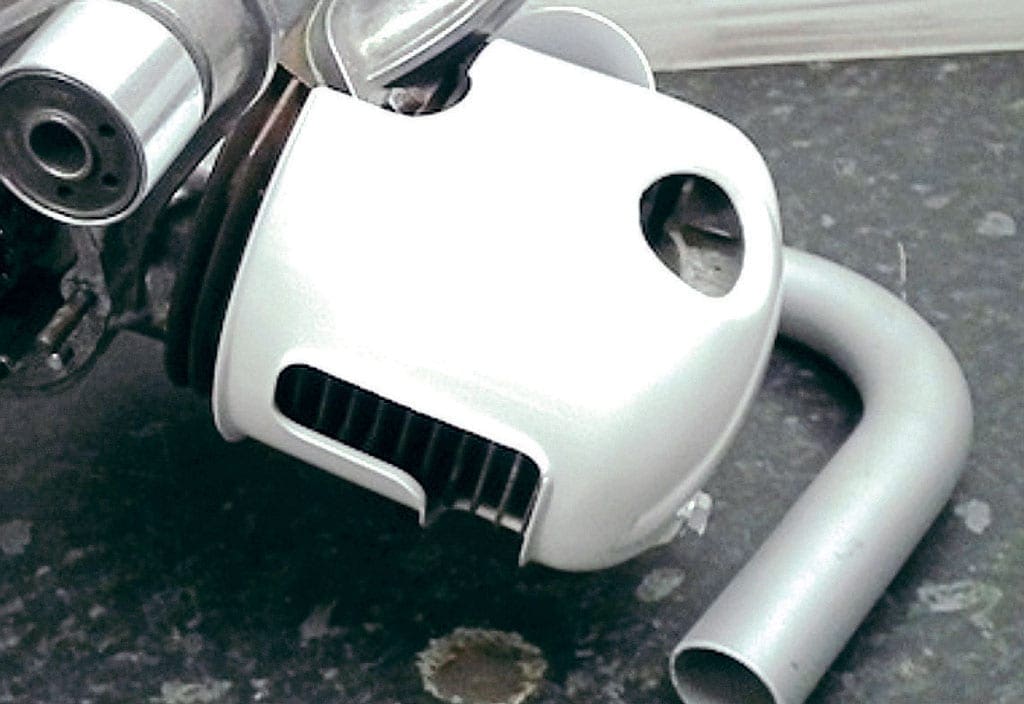
Cutting the head cowling
These days, whether it’s for a different exhaust system or bigger inlet manifold and carburettor, more than likely the head cowl will need cutting to fit around them. If you are re-building the engine, then chances are it will be out of the frame. If it isn’t, then it will be more difficult to cut out the exact shape required.
Obviously, an area of the cowling needs cutting out otherwise it will not be able to fit, but at the same time, you don’t want to cut too much away. If you do, this will mean not enough cold air is getting around the cylinder before escaping.
The best way to start is with the exhaust manifold, so get that out of the way first. Leave the inlet manifold off for now so you are able to keep trying the cowling on around the exhaust. Try to think about it logically and work out the width before cutting out the depth, as this is much easier to do.
You can either cut it out with sharp tin snips or by using a fine cutting blade on a Dremel. Once you have the correct width cut out you can then start to cut inwards into the cowling. Only take off a small amount at a time until you get to a point where there is a gap between it and the manifold. Make sure this gap is at least 2mm so it is clear all the way around. Once you have the correct cut out, clean the surface, making sure you have a smooth curve with no angled edges.
Cutting out the area for the inlet manifold can be more difficult as there are more contours to follow. Also, if you take the RB reed block as an example, there is a much bigger area to cut out than you think.
Again, start off by cutting out the width required and slowly go deeper on the depth, taking a small piece out at a time. In the end, you should be able to get it so there is a tiny gap. Once you have started by smoothing out the curve, if possible try to prevent a 90-degree edge, which can happen as you follow the shape of the manifold. If you do have an edge like that, you must curve it off. If you don’t, a split can occur from the corner over time due to vibration.
A good tip is to use a small flap wheel fixed to a drill to smooth the corners off. It can be used along the whole edge of the area you have cut to give a clean, professional finish.
Make sure you leave a big enough gap around each manifold, otherwise the cowling can touch the manifold as it will vibrate when the engine is revving. If it is too close and they touch, it will quickly start to split and the cowling may start to come loose. Even if it does stay intact, the paint will most likely chip off and will start to discolour from the heat, making it look untidy.
Finally, if you do change the manifold or the cylinder kit you are using, remember that the profile of the cut out will be different. If it is too small then more will need cutting out, but if it is larger, don’t worry about the gap being a bit bigger as long as it’s not too excessive.
Alternatives an what not to use
When it comes to alternatives for cowlings compared to the original steel ones, there aren’t many options. For a while, carbon fibre ones have been produced by one or two different manufacturers. The advantages are that they are lighter and cosmetically look better if used with the right theme of Lambretta, such as a street racer.
There are downsides though, and one is that they are much more costly. Also, getting them to fit perfectly can be difficult, especially when it comes to trying to line up the fixing holes. The more awkward part comes when bolting them down, as the material can compress and not always tighten up enough.
If you are using carbon fibre cowlings, make sure you have quite a wide washer between the bolt and the cowlings. This will help with spreading the load evenly as it’s compressed and will help to secure it more. No one is saying don’t use carbon fibre, but just treat it differently to make sure you get the perfect result from using it.
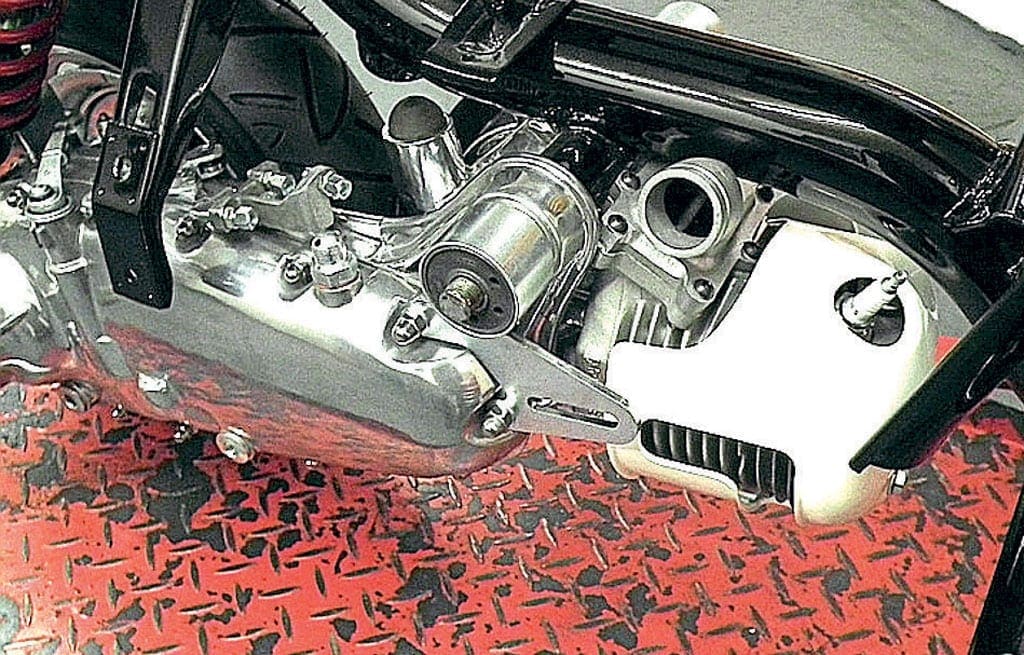
A custom-made fan cowling entered the market recently from Casa Performance. This offers better airflow and, more importantly, easier access for fixing.
Instead of bolting around the circumference of the magneto housing, this design allows for the cover to be bolted from the side. Not only does this mean quick and easy removal, but also less stress on the threads. The price isn’t cheap, but it’s a unique product, which is a huge improvement on the original Innocenti design. Alhough only done to begin with for the Casa range of casings, it is now available for normal Lambretta casings.
When it comes to using traditional cowlings, try to use the best possible. There is no doubt that original Innocenti ones are the best, but sometimes it does seem a shame to cut away a good example.
Even so, if it’s your Lambretta, you will want to use something whichworks, so there is no point in worrying about it too much. There are some good aftermarket ones, but also some very poor ones.
Many are made from very thin metal and created from using worn-out presses. Although they may be cheap, their life span isn’t that long. More often than not, they will split and simply fall apart after short usage.
More worryingly is if one was to fall apart when you are making a long journey, leaving you stranded. Always check what you are buying and be especially aware if purchasing off the internet, as you won’t be able to see it first.
Reminder
The head and fan cowlings are the only two parts that are responsible for keeping a cool airflow over the engine on a Lambretta. If in good condition and fixed securely, they will do the job they were designed for. At all times make sure they are secure, and if anything on them needs attention, sort it out immediately to maintain 100% efficiency.