
Qustom Inc in the USA have come up with a kit for Lambretta owners who want a little more from their braking system, but don’t want to permanently alter the look of their scooter. It sounded interesting so they kindly sent us one to play with.
Firstly let’s have a quick refresh of the advantage of a hydraulically operated braking system over a conventional cable pull. By the very nature of its construction from twisted strands of steel, each and every time a cable is pulled it is going to deteriorate slightly, albeit minutely. Over time however the cable will stretch and its structure weaken. Add to this the flex and movement that occurs every time you pull the lever and a fair percentage of your energy used is lost in the cable before it gets to the actual braking system, which is why a quality hydraulic system is better than a cable-operated brake as it is much more efficient.
Enjoy more Scootering reading in the monthly magazine.
Click here to subscribe & save.
What Qustom Inc have done is take this efficiency and add it to a traditional Lambretta front end offering, in theory, the best compromise between style and braking. While there’s no arguing that an outboard hydraulic braking system is one of the best aftermarket accessories developed for classic scooters in recent years, there are a number of poor quality versions available out there too. There are also those that consider such additions to a scooter to be a visual abomination. The next alternative is to convert an original Italian disc brake to hydraulic operation, but the work needed to the back plate is pretty permanent and there are doubts as to whether some of the modern-day remade disc brakes can withstand such a conversion.
So Qustom decided upon this option: to replace the standard braking operation of either a drum or disc-braked Lambretta with a hydraulic system in such a way that it can be done without removing the front hub from the forks, and indeed so that if one day the owner wanted to revert his or her scooter to standard, that there would be no visible evidence of any previous conversion. In their words: “To bridge the gap between shoddily assembled hydraulic disc conversions currently available from the Far East, and the high end disc conversions from the UK.”
Currently available for Italian, Spanish and early Indian Series 3 models, versions for later SIL machines as well as Series 1 and 2, and possibly LD, D and J range Lambrettas are planned for the future. So, on with the show!
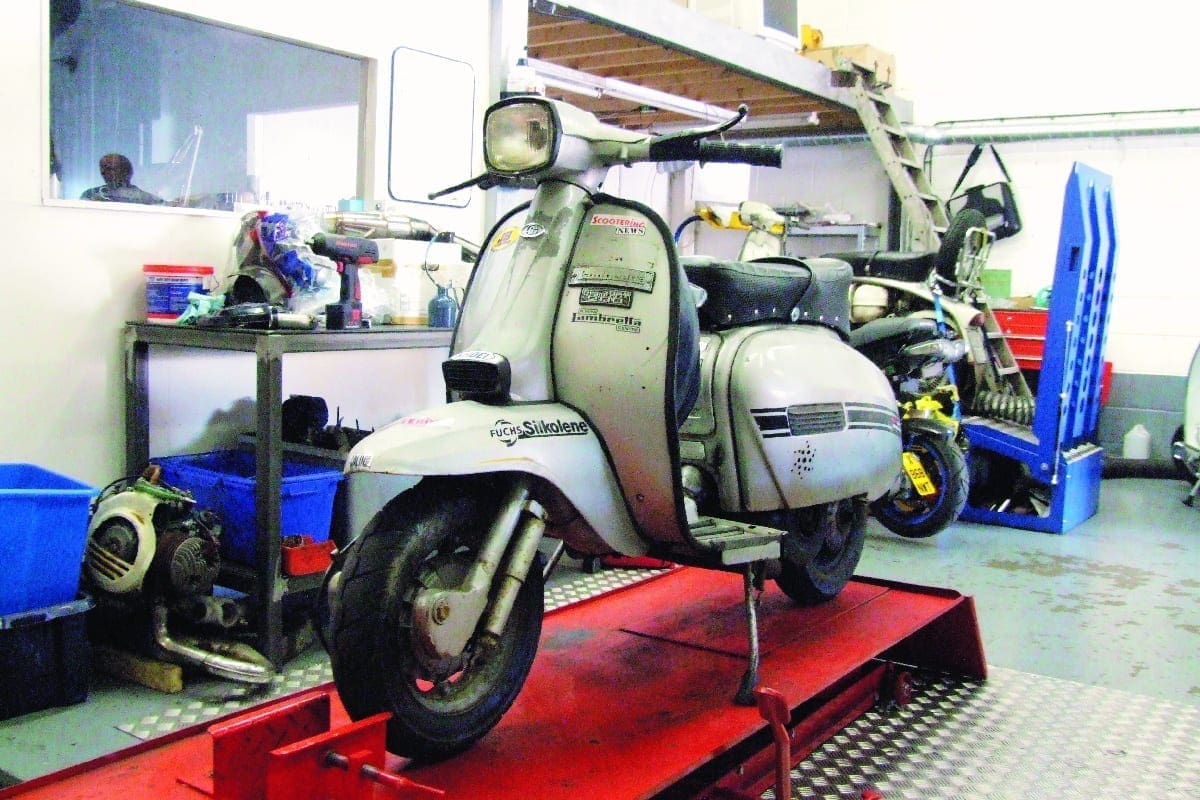
As standard brakes go, in my opinion, and that of a couple of dealers, Indian drum brakes can prove more efficient than an Italian disc, so my SIL GP2000 seemed the ideal guinea pig for today’s experiment…
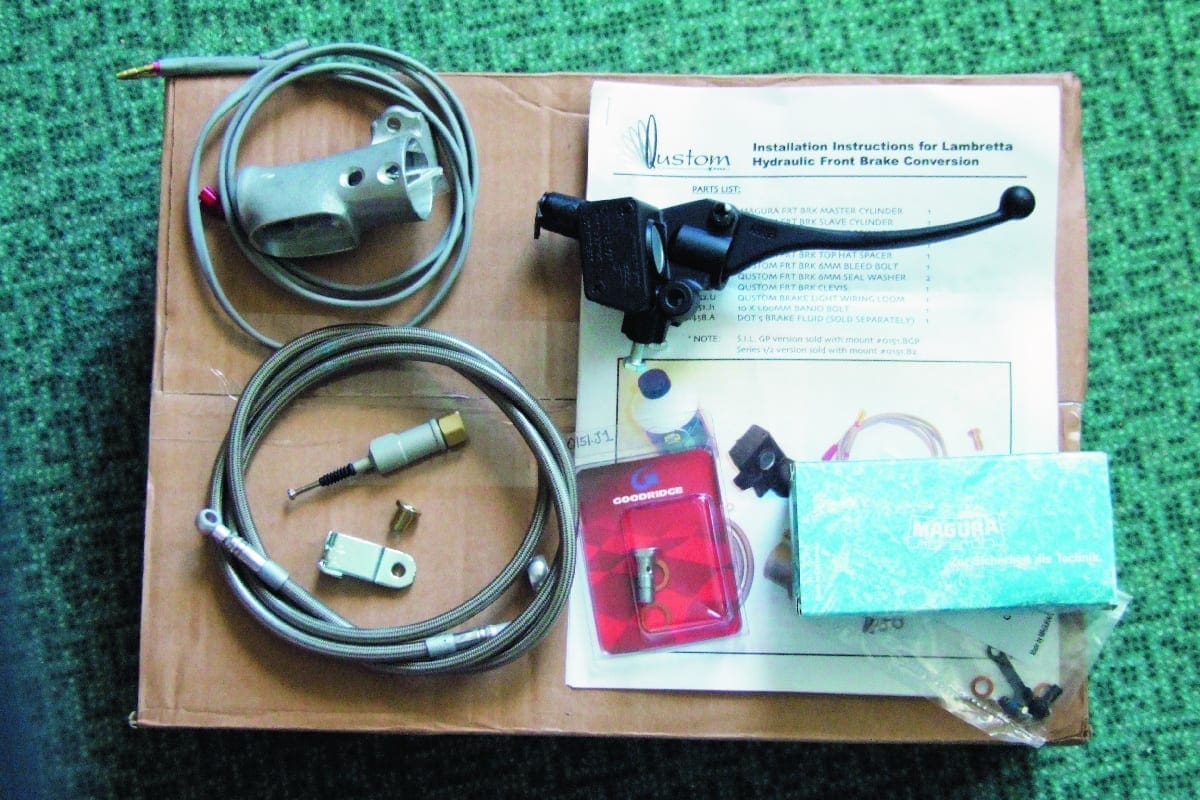
1. OK then, apart from getting everything you need with the kits (and they’re quality parts including Goodridge, Magura and MBD), you also get four pages of comprehensive instructions, including photos, that are to be commended on their own. If only all scooters dealers were this thorough…
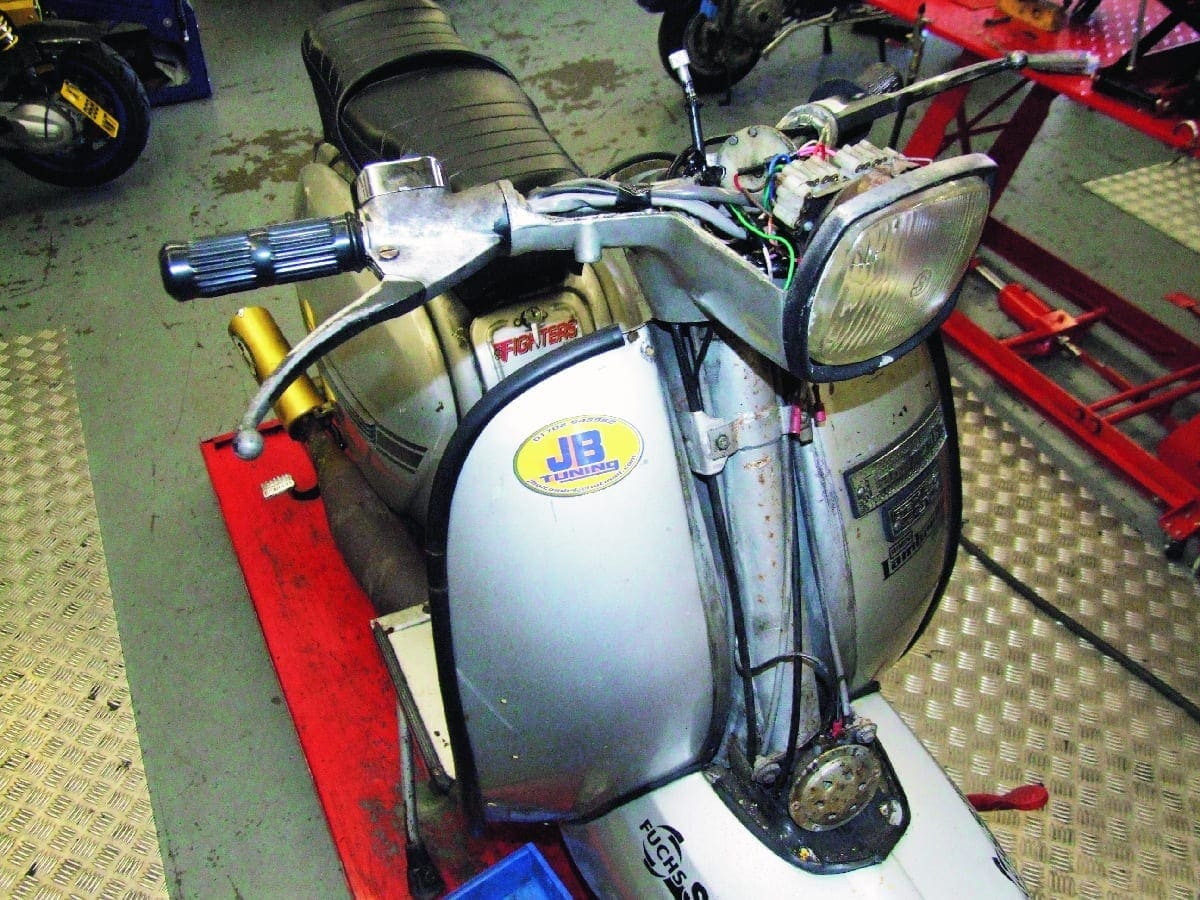
2. Firstly you need to remove the headset and horncasting. We presume you know this much and if you don’t then we politely suggest you flick being this page and look at some pretty pictures of scooters…
3. Next you need to remove the throttle arm (watching out for the various shims), which on this GP mean firstly extracting the cotter pin that secures the throttle wheel, the latter remaining where it is throughout this operation.
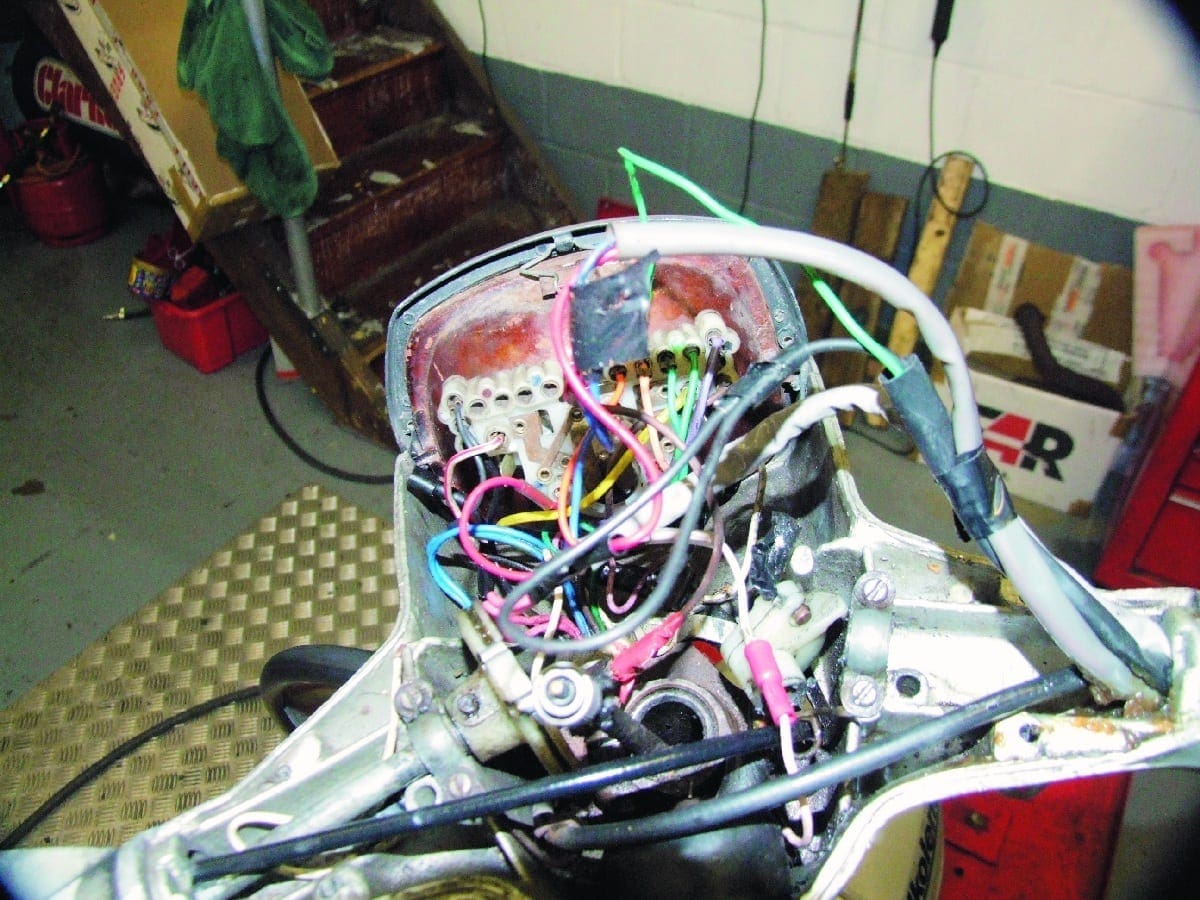
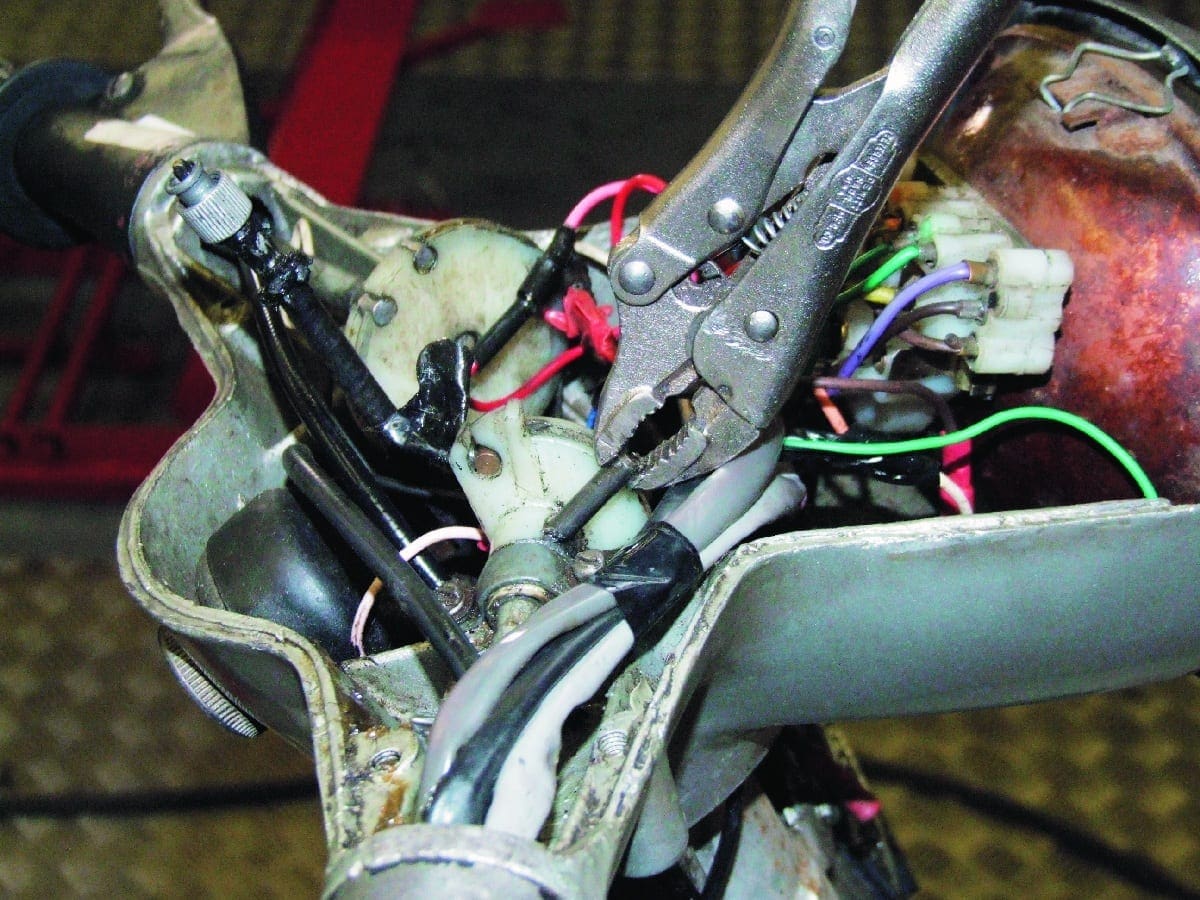
4. If your headset resembles a ‘bad day at spaghetti junction’ then I suggest you make a note of which wire goes where. When you’ve done this, unplug the handlebar light switch and remove this too.
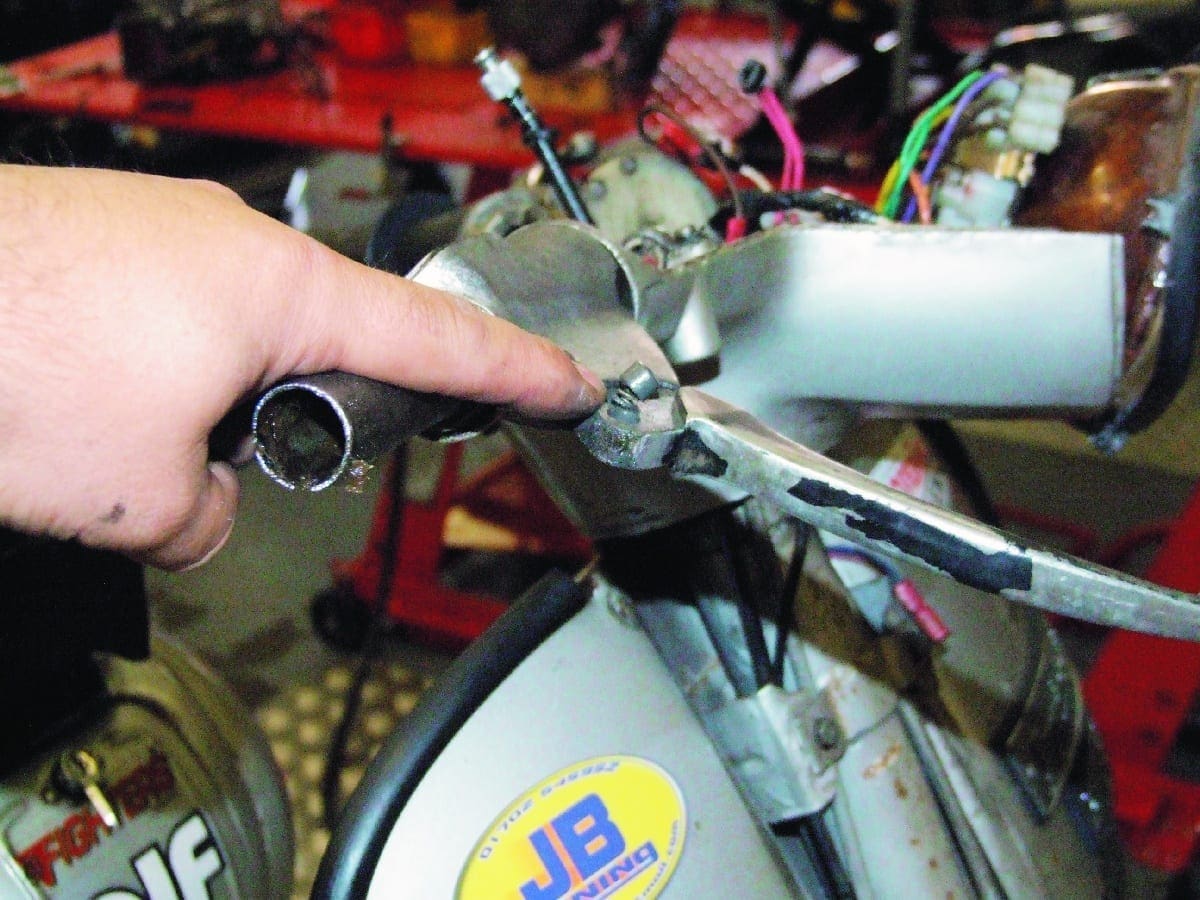
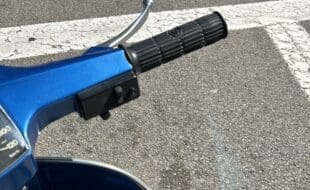
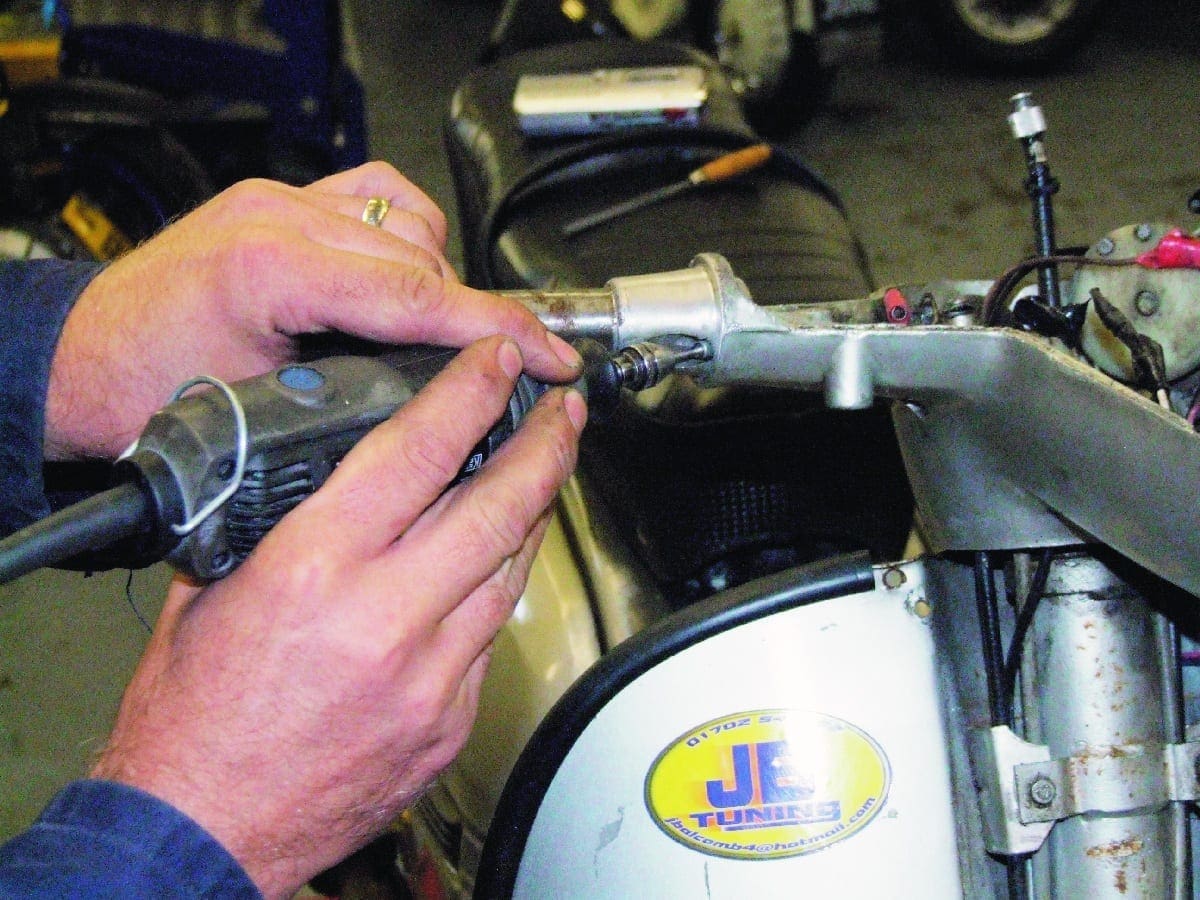
5. The next step is to undo the brake cable at the hub end and then remove the lever from the top (watching out for the spring loaded anti-rattle cap!). Remember to keep all fixings though, in case you want to return the scooter to standard at a future date.
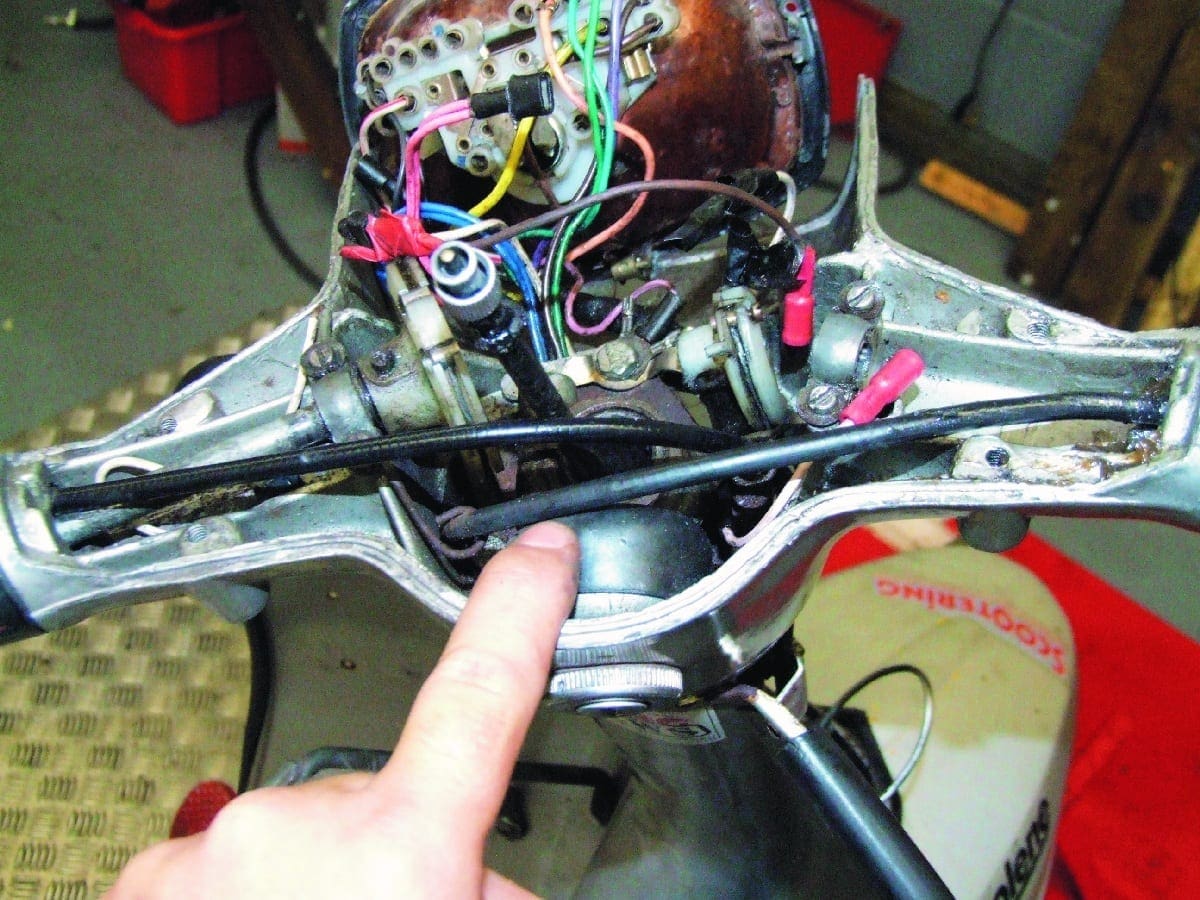
6. Before removing the brake cable, make a note of its route as this is where the hydraulic hose will go later. Pictured here is the correct way it should run, although once again the instructions are pretty thorough.
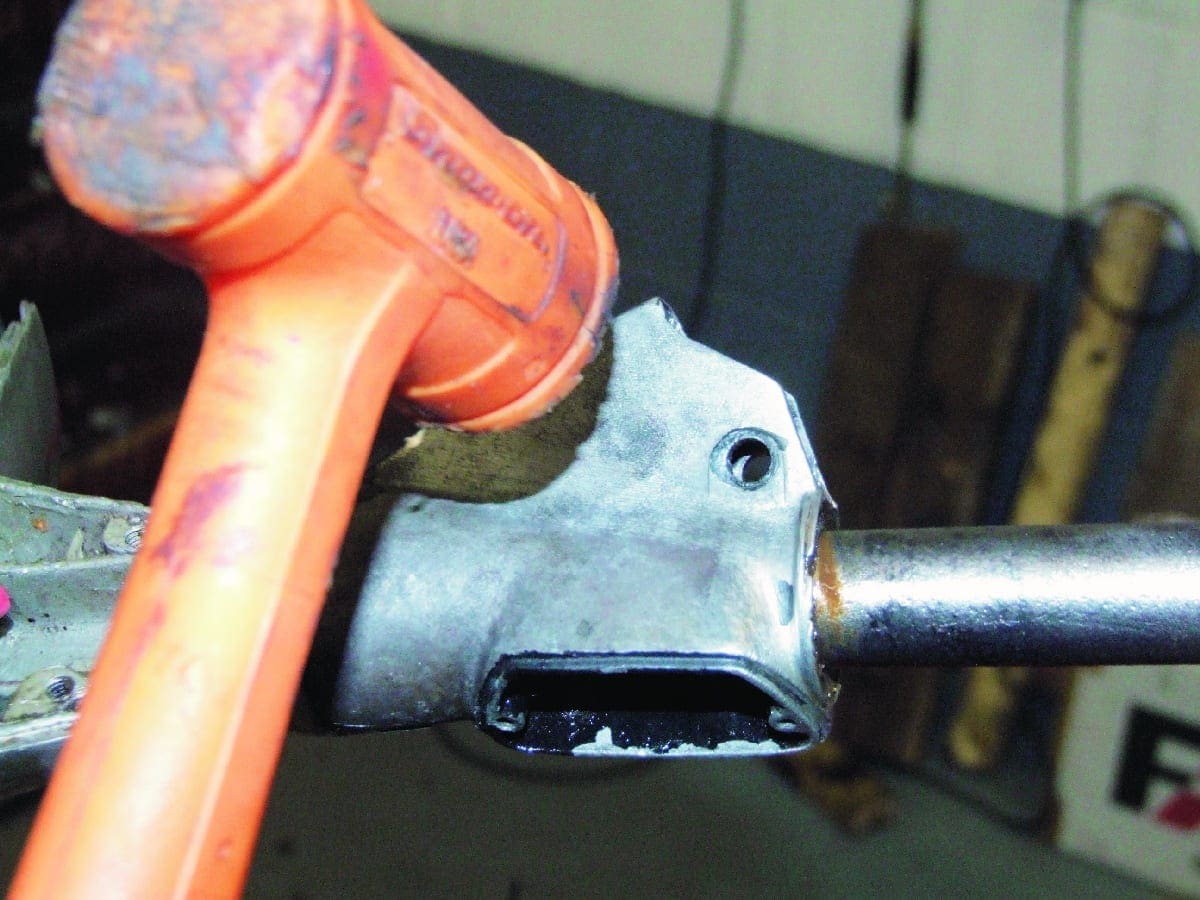
7. Undo the screws that secure the ali switch housing and remove that too. If it proves stubborn, soak it in WD40 or similar to help, and if that fails tap it back and forth gently with a rubber mallet until it loosens.
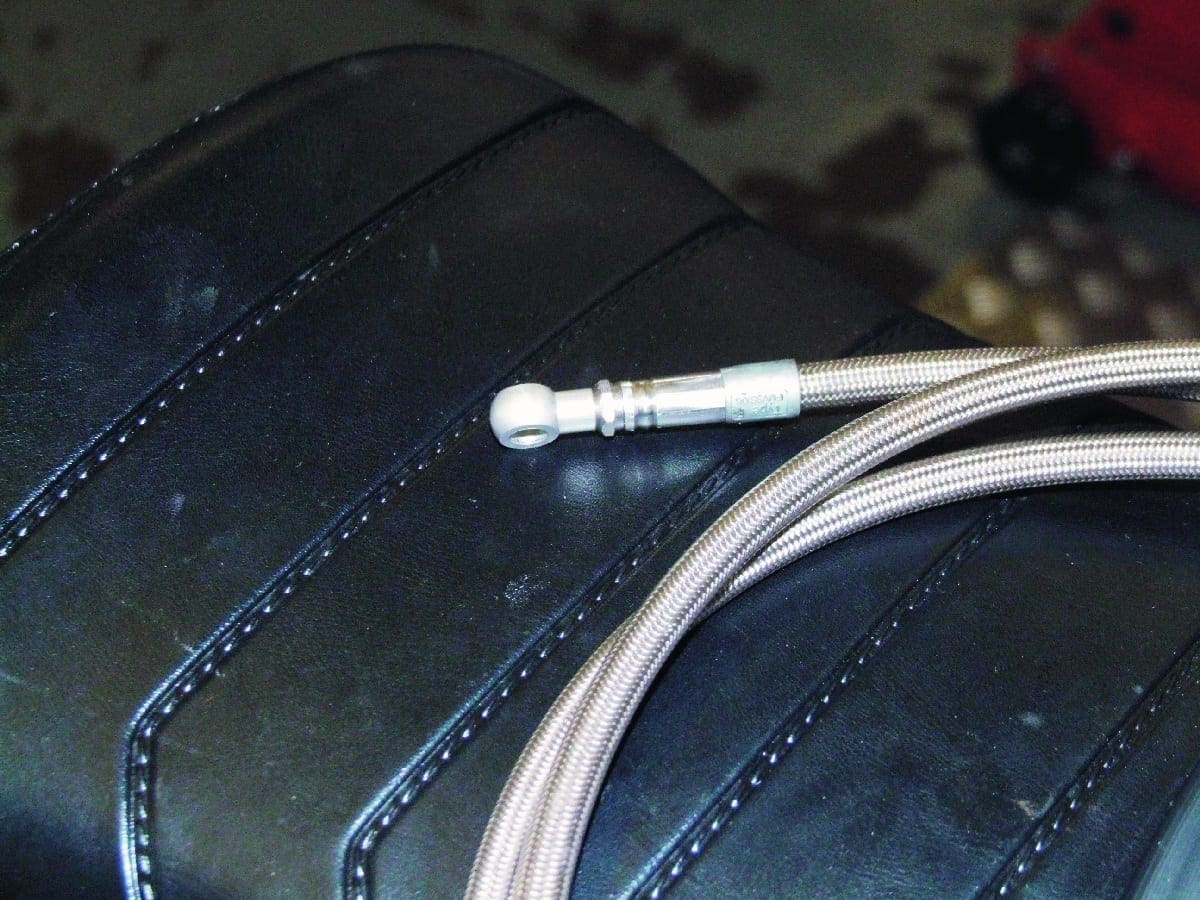
8. The hydraulic hose is supplied ready-made which does save you the bother of doing it yourself, although it does create problems in that with banjos attached more space is needed to thread it through the handlebars.
9. Before threading the hydraulic hose through the scooter, make sure you tape up or cover the smaller banjo (for the hub end) to prevent any dirt from contaminating the system.
10. We found it necessary to use a Dremmel to not only open out the aperture in the end to feed the hydraulic hose through, but also to make a little more space for it to sit comfortably around the throttle arm when the headset was reassemble. For this reason we did alter the order of some of the instructions supplied.
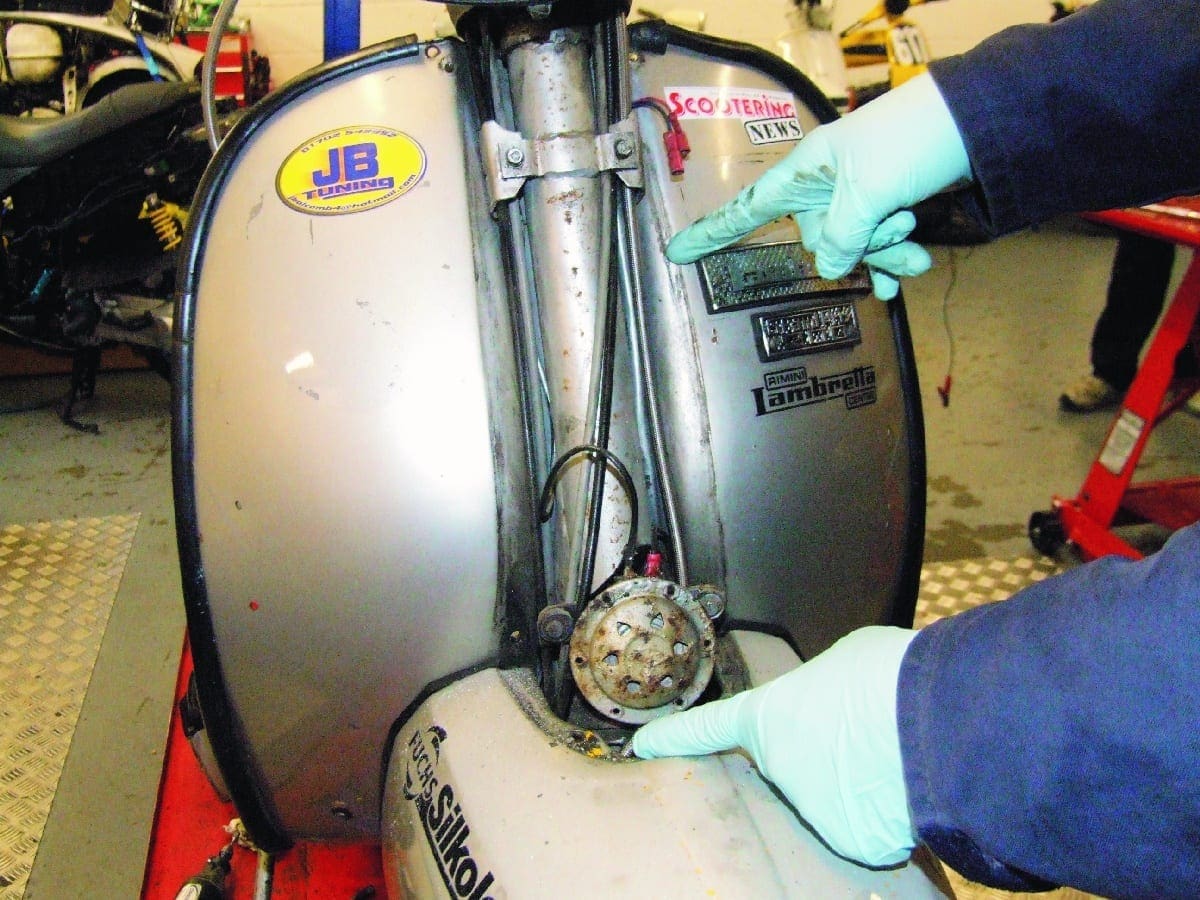
11. Feed the hose through the new light switch housing (supplied), through the headset and across the base following the route of the old cable. It should run down the left side of the steering column and cross over all the horn as shown.
12. Using the supplied studs, boll the hydraulic master cylinder to the new switch housing. These are not always cast accurately so you may need to file a bit of all away to secure the nut properly, or just fiddle it about a bit. Note also that later SIL handlebars are thicker than earlier ones and require a different switch housing.
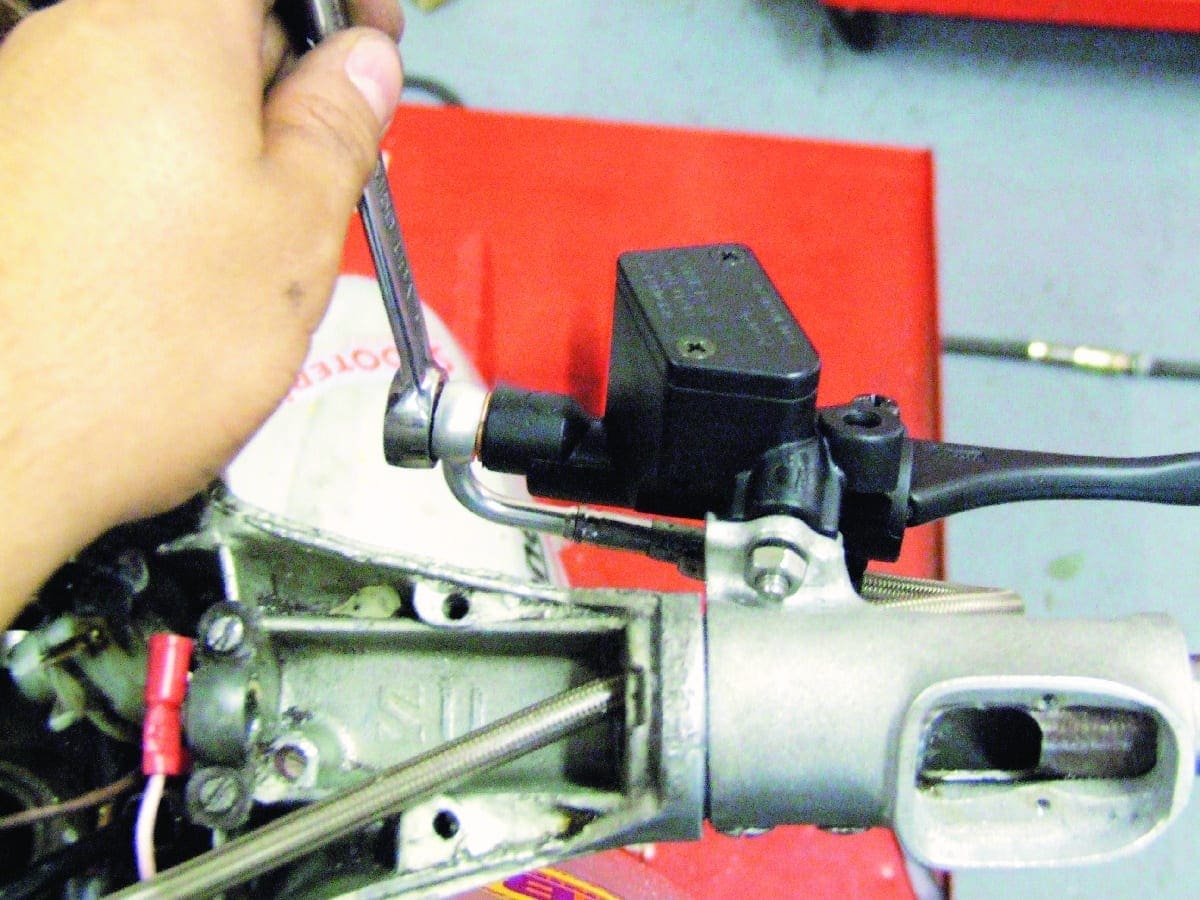
13. When fitting the banjo to the master cylinder, be sure to fit a crush washer either side of it before tightening the bolt, and indeed to be sure of the routing before the final turn of the spanner. The angle of the banjo allows the hose to coil round and back through a new hole. Qustom make the MBD housing to offer the neatest route for a hydraulic hose I’ve ever seen.


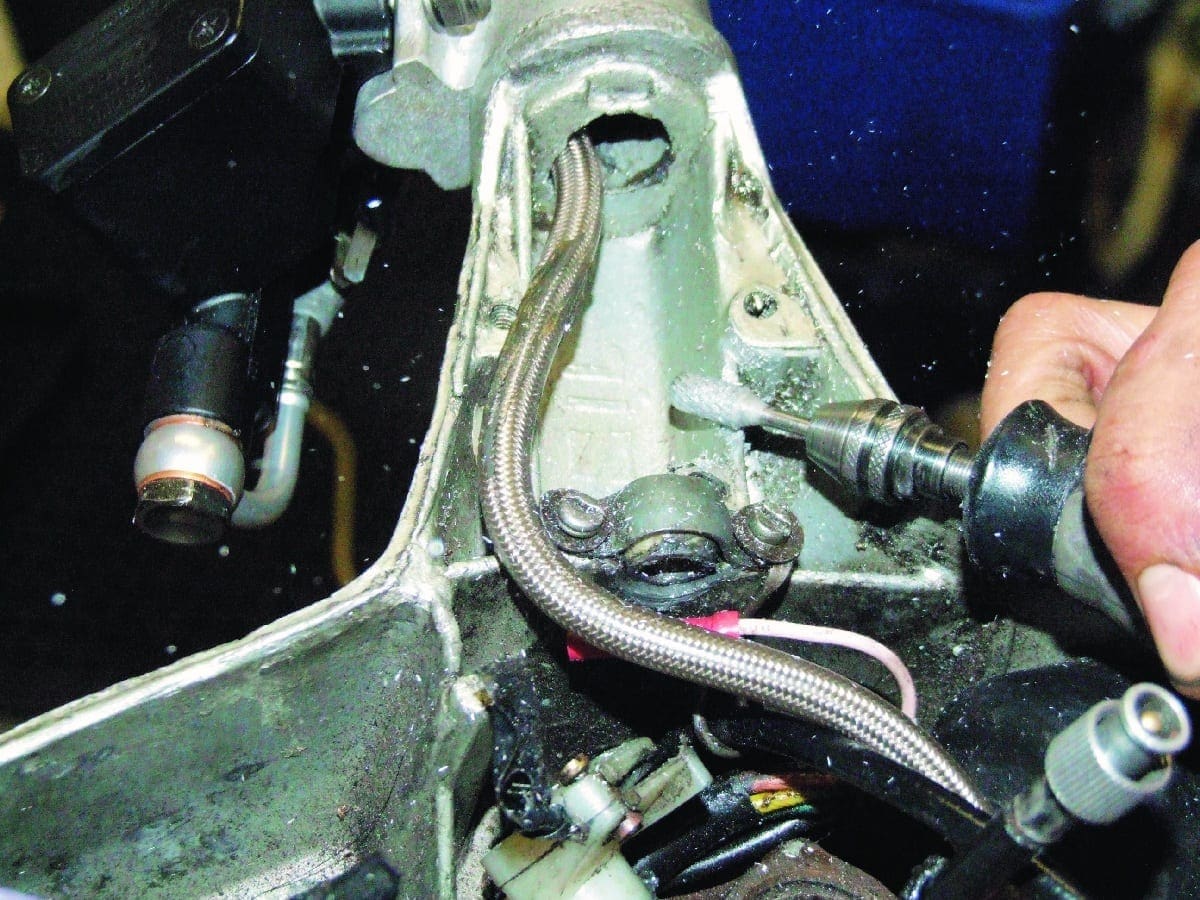
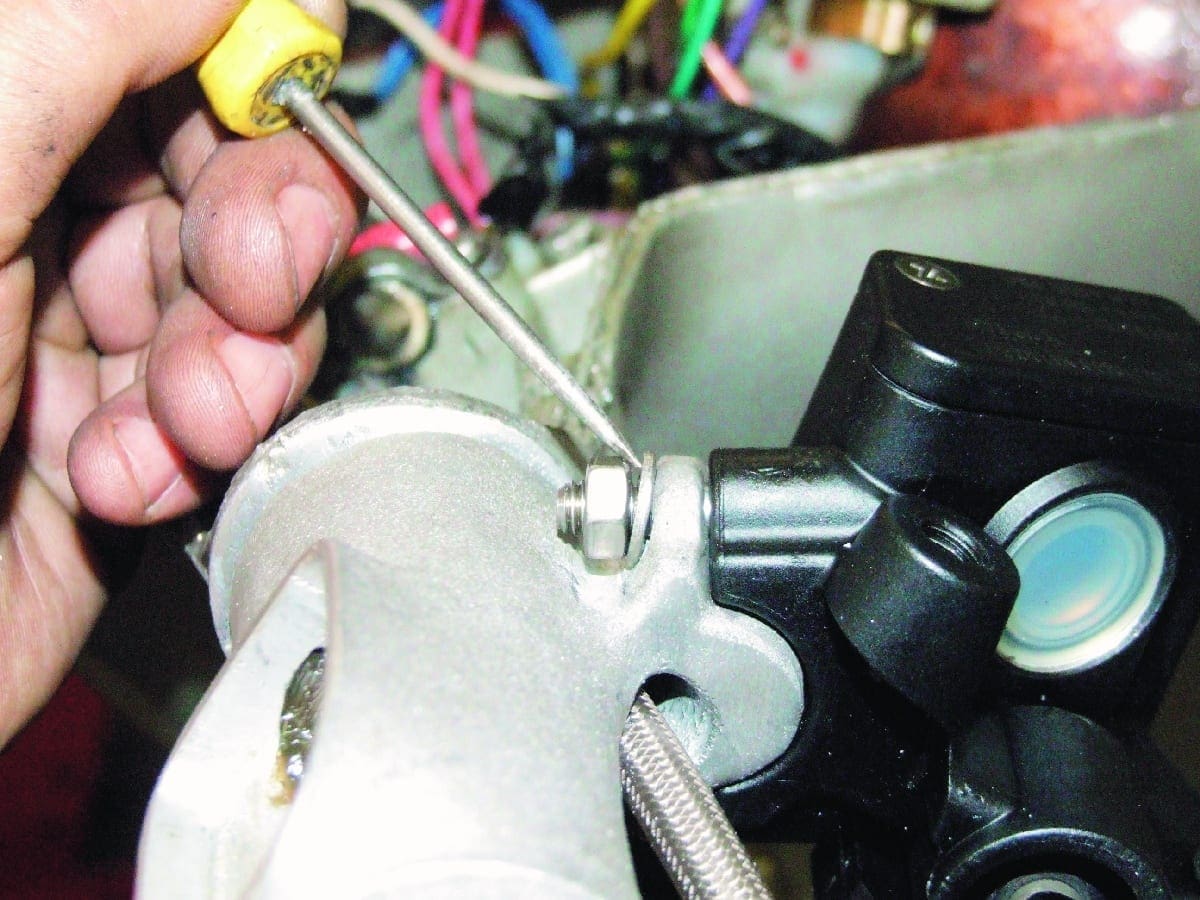
14. Down at the hub a new ‘top hat’ is provided for the hose to sit in, while a new clip is bolted to the standard Lambretta brake adjuster. Qustom say that no modification is needed for a drum brake, but a disc hub backplate needs drilling out slightly with a 6mm bit to accommodate the hose end.
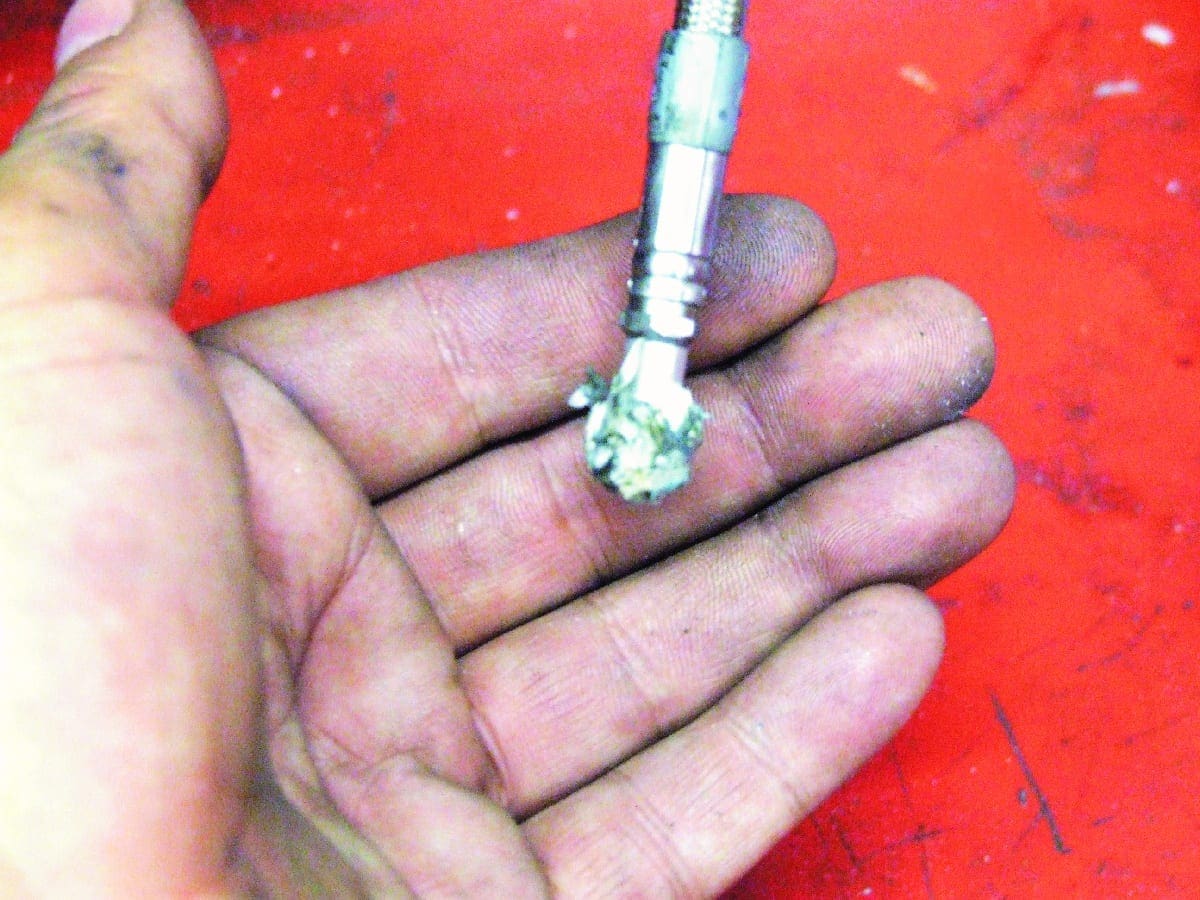
On the slave cylinder the fixing is much smaller than at the top, but you must still fit the crush washers and make sure it’s all in the right position before the final tightening. This fixing is also designed to accommodate a bleed nipple so we can set the system up.
And that’s where we’ll leave it this month. For a start, Qustom strictly instruct that you do NOT use DOT 3 or DOPI brake fluid, or any mineral-based fluids with this system, you must only use synthetic based DOT 5 brake fluid and I don’t have any of that to hand. Analysing the braking before we began this article also showed that my fork springs, dampers and brake shoes are well past their sell-by date, so we’ll go through replacing them in next month’s magazine. That will also give me a chance to put some miles on the scooter and get a feel for the new braking system, once it’s bled in.
With thanks to JB Tuning in Southend for their help with fitting the kit (01702 545952), and for Qustom Inc for supplying it (which currently retails at around £215 plus postage). If you can’t wait until next month, visit www.lambretta.net

Enjoy more Scootering reading in the monthly magazine. Click here to subscribe.
Scooter Trader