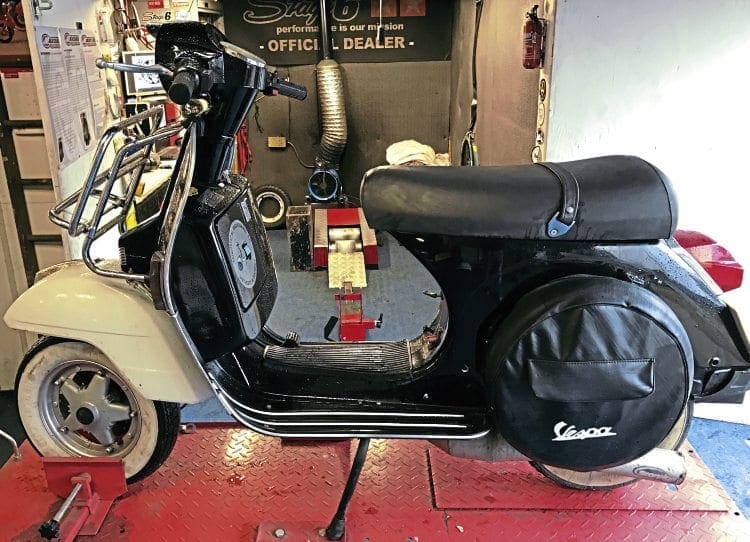
With a heap of tuning and upgrade products for various Vespa machines in our garage, we intend to fit and analyse them over the coming months. With last month’s Malossi 210 feature behind us, it’s time to take a look at tubeless rims and BGM clutches…
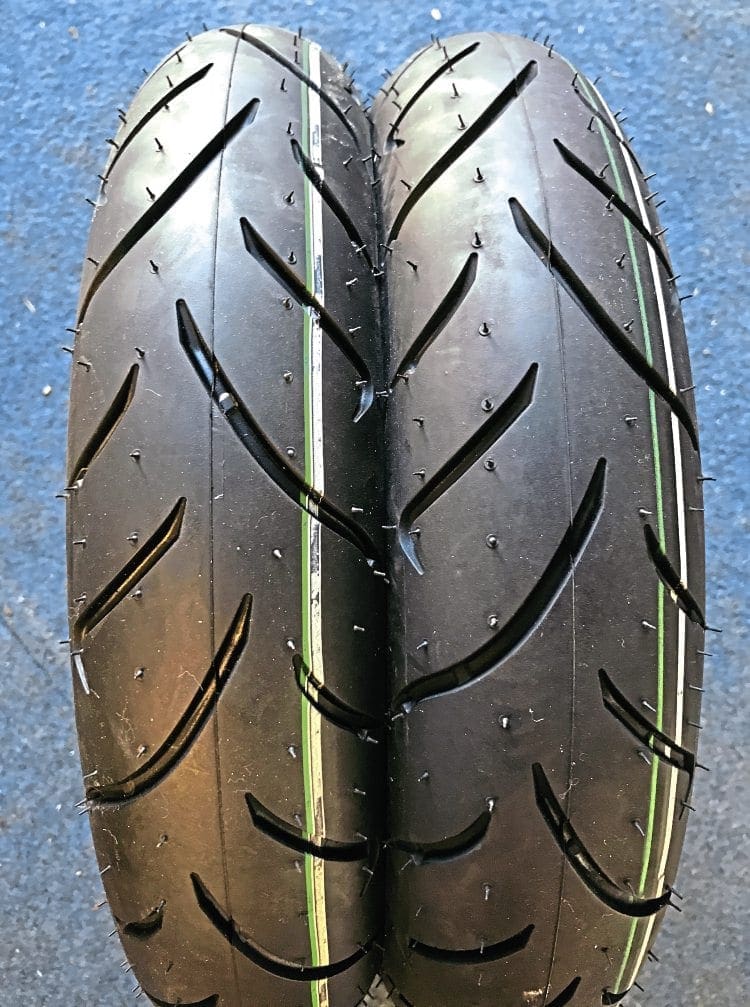
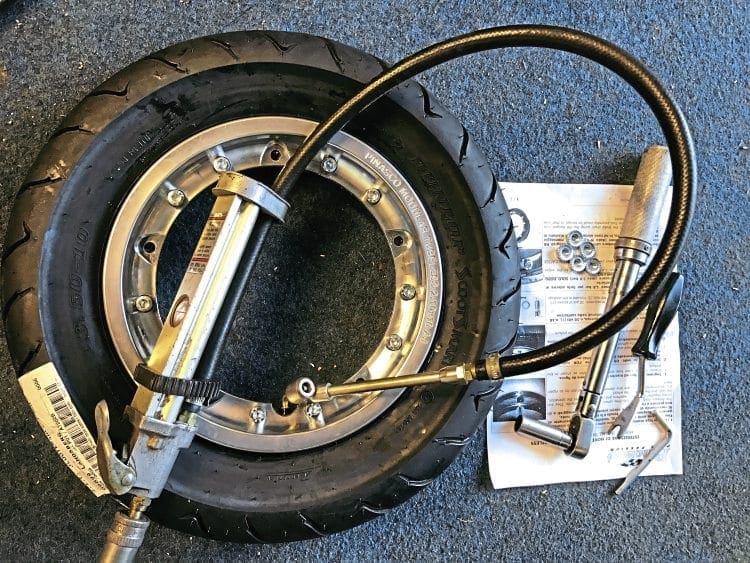
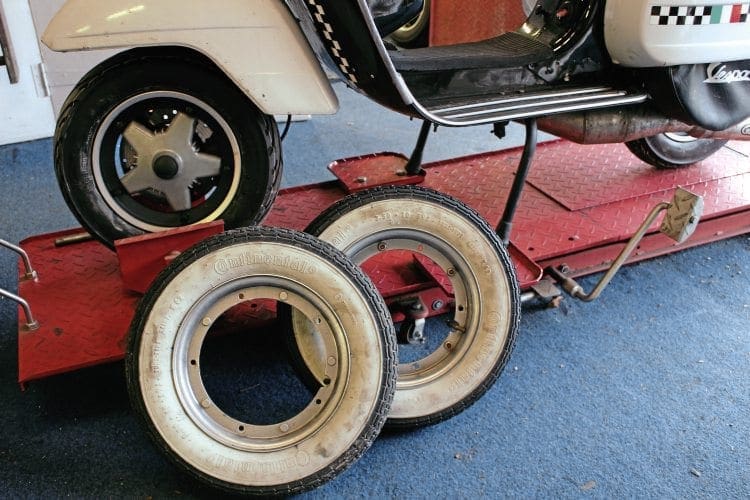
SIP tubeless rims with Performer tyres and Pinasco tubeless rims with Dunlop ScootSmart tyres… having these two sets to choose from it was down to the toss of a coin to decide who was getting which. I ended up with the Pinasco and Dunlops on the PX125 and Wayne ended up with the SIP/Performer combination on the PX200. Each brand of rim has its own merits so let’s take a look at the pros and cons of each while we fit them…
PINASCO
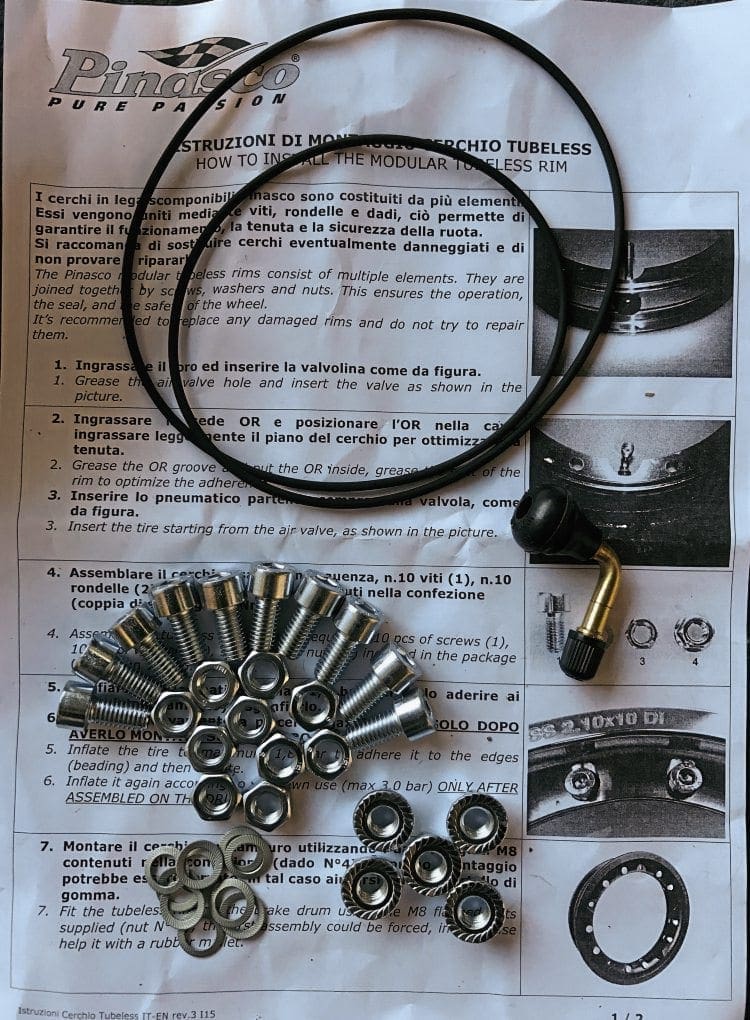
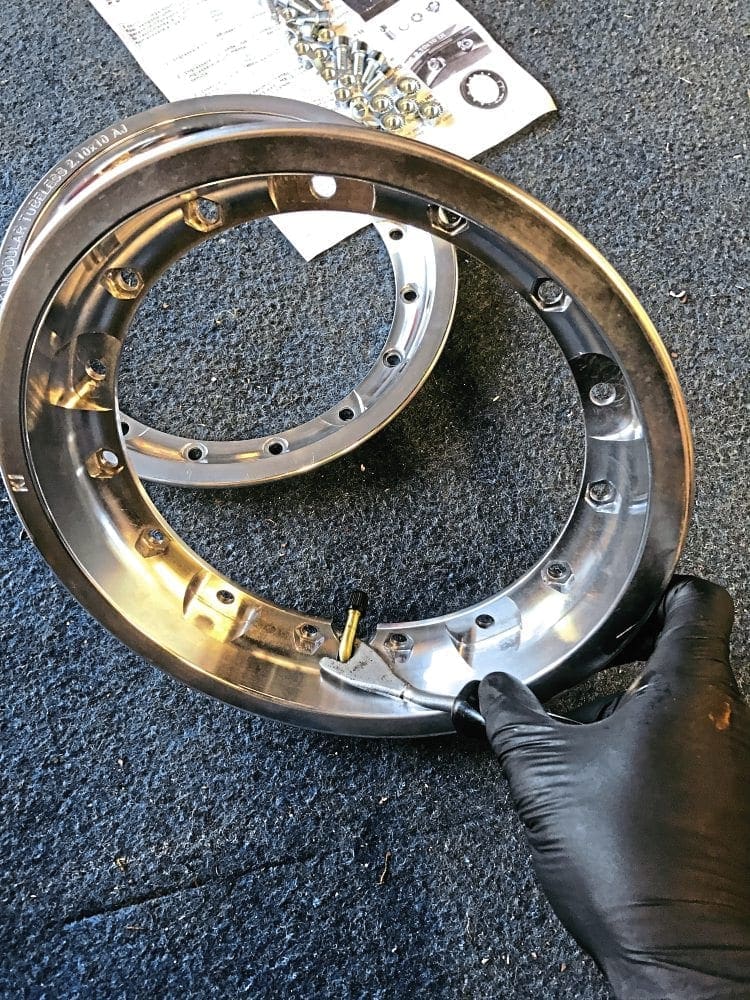
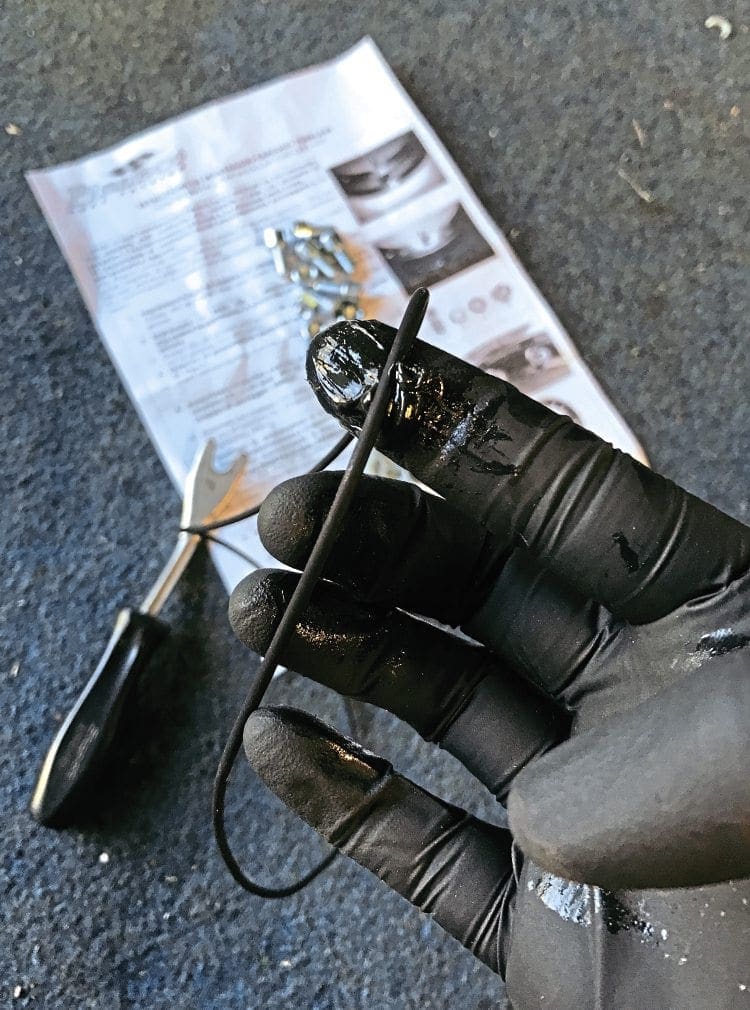
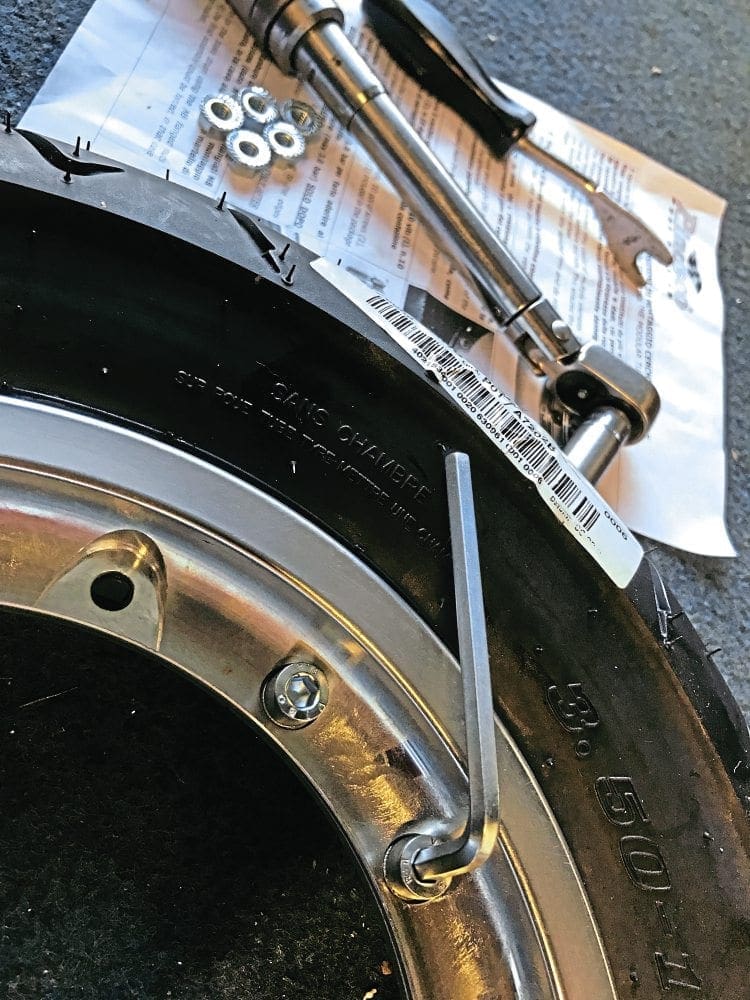
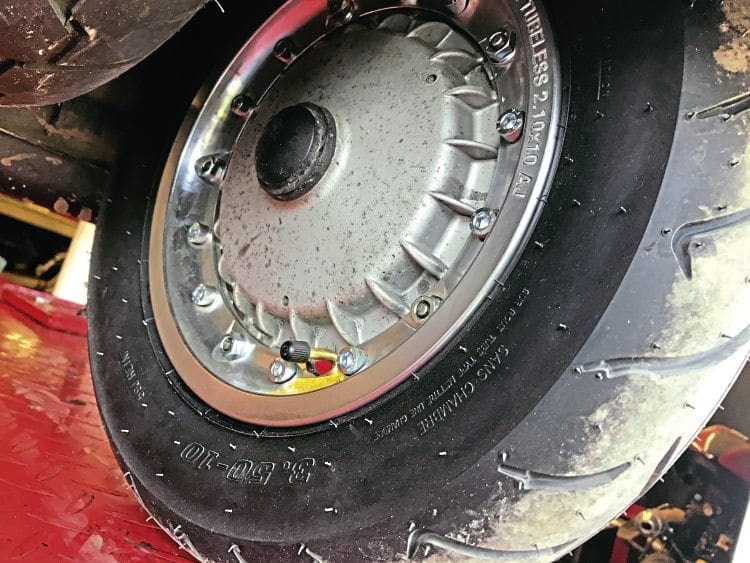
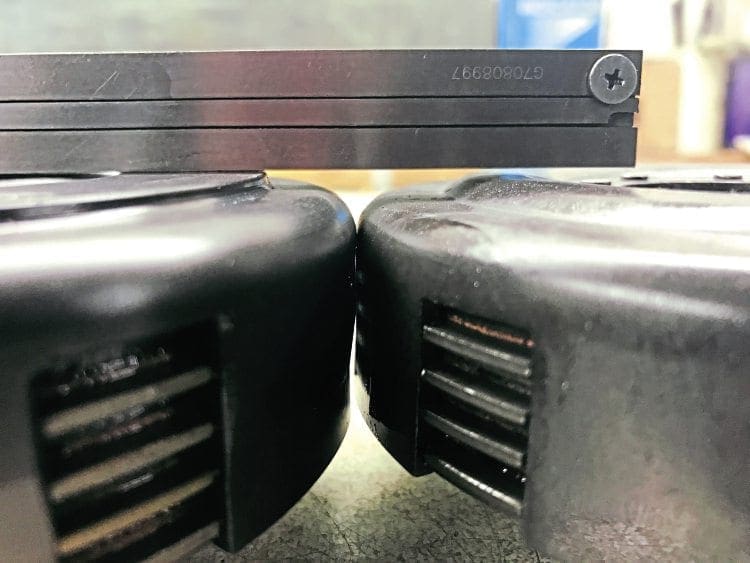
Having built many standard scooter wheels up in the past, I can say that the problem of nipping up tubes between the rims can be very annoying, but of course, being tubeless, there are no such issues here. The Pinasco set comes with light alloy rims, and 0-ring seal, valve, and all the required nuts/washers. These rims have been on the market for quite some time, and I repeatedly hear good things about them. The build of the rims is easy — anyone can do this, no problem.
Enjoy more Scootering reading in the monthly magazine.
Click here to subscribe & save.

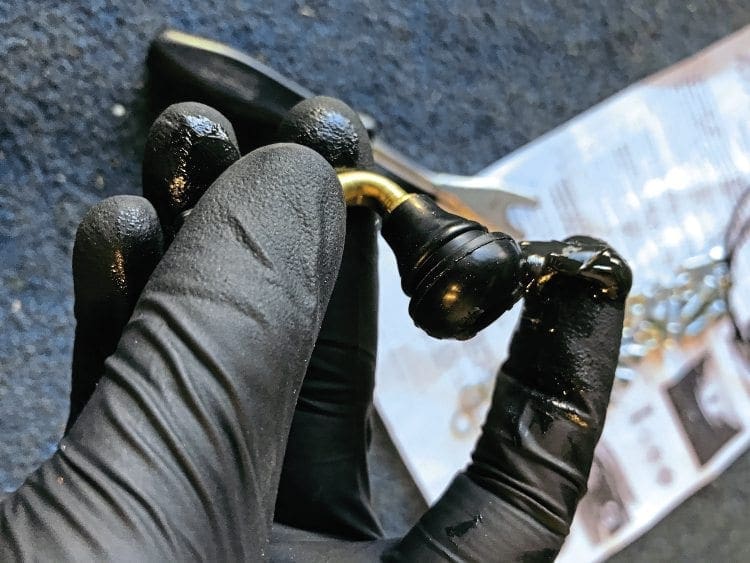
Grease the valve, pull it through, check the rotational direction of the tyres and the offset of the rims, and slide the tyre onto one half of the rims. Grease up the 0-ring seal and slot it into the groove, then fit the other half of the rim, sequentially tighten up the nuts and inflate. Nuts, washers and instructions are provided. I like these rims for a few reasons: 1) The amount of hub stud thread showing is substantial. 2) In the event of a puncture the rim can be split, the valve whipped out and a temporary inner tube inserted. 3) When it comes to changing worn out tyres, it’s much easier than 1-piece. I’ve gone for Dunlop Scootsmart tyres after a good review from Jordan in our tyre test a couple of editions ago. I’ll let you know my own opinion in the long-term later on, but for now, I can definitely say that they are a huge improvement in terms of cornering and handling over the Sava B13s I removed.
Average cost rimes (pair): £190
Average cost tyres (pair): £60
Average bundle price (pair): £250

Thanks to VE for supply of rims.
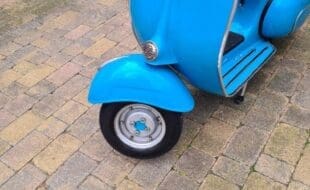
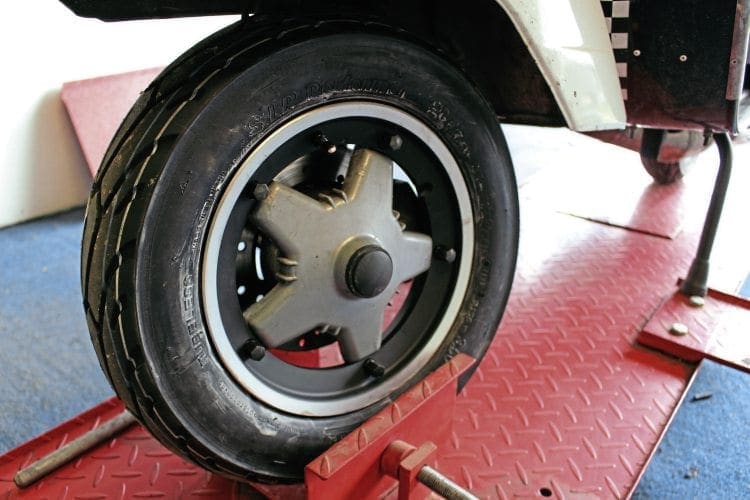
SIP
I had a pair of these on my old Lambretta a while back, I liked the look of them then, and I like it now. For me, the black rim with the polished edge gives a really sporty look, and the product just oozes quality. The tyres fitted are also SIP’s own Performer brand, and in terms of value for money, you cannot fault them.
The feedback on these is that they are tyres which provide good mileage in terms of wear rate, great value in terms of pricing, and corner well in the dry, although hard riding in the wet doesn’t provide the same level of confidence. The pro for these over the Pinasco is both price and ease of fitment. It doesn’t get any easier… they come pre-fitted with the tyres fully inflated, so it’s a simple job to bolt these straight onto the scooter.

One note of caution though: due to the increased thickness of the rim, the amount of stud thread is reduced, this is compounded by the use of the Nord-Lock washers provided. The problem was solved on the Lambretta version by providing longer hub stubs, but obviously this is not the case on Vespas.
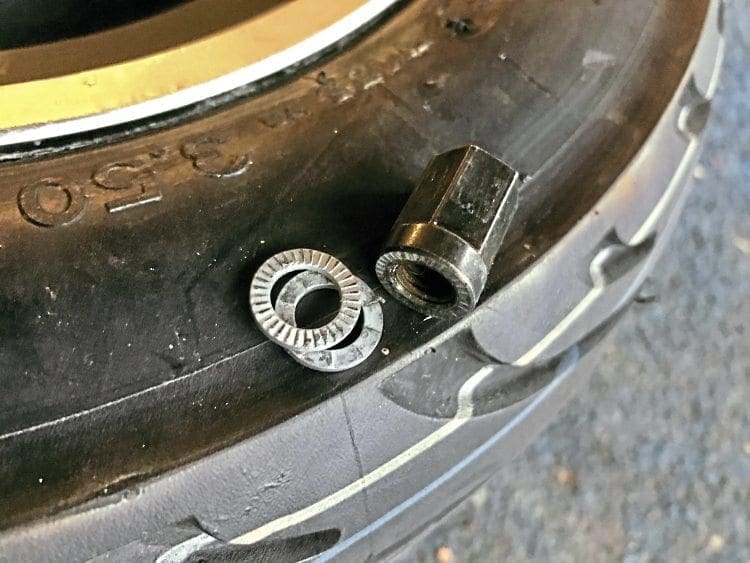
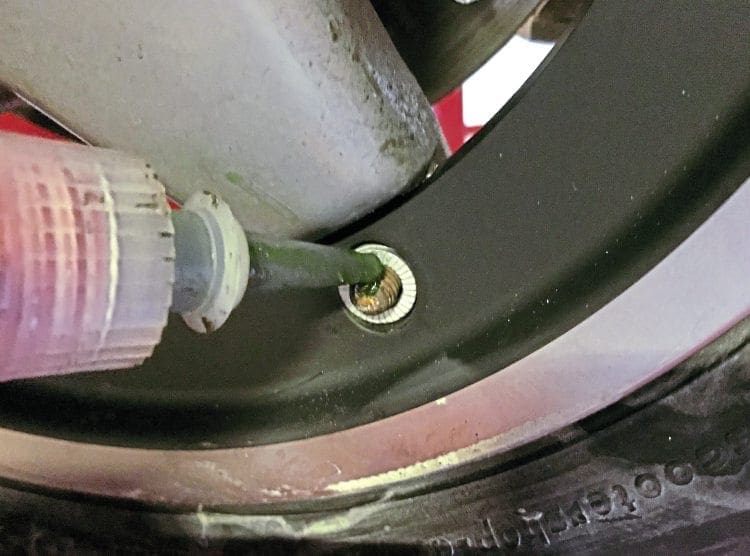
If the provided nuts are to be used, I recommend the use of threadlock in all cases. A popular alternative to the standard nuts is the ‘K’ nuts which are commonly used on go-kart and other applications and seem to be a very good solution to the problem. A downside to the SIP compared to Pinasco, in my opinion, is that when the tyres need changing, it’s pretty much a job for a local tyre fitter, and not a home job.
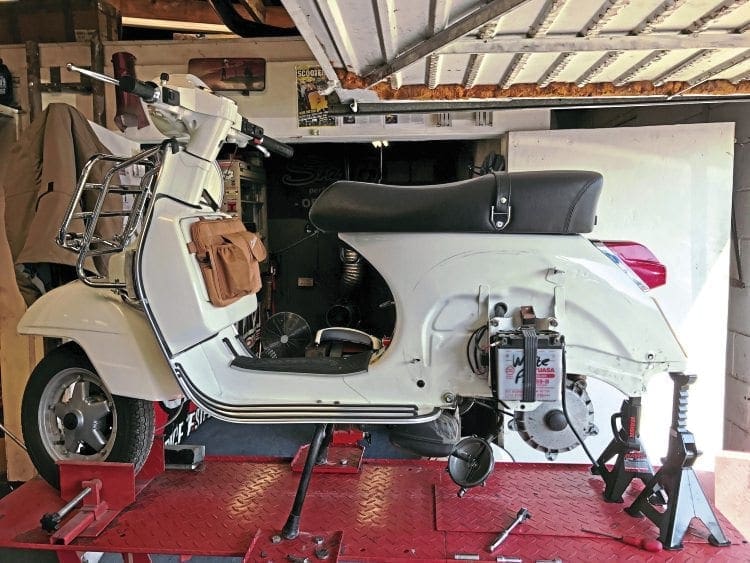
The bundle price of rims and tyres makes this an appealing choice financially at least. As I write this, the scooter just hurtled back from a 500-mile round trip to Weston-super-Mare for the SWSC national rally, and the initial feedback on rims, tyres and handling is very positive.
Average cost rims (pair): £140
Average cost tyres (pair): £50
Average bundle price (pair): £190
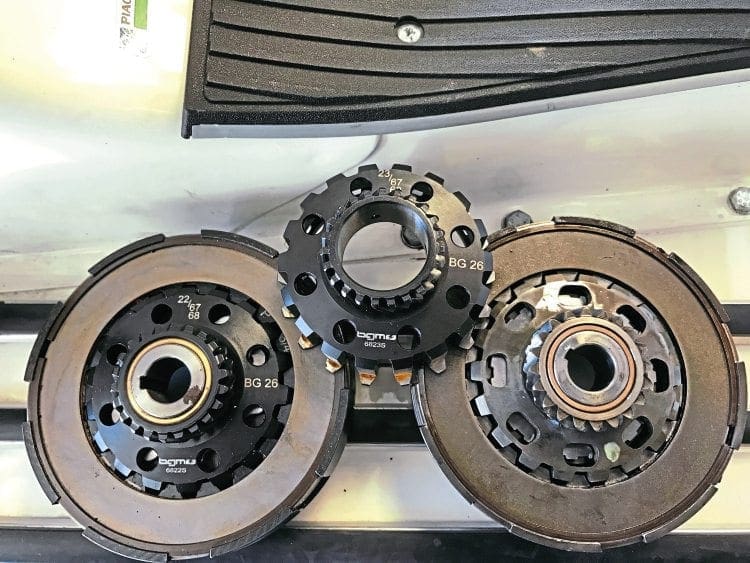
BGM CLUTCH AND UP-GEAR KIT
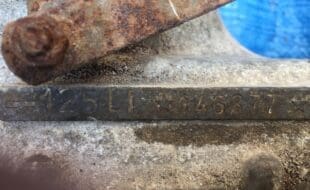
Okay, I didn’t need a beefier clutch in the PX, I just wanted one, but I did need an up-gear kit; with mods previously made to the PX it was pumping out 14hp, but the top speed was being stifled by the gearing. At max revs, the scooter was hitting 60mph, but that was it. So I selected the much coveted BGM superstrong clutch. This choice of clutch was overkill for my 14hp, but would ensure that any future power increases would be covered.
The up-gear choice was 22 or 23 tooth. I opted for the 22 as I didn’t feel the 14hp would be enough to pull the 23 tooth, especially into headwinds and up hills. So the 22 was fitted and GPS now showed a top speed of 67mph at 7000rpm, and a lovely (almost sedate) cruising speed of 60mph at just over 6000rpm. This now felt like a scooter that could cover miles far less painfully than the standard 6hp factory variant. I dare say, if I cut the crank, ported the inlet and matched the transfers, the power would then be enough to pull the 23 tooth, which should see 70mph.
Fitting
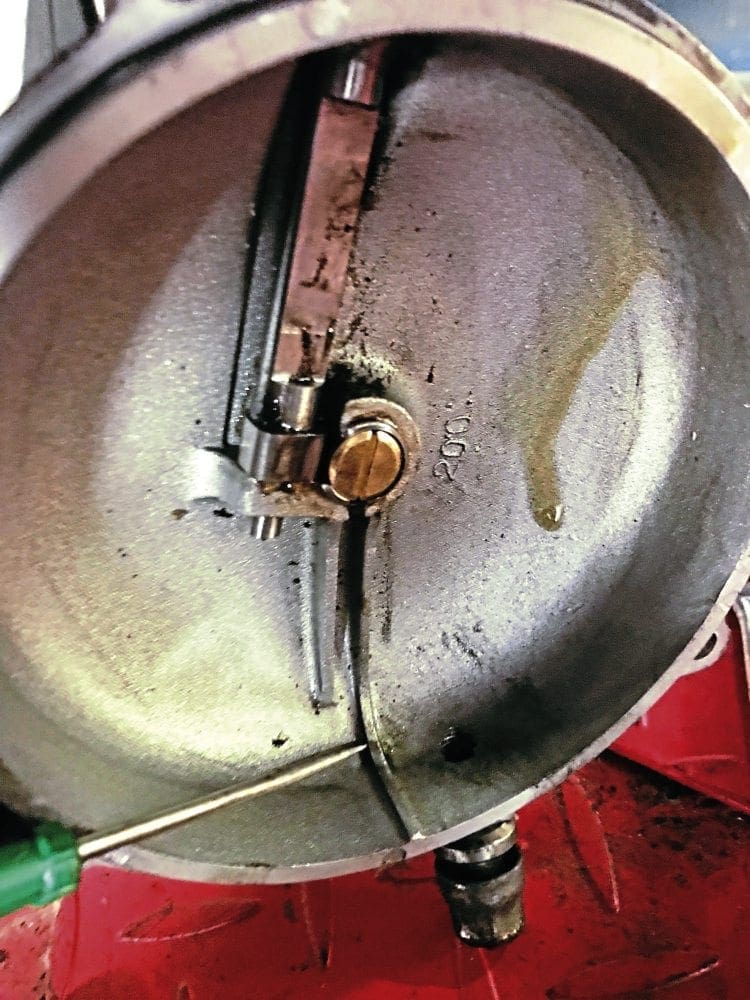
The clutch replacement involves a minor fettle required to the clutch cover, but it’s a two-minute job. The BGM clutch is meatier than the standard unit, and fouls the clutch cover: undo the three clutch cover bolts, remove the spring clip and pressure plate which covers the clutch nut. Undo the nut and wiggle the old clutch off, be careful not to lose the woodruff key, otherwise it’ll most likely drop inside the engine. I give the plates of the new clutch a pre-soak in oil, and then fit the complete unit, torque up the main nut, and refit the pressure plate and clip.
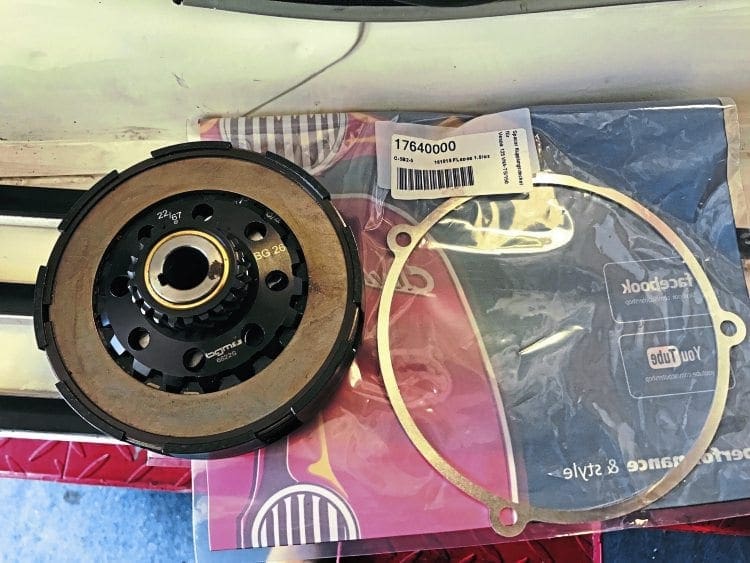
The fettle is to grind out the inner rib of the clutch cover (see images) to stop it fouling. In some cases (like mine) you also need a spacer just to get that extra clearance, which I bought from SIP (see images). The cover can then be refitted and away you go. I found the clutch action light, with a nice biting point… the real bonus though was the extra speed from the 22 tooth up-gear.
It never rains
But it pours. Just as I’m fitting the new clutch, I notice the engine is covered in black oil underneath, I can’t quite see, and haven’t had time to strip yet… but it’s either blowing out of the exhaust stub or blowing from the base gasket. I’m supposed to be taking the PX up to Kelso in a couple of weeks, so I’ll have to get my finger out and strip the top end this weekend. Progress updates to follow next month! Ride safe.

Words & Photographs: Dan Clare

Enjoy more Scootering reading in the monthly magazine. Click here to subscribe.
Scooter Trader