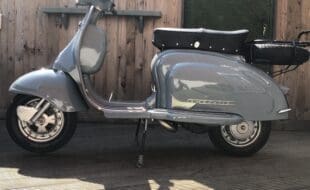
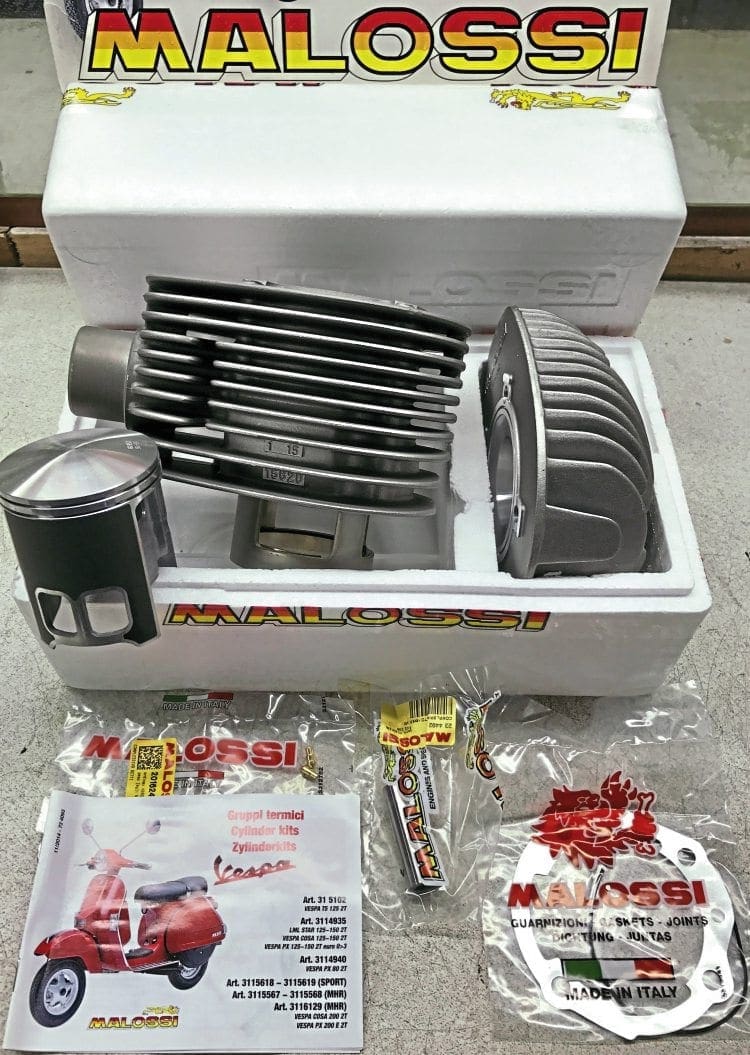
With a heap of tuning and upgrade products for various Vespa machines to test in our garage, we intend to fit and analyse them all over the coming months. Over the previous six editions, the PX125 had been pampered no end, so last month we decided to break things up a bit and test out the much-loved Malossi 210 kit. But once installed, fuel flow was causing problems. Time for Take 2. Aaaand… action!
This month
Well I was hoping to get onto ‘something wheelie interesting’ – SIP tubeless rims and tyres vs Pinasco tubeless rims with Dunlop ScootSmart tyres. However, last month’s Malossi 210 fitting threw up some fuelling issues, so we had to conquer that first.
Enjoy more Scootering reading in the monthly magazine.
Click here to subscribe & save.
As it goes, two 210 Vespa owners were also getting dyno attention that day – Wayne and Stef. Stef’s had one of the most common component mismatches that I see on that particular kit, so I’ve delayed the wheelie interesting stuff, while we deal with the 210 anomalies.
Malossi 210 refresher
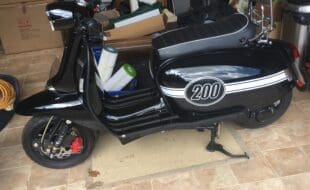
Last month, for our test machine, we used what I would call ‘a fairly common Vespa’ which is a bog-standard P200, with 24/24 carb and an aftermarket pipe. On his machine, Wayne had removed the air bellows in favour of the venturi kit, but that wasn’t adding much to this particular setup and was largely irrelevant in the overall proceedings. A standard P200 runs around 9hp to 9.5hp on my dyno, and with the Scorpion pipe and removed bellows this one was putting out – 10.7hp which is a very common result. So we took a brand new Malossi 210 sport (read touring) with updated piston and porting layout, and then did a straightforward bolt-off, bolt-on followed by a re-dyno. The result was a very pleasing 17hp, but…
Fuelling
The problem we were now having was fuel starvation. It was clear that the scooter had significantly more power due to the Malossi kit, but the 24mm carburettor simply couldn’t keep pace with the new fuel demands. Every time we got up to peak revs on the dyno, the engine just baulked out and the air/fuel sensor on the dyno took a nosedive into the red/danger area, showing lean readings. Not good news.
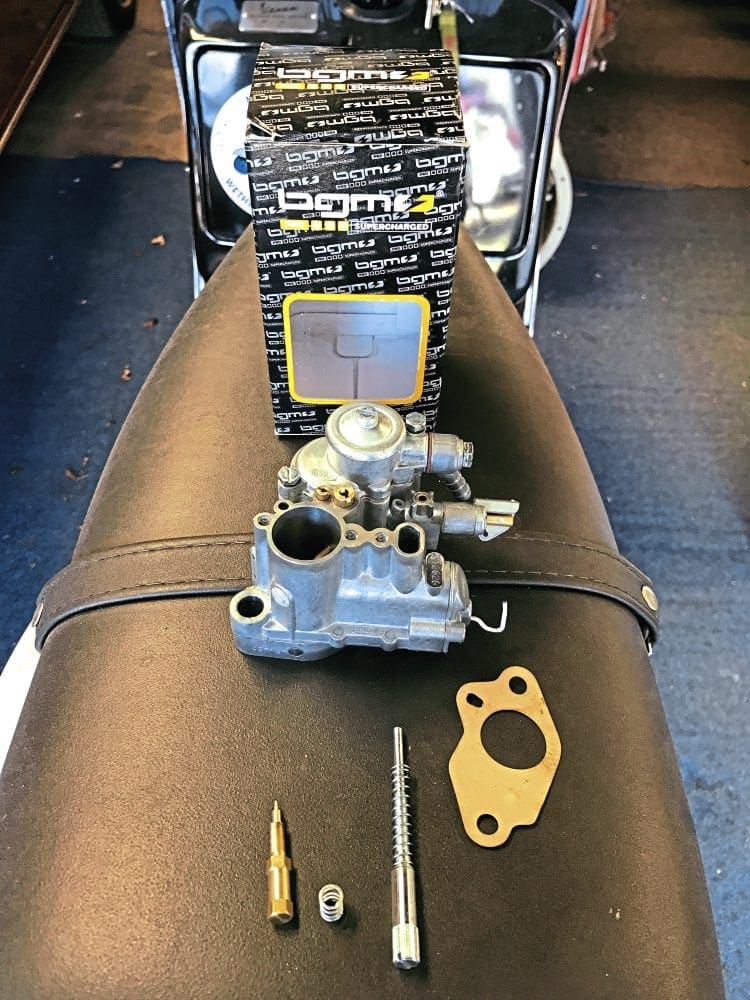
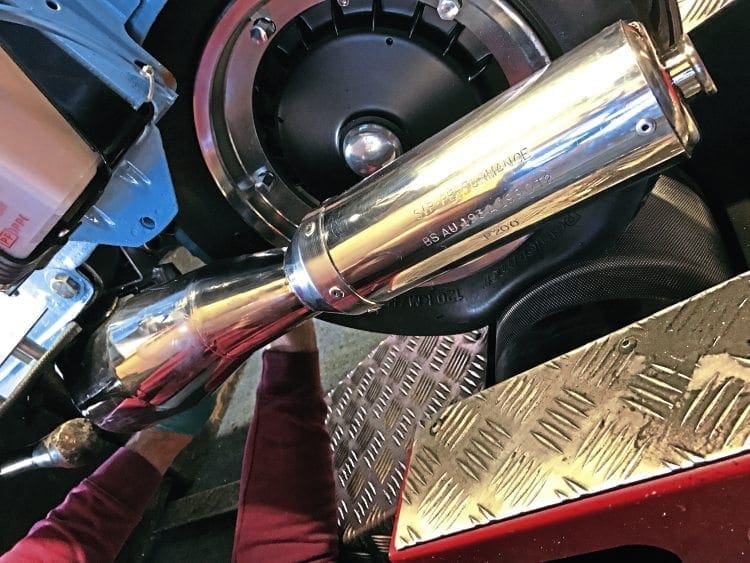
By his own admission, Wayne conceded that the tank and carb needed a good clean out; we up-jetted just to check, but the fuelling wasn’t a jetting issue… it was a flow issue. There is a common ‘carb-fettle’ which involves drilling the carb out and fitting spacers, but we decided to go a stage further than this for two reasons: firstly to check for further performance gains, and secondly to take no chances on fuel flow. So out came the standard gear and in went the SIP fast-flow fuel tap, and the BGM 26mm fast-flow carb.
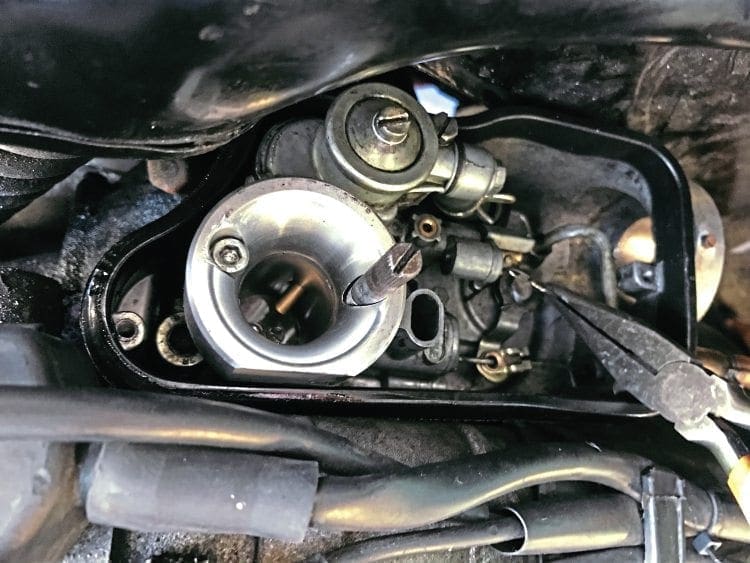
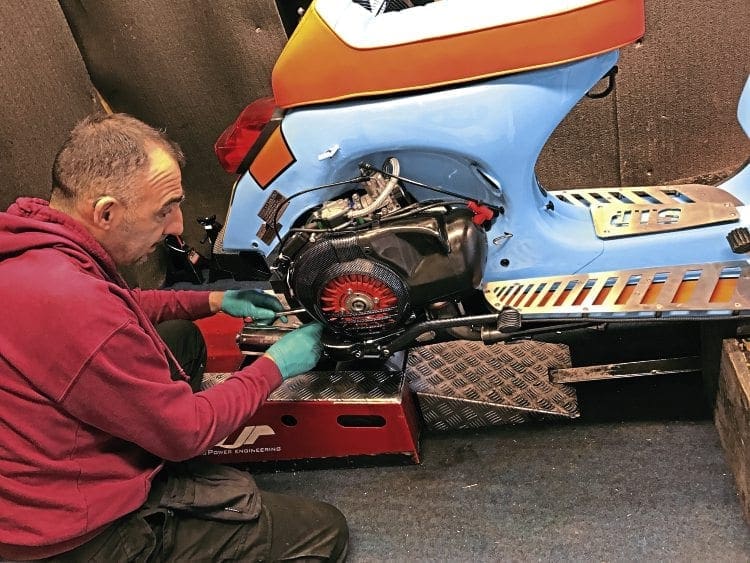
It looks complicated when you take the cover off, but it’s not that hard. Normally the pancake filter would need to come off, but in this instance it was the venturi top. Then the choke and throttle cables, followed by fuel pipe and two bolts which fasten the carb to the case. That’s it. Clean up the gasket face, make sure your oil feed hole is clear, fit a new gasket and slot your new carb in. Re-fit the choke and throttle cable, fuel pipe back on, two bolts in and venture/top back on. Carb swap done. We also took the jets out of the 24mm and slotted them all into the 26mm so that we had an equivalent base setting to work from on the dyno.
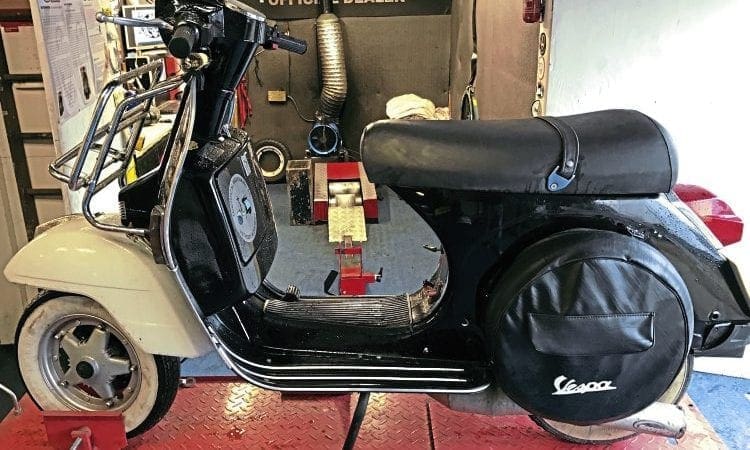
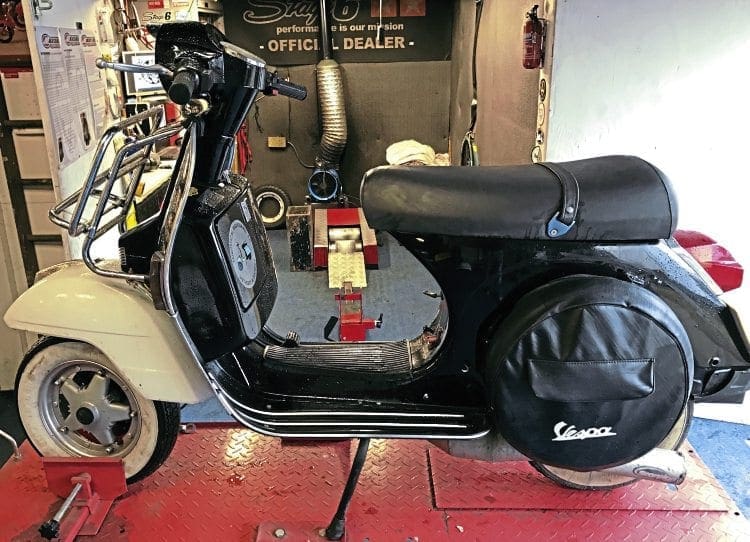
FITTING THE CARB
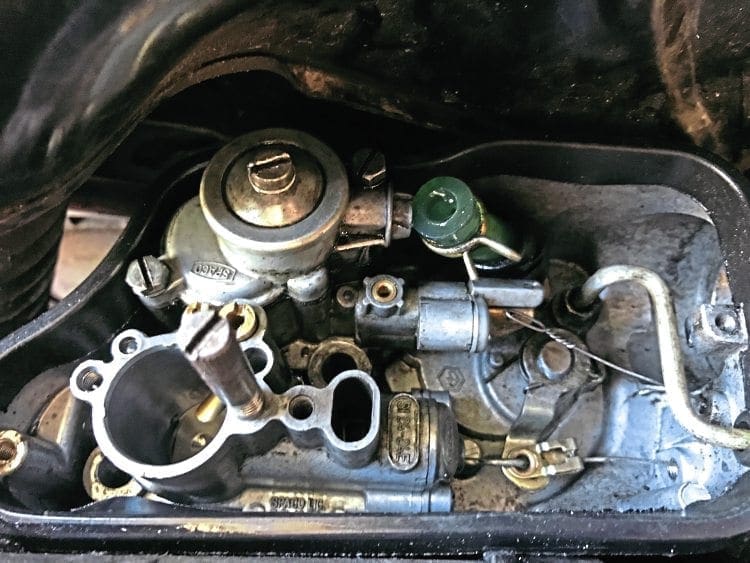
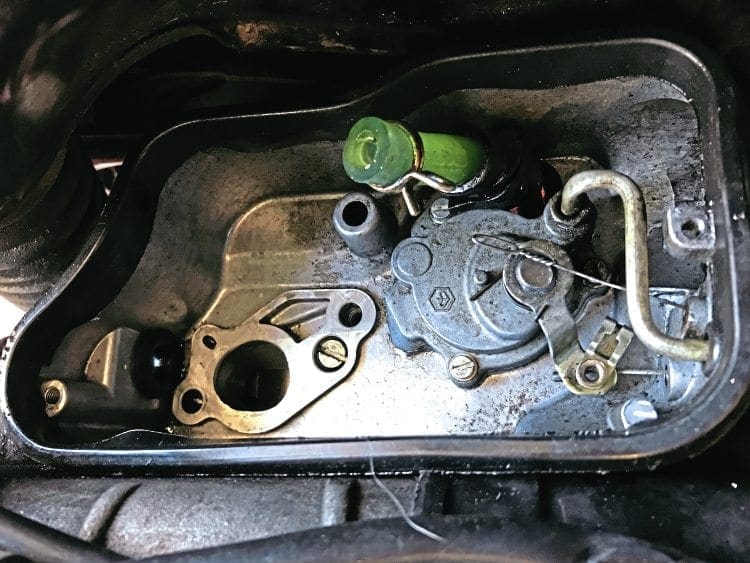
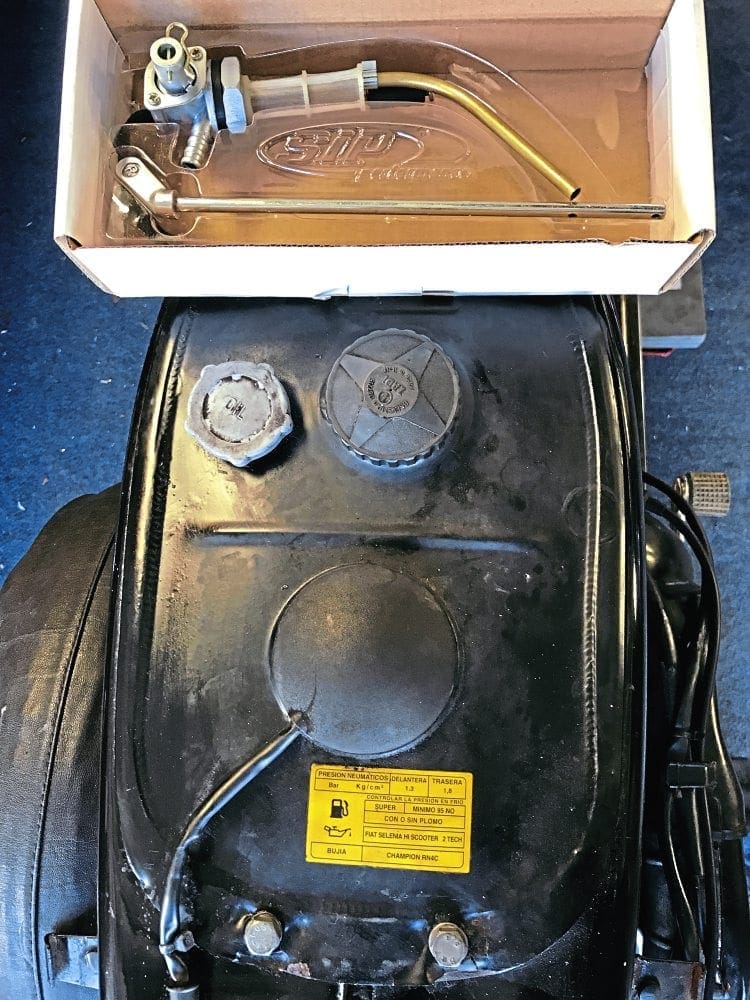
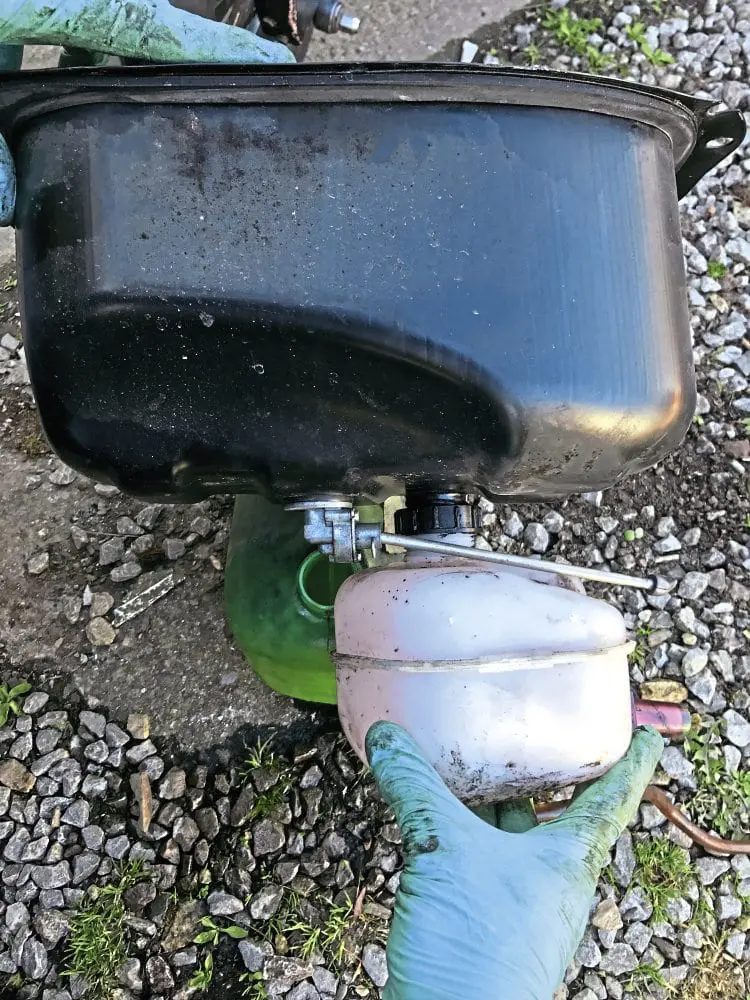
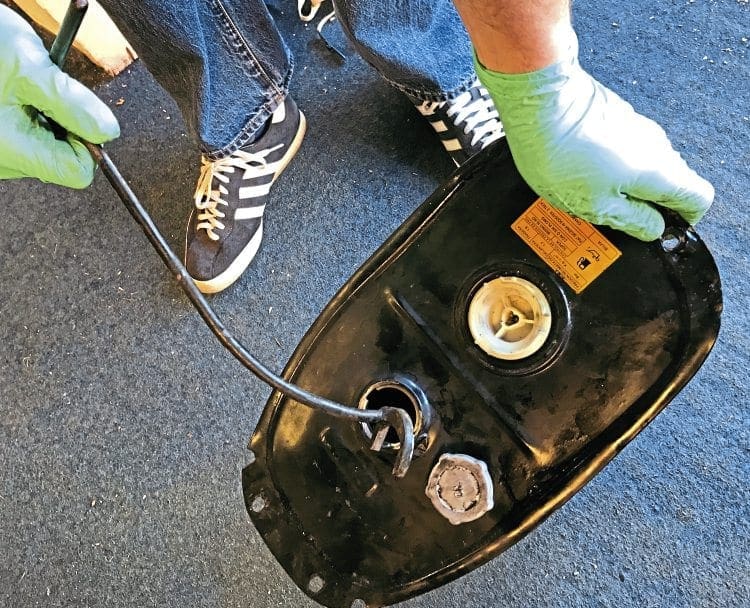
FITTING THE FAST FLOW TAP
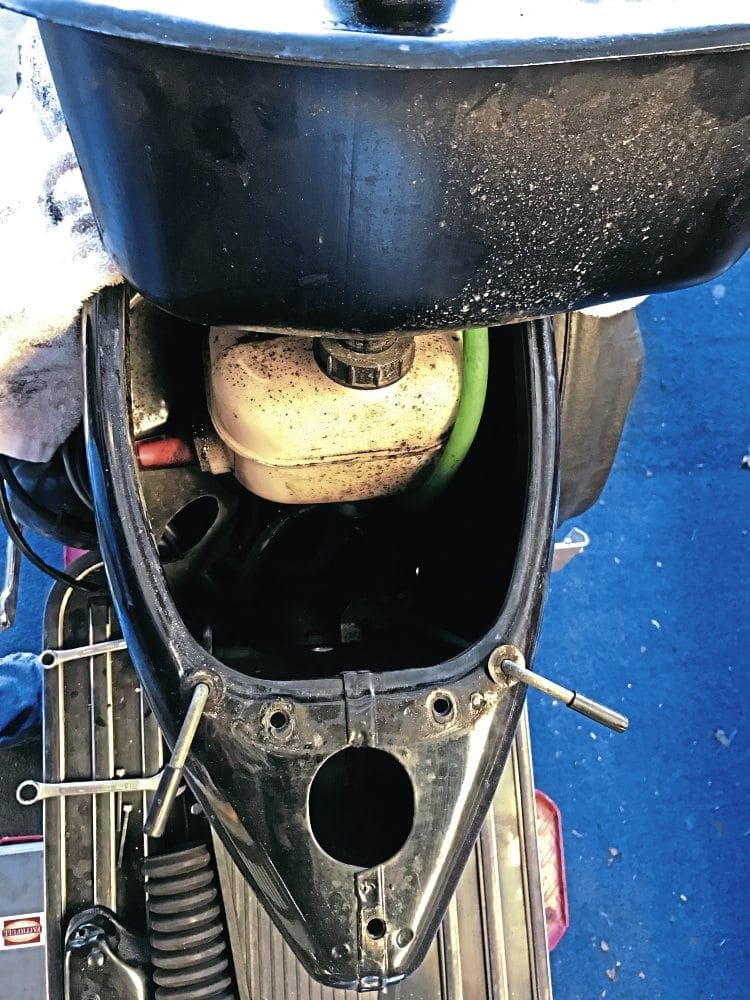
Again, not a huge task, but the only snag is getting into the tank to undo the nut which holds the tap in place. So it’s seat up, five bolts out and lift out the tank. Disconnect fuel and oil pipes and drain petrol off. A specialist tool (as seen in pics) is used to reach into the tank to get the old tap out, the new one is slotted in, tightened up, and we test flow BEFORE fitting the tank back. Any issues with tap flow can be addressed at that point, but if all is okay, then reconnect the fuel and oil pipes and slot the tank back in. We then turned the petrol on, the scooter fired up first kick, we adjusted the airscrew and tick-over, and the beast was ready for the dyno.
DYNO RESULTS
Well this was a pleasing result, a straightforward exchange of tap and carb and not only was the fuel starvation cured, but due to the enlarged aperture (26mm vs 24mm) and the extra fuel flow delivery, the engine was now making 19hp and revving on significantly. Bearing in mind that no matching or porting had been done to the kit or the crankcases, and the inlet duration of port and crank were standard, as was the 57mm crank stroke… this was a good result. The Scorpion pipe is fine on this kit, but if touring I’d recommend either the BGM or SIP box pipes. Conversely, if looking for max bhp, then a little porting of the cases, along with a 60mm race crank and a German pipe would certainly see figures of 25hp no problem, and with a 30mm Dellorto flat-slide carb conversion you’d see over that. We set the scooter up on the dyno, and the air/fuel curve was lovely. Once the mid-range was all jetted up, I tweaked the main so the Wayne could just sit with the throttle wide open all day long and listen to the motor sing.


ANOTHER 210 STORY: STEF’S COMPONENT MISMATCH MALOSSI 210, 30MM DELLORTO AND THE WRONE PIPE.
The JL3 Vespa exhaust and all its similar variants (revolver, RZ Mkt etc.) are fantastic. I use them a lot, but I match them to the appropriate kit. They have fairly long tuned lengths and shallow cone angles, which gives them a good torque curve and makes them perfect for engines with low or touring based port timings.
By comparison to a standard Vespa P200 cylinder, or a Polini touring kit, the Malossi 210 does not have low port timings. It’s a comparatively revvy kit with high fuel demands, and in my repeated experience, I have found that the excellent Malossi kit and the much favoured 11.3 type exhaust are not a great match for each other. This problem is further exasperated when mated with a 30mm Dellorto carb. All components in this combination are fantastic in their own right, but not great together… in my opinion, the pipe is a mismatch for the kit.
Once the kit hits peak rpm and the pressure from the cylinder is pulsing through the pipe, the pipe itself is fighting the engine because it’s tuned for lower port timings. This mismatch results in fuel being pressured hack out of the overflow tubes of the Dellorto carb, and the top-end running lean. It’s visually noted on the dyno time after time with this kit/carb/pipe combo.
A simple change of exhaust pipe to something more suitable (higher revving) cures the problem. Despite me mentioning this to Stef before, he still bought me a 210 kit, with 30mm Dellorto and JL3 to be set up on the dyno. I pulled him into the dyno room and said ‘watch this’…the run went up and the fuel came out, frothing everywhere.

Thankfully Stef had a spare exhaust to hand, so with a quick swap the issue was resolved. My advice, for touring, is match a kit of choice to a 26mm BGM carb and SIP or BGM box pipe. If you want to go to an expansion chamber then match a revvy pipe to a revvy kit, and a touring pipe to a touring kit. It’ll save you a lot of headaches.
Words & Photographs: Dan Clare

Enjoy more Scootering reading in the monthly magazine. Click here to subscribe.
Scooter Trader