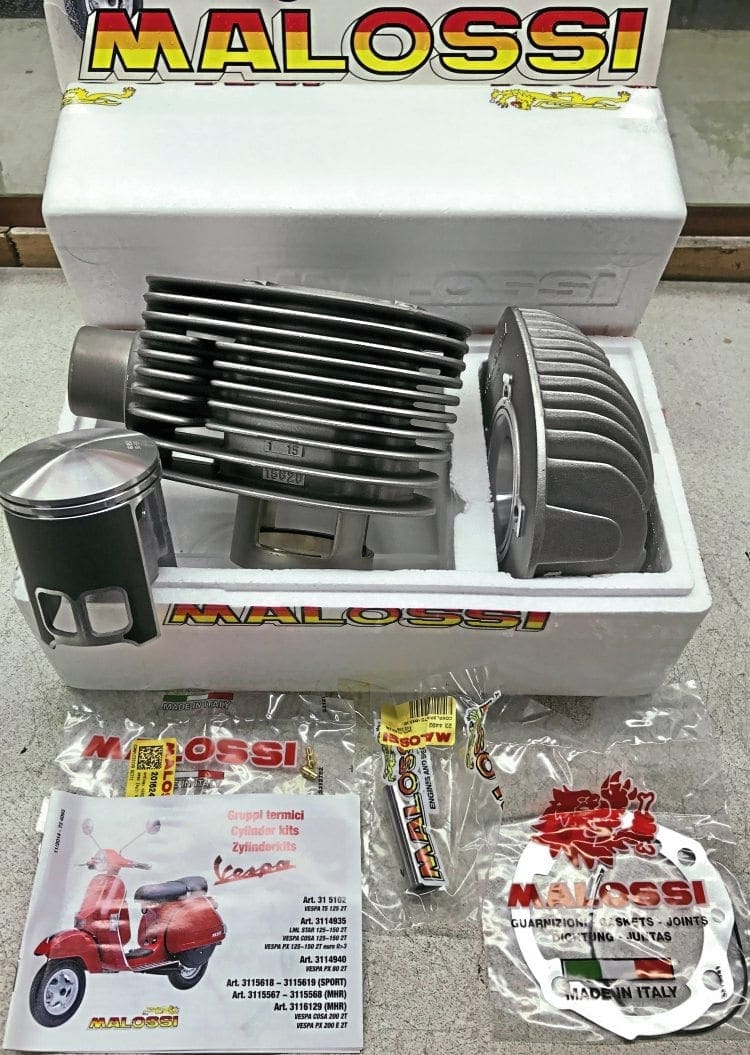
With a stack of tuning and upgrade products for various Vespa machines to hand, we intend to fit and analyse them over the coming months. Over the past six editions, the PX125 has been pampered no end, so this month we decided to break things up a bit… and test out the much-loved Malossi 210 kit.
Kit version
The Malossi 210 has been a defining upgrade for many Vespa owners over the years, albeit with a reputation of being a wheelie-pulling rev-monster. The fact of the matter is though, it wasn’t particularly big on its bhp number, it was more the fact it had a razor sharp power band which came on so hard that you couldn’t help but lift the front wheel. The actual peak bhp of these kits was often quite similar to a well set up Polini kit, the only difference being the Polini had a better power spread.
Also, due to the peaky nature of the Malossi kit, it often required a T5 fourth gear to make the scooter pull top gear. One of the main reasons for this was a severe lack of transfer timing on the original 210 kit, which was a pain, but could really be improved by the introduction of a 60mm stroke crank.
Enjoy more Scootering reading in the monthly magazine.
Click here to subscribe & save.
Further broadening of the power band could be achieved by porting the cylinder transfers, and then with a decent touring pipe on you could attain a good peak bhp figure… as well as a decent torque figure, and a nice power spread. At that point, the common T5 fourth gear upgrade was often not necessary and the kit would pull well. Such fuss and fettling spawned hybrid ‘Polossi’ kits, using the well-balanced Polini cylinder, mated with the funky Malossi piston.
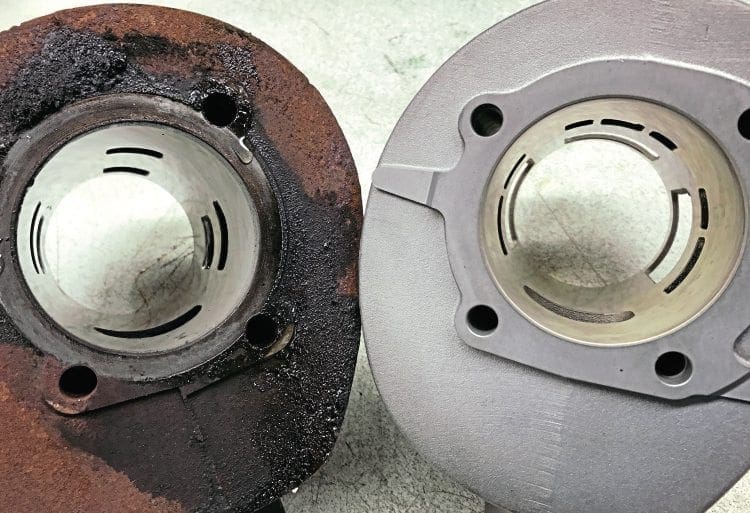
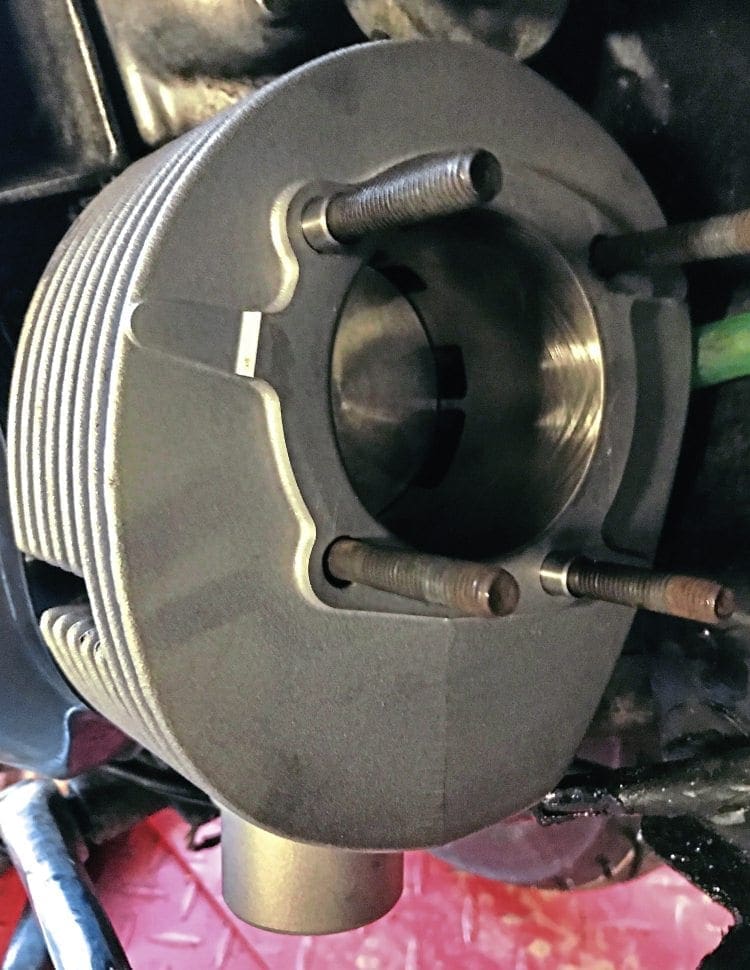
Fast-forward to today, and the two new Malossi 210 kits no longer require the cylinder porting to the transfers. Malossi have vastly improved the kits in this area as well as improving many other points. The kits are available in both Sport (actually the more touring of the two?) and the MHR versions (read ‘peakier’). Having ridden both, I can say the sport version is the one 90% of scooterists would want, and only the absolute peak-bhp-hunters should seek the MHR version. Either kit can still be improved with a 60mm crank, but it’s not nearly as necessary as it used to be on the old version. Other nice touches on the new versions of this kit include upgraded cylinder head, better cut outs in the spigot area, improved porting throughout, and a vertex piston which is coated for better heat dissipation and reduced friction (I’m told).
With readily available off-the-shelf carb, crank and expansion chamber combinations… it’s very easy to build a Vespa engine which can either be a stonking 30bhp beast or a stump-pulling 24bhp torque monster. The choice is yours. But fancy carbs, cranks, pipes and engine building/tuning techniques aside, what can the average scooterist expect from a bolt-on kit? Well let’s take a look…
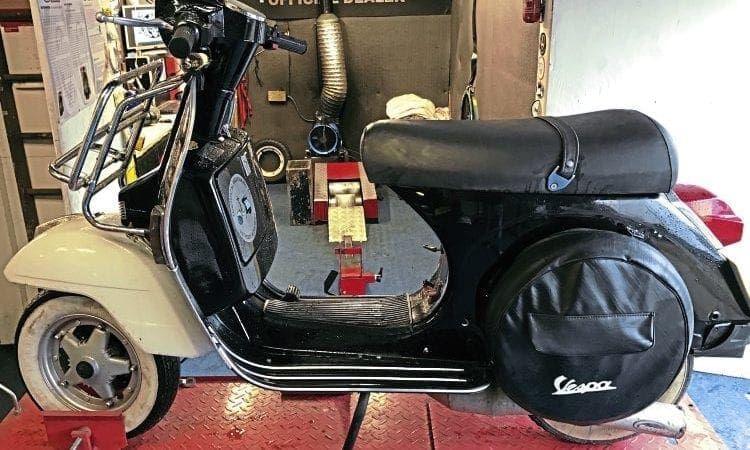
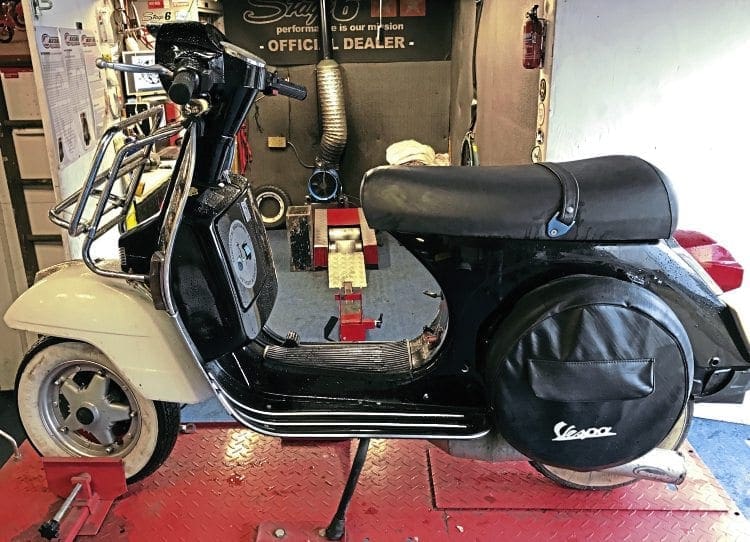
A fairly common Vespa
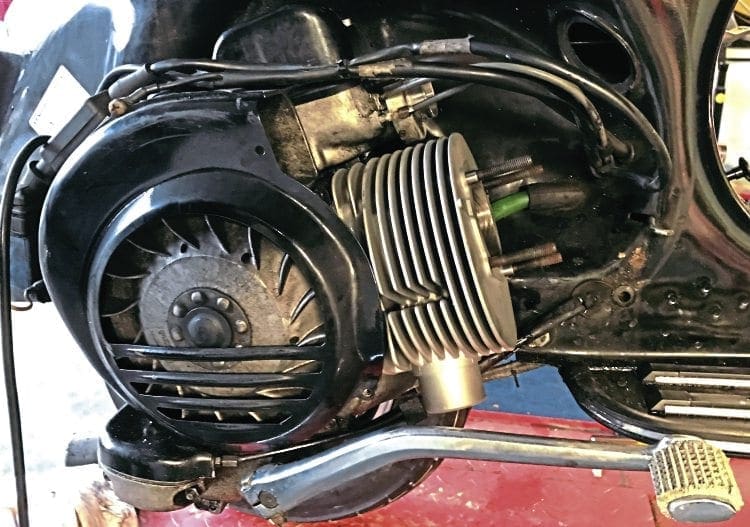
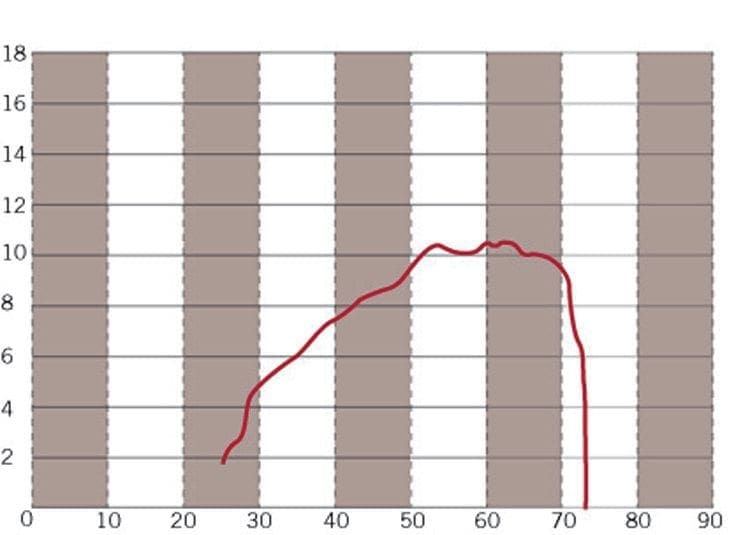
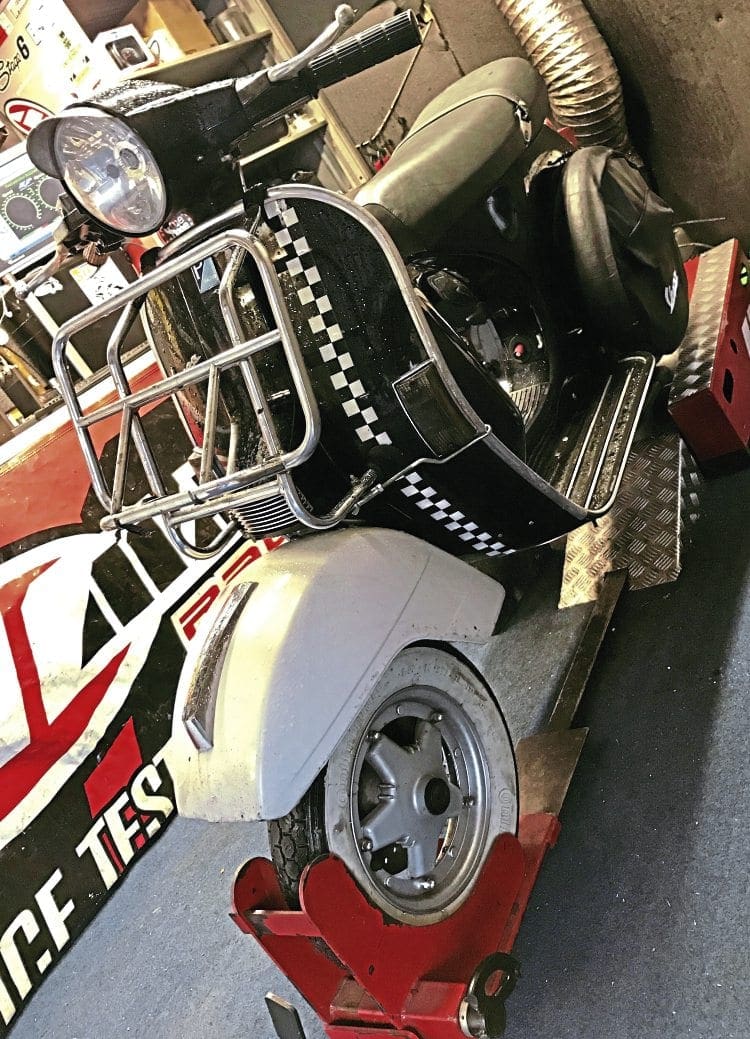
Here we have a classic example of something loads of Vespa P200 owner do… bolt on a pipe! That’s it, nothing more. This is a bog-standard P200, with 24/24 carb and it’s just had a Scorpion pipe fitted. This particular scooter had just been ridden back from the Scooterist Meltdown in Germany, and as all P2s do, it plodded on admirably. As mentioned in previous articles a standard P200 runs around 9.0-9.5hp on my dyno.
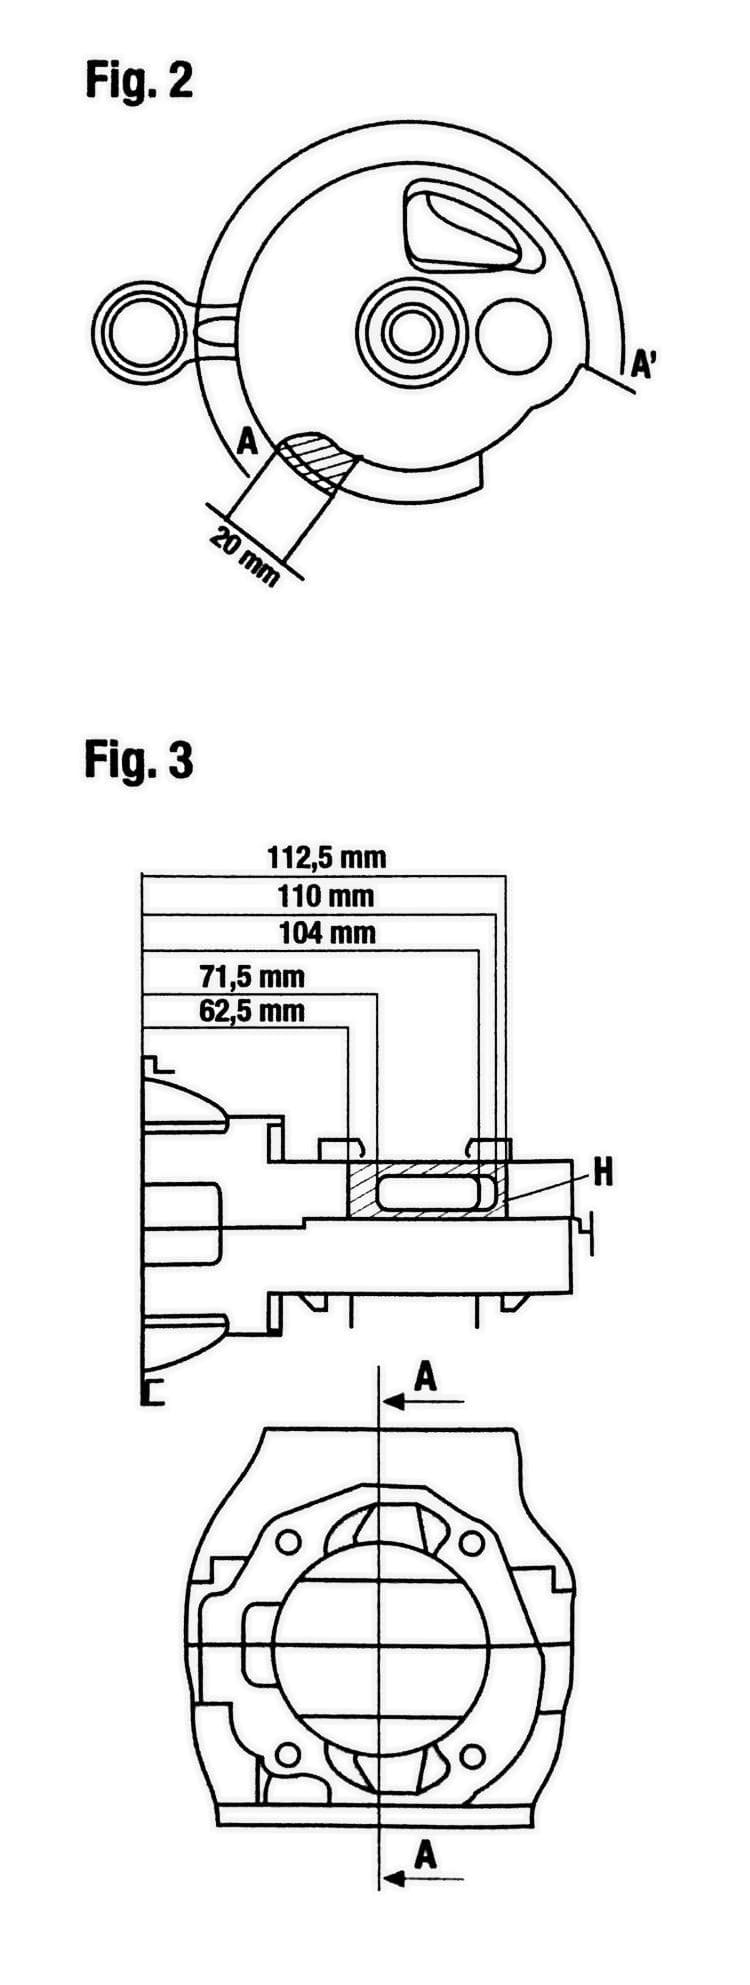
With a pipe like this bolted on, I’d expect to see only 1-2hp more, but at higher revs than a standard factory pipe. And that’s exactly what we have here. The standard engine, with Scorpion pipe, was putting out 10.7hp on the dyno… a common result (see graph 1). So our intention is to bolt-off, bolt-on and re-dyno. Anyone who has ever fitted one of these kits, or read the little booklet Malossi provide with their kits, will know they actually give basic measurements you can use to modify your crank inlet timing, casing inlet timing, and crankcase transfers (see Fig 2-3). In order to get full power, this is recommended… but not everyone has the ability to do this, or can afford to pay to have it done. So for now, let’s see what the average Joe will get.
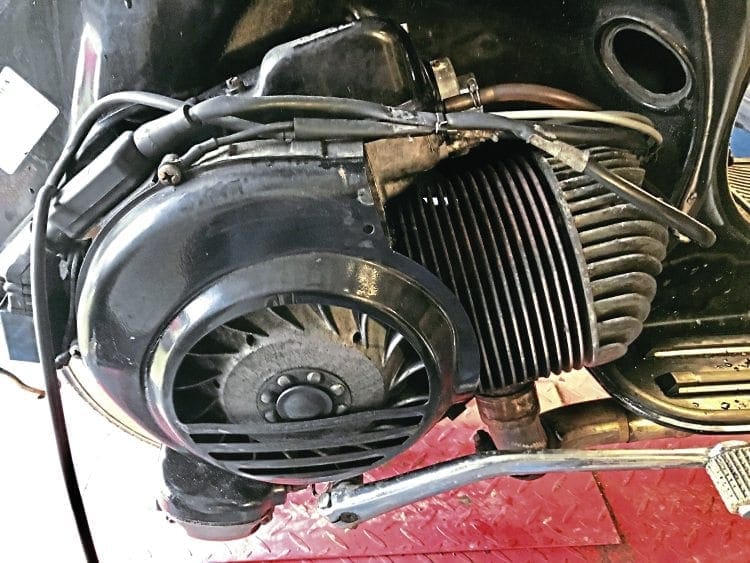
FITTING STEPS
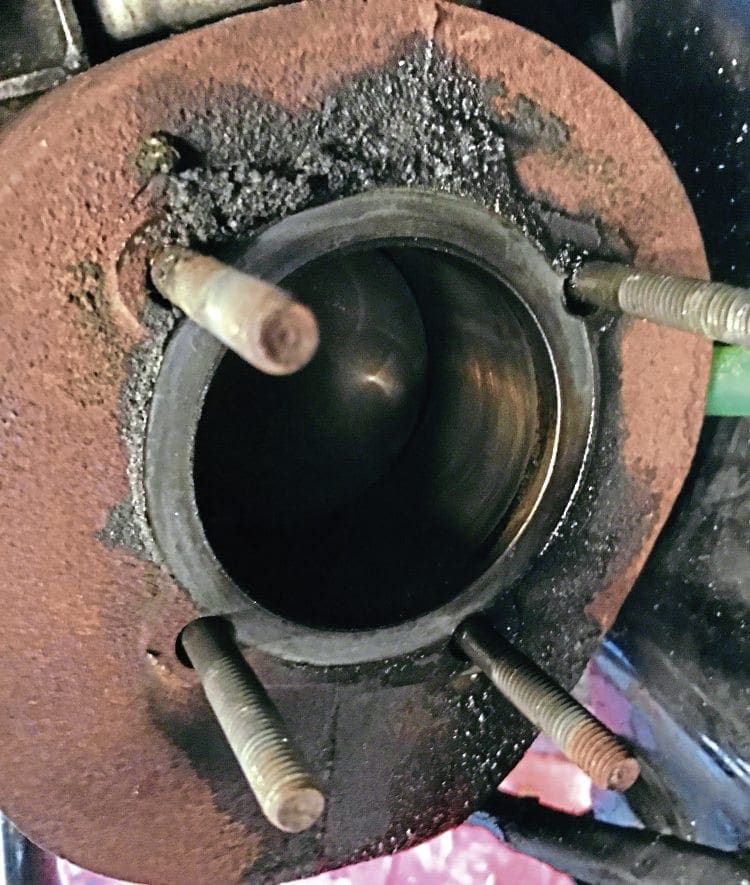
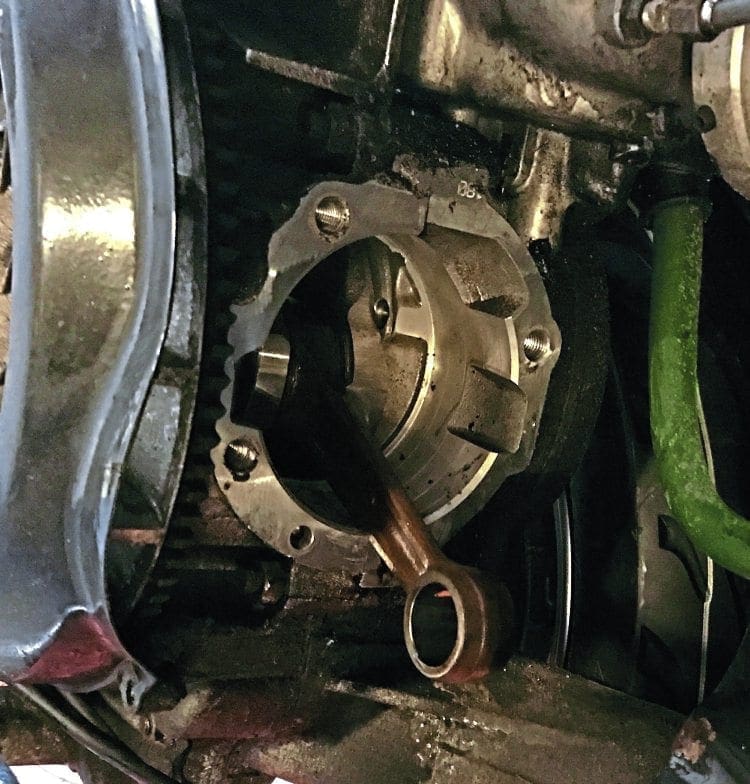
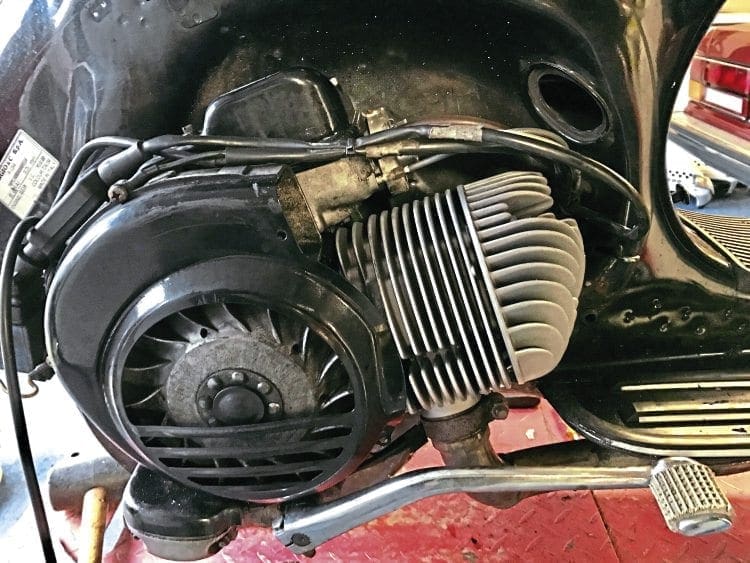
This is a cinch: Cowls off, slacken exhaust and drop it off the cylinder stub, cylinder head off, double-nut the studs and remove them, slide off the cylinder, remove the gudgeon pin circlips, piston off. Clean up the casings and get ready to fit the new kit! Set up the cylinder with the provided gaskets to achieve 1.2-1.5mm squish, seal with Loctite or Threebond. There… sounds easy doesn’t it? For those needing a bit of guidance, a workshop manual and the Scooter Techniques DVDs can assist very well and can be bought online easily. Go on… give it a go.

DYNO RESULTS
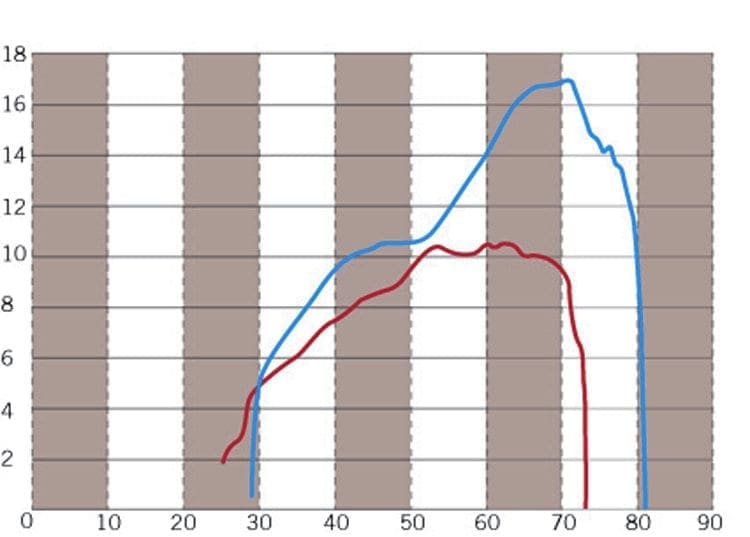
Well, this is an excellent result, a straightforward exchange of kits and 17hp is delivered out of the box. No porting, no blending of transfers, no cut-cranks. Look down the bottom of the rev range and the Malossi ‘Sport’ (read ‘touring’) is pulling just as well, if not better, than the standard cast-iron barrel from the word go. More power right through the rev range, then just after 5000rpm as the standard cylinder is levelling off… the Malossi comes on-song and for the next 2000rpm it increases in power up to a peak of 17hp. The only problem we were having at this stage was fuel starvation.
By his own admission, the owner conceded the tank and carb needed a clean out and the scooter needed a service. We up-jetted on the dyno just to check, but the fuelling wasn’t a jetting issue… it was a flow issue. There is a common ‘carb-fettle’ which involves drilling the carb out and fitting spacers, but we decided to go a stage further for two reasons: 1) to check further performance gains, and 2) take no chances on fuel flow. We ordered a fast-flow fuel tap and a BGM 26mm fast-flow carb. That way we will cure the flow issues, and potentially gain more power over the standard 24/24 carb. Once again, the carb is a bolt-off/bolt-on item, quick fitting, and cures fuel flow issues. The kit hadn’t arrived by press-day, but we will add the results in the next instalment of our Vespa tuning mega-feature.
Next month
Something wheelie interesting — SIP tubeless rims and tyres vs Pinasco tubeless rims with Dunlop ScootSmart tyres. A toss of a coin decided whose scooter gets which combo, we will be covering tech-specs and fitting, plus the result of our 26mm fast-flow carb and tap on the Malossi 210 kit.
Words & Photographs: Dan Clare
Kit supplied by VE-UK

Enjoy more Scootering reading in the monthly magazine. Click here to subscribe.
Scooter Trader