This month sees the continuation of our winter guide to scooter restoration. With parts 1 and 2 behind us, this month Stu Owen deals with dry build and paint…

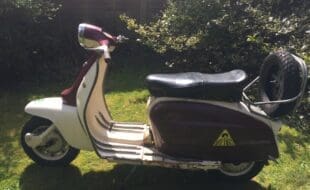
The TV 200
Before starting any part of the dry build the first procedure is to get the paint stripped off the frame to check its condition. As the frame in question has suffered heavy corrosion it may be better to have it chemically stripped. If any frame with this much corrosion is sand or bead blasted the chances are any weak areas may break through, especially around the number plate area which was highlighted in part one of this series. If you only have the option of blasting then ask the person doing it not to use too much pressure to prevent this from happening. Once the frame is back from being stripped it can now be inspected thoroughly.
Checking the frame
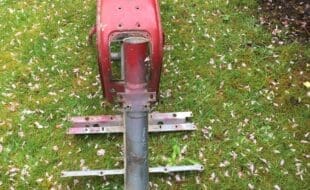
Before doing anything else it is necessary to look for any alignment issues of the frame which may have happened during an accident over the years. Again this was covered in part one but only from an observational perspective when buying. Now with the bare frame it is easier to fine-tune the inspection. Firstly, lay the frame on the floor and place a piece of wood under both sides of the stand struts so the frame is in a level position. Now from the front look at the fork stem and make sure it is central to the main frame. If it is off to one side then the chances are an impact has taken place.
Enjoy more Scootering reading in the monthly magazine.
Click here to subscribe & save.
Now the frame is bare, a measurement can be taken from the top of the fork stem to the toolbox door lip on the frame shell. According to Innocenti this is exactly 17in on the Li/TV/SX or ⅛ of an inch more for the GP. Over the years there is bound to have been some movement so 0.3 of an inch either way from this measurement is acceptable. If it is in excess of that then a shunt may have occurred. If so take it to a shop that advertises frame alignment and get it corrected on a jig. The final thing to check on alignment is the rear wheel against the back of the frame to make sure it is central. This can be done before stripping down as nothing should have changed. However, a point to note here is that if the engine mounts are rotten the engine may have dropped to one side. If the mounts are fine and the rear wheel isn’t central then this will also need checking on a jig.
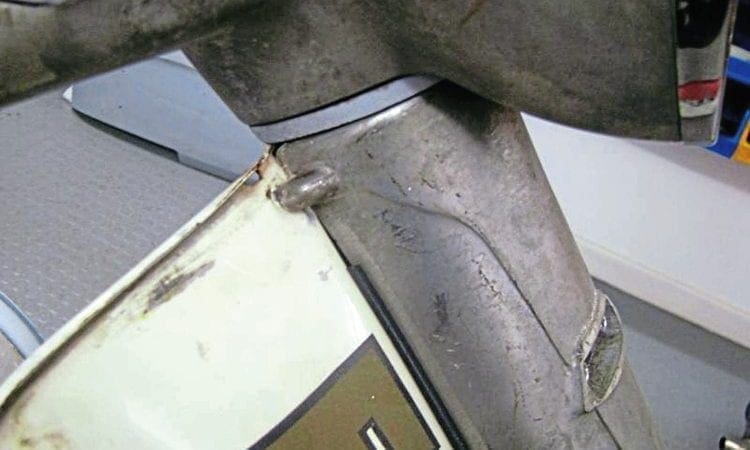
This leaves the leg shield struts, stand strut and rear footboard struts which may need aligning or in the case of the stand strut replacing. If the stand strut does need replacing, then again it is best to get this done at a shop. If a new one is welded back on incorrectly you will never get the leg shields or footboards to line up correctly. The footboard struts are usually free from damage but if they have been pushed out of line a crease usually occurs half way up the strut. It isn’t until the footboard and side panel is fitted any alignment issues show up. If the strut is out of place the best way to correct it is by heating up the area that is creased and try bending it back in to position.
A final check of the frame can now take place to make sure everything is in order. Some things to look out for are holes drilled in the top shell, damage to the tool box door and petrol flap hinges, battery tray rot if it has one and finally damage to the top shell below the choke and petrol tap control. If you are satisfied the frame is now correct you can then move on to the next stage.
Dry building
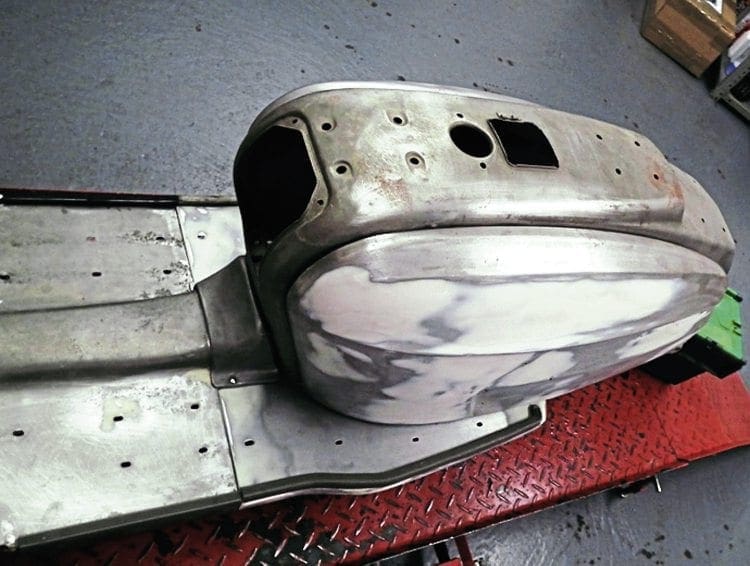
As the majority of the bodywork was rotten, most of it needed to be sourced from elsewhere. This can be done two ways — either by getting each part individually or finding a donor machine to take the bodywork from. Trying to find each part individually can take a long time and sometimes be frustrating when you need the final couple of elusive pieces to start the dry build. On the other hand a donor machine may not be the exact model you need, so you end up with the wrong leg shields for instance. Either way, be prepared to be patient and if possible start amassing the replacement bodywork well in advance.

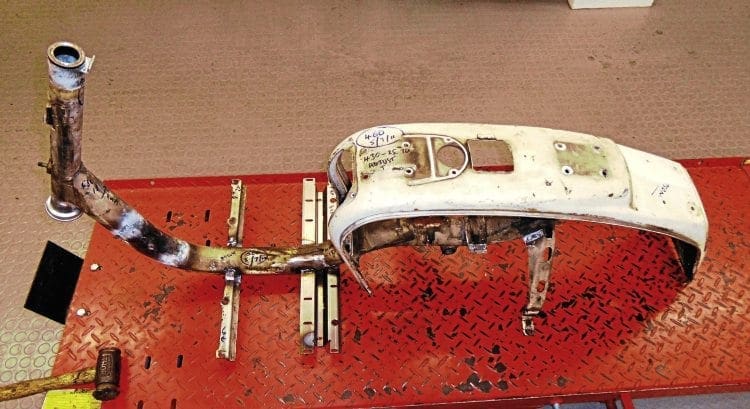
Assuming you now have all the bodywork required the dry build can begin. This can be done with or without the stand in place but if done without, make sure the stand and splash plate used are in good condition. You will need a full plastic runner kit, fork bearings and all the fixings required to bolt everything together. Before anything else, fit the forks in to the frame and once done balance up the frame on the work bench.
Front to back
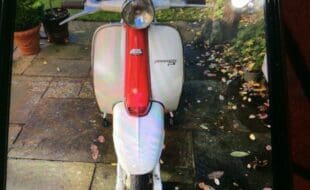
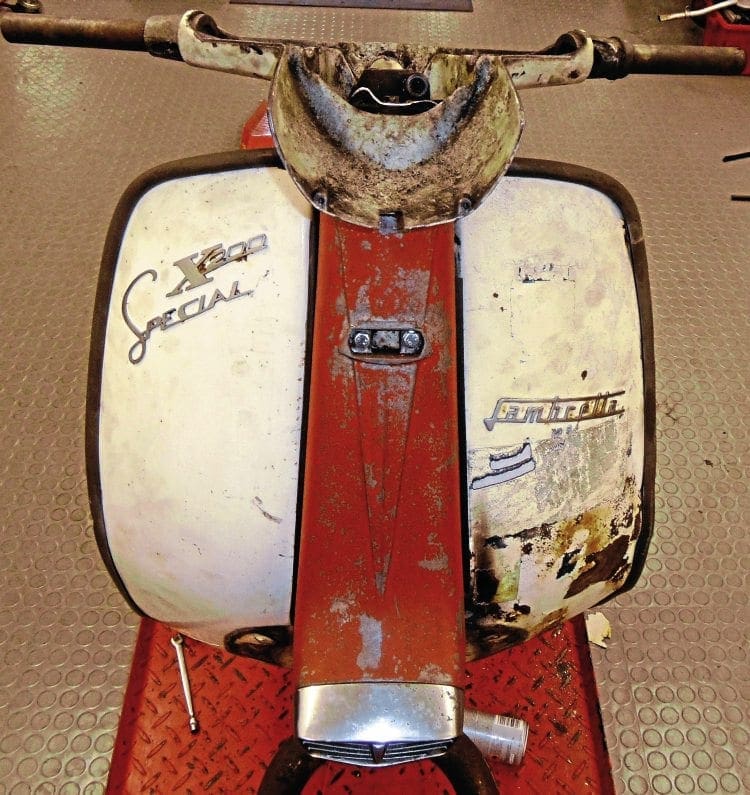
The best method is to start at the front and make your way towards the back of the frame. Bolt the headstock to the headset bottom and clamp to the forks. Be careful not to fully tighten up to allow for possible adjustment with the top lip of the leg shields. As this example of a TV 200 is a chrome ring type then it doesn’t matter so get the headset as flush as possible with the top of the ring. Next fit the leg shields, fixing them with the two 5mm bolts on the fork stem and the two outer plastic floor runners. Again don’t fully tighten to allow for adjustment.
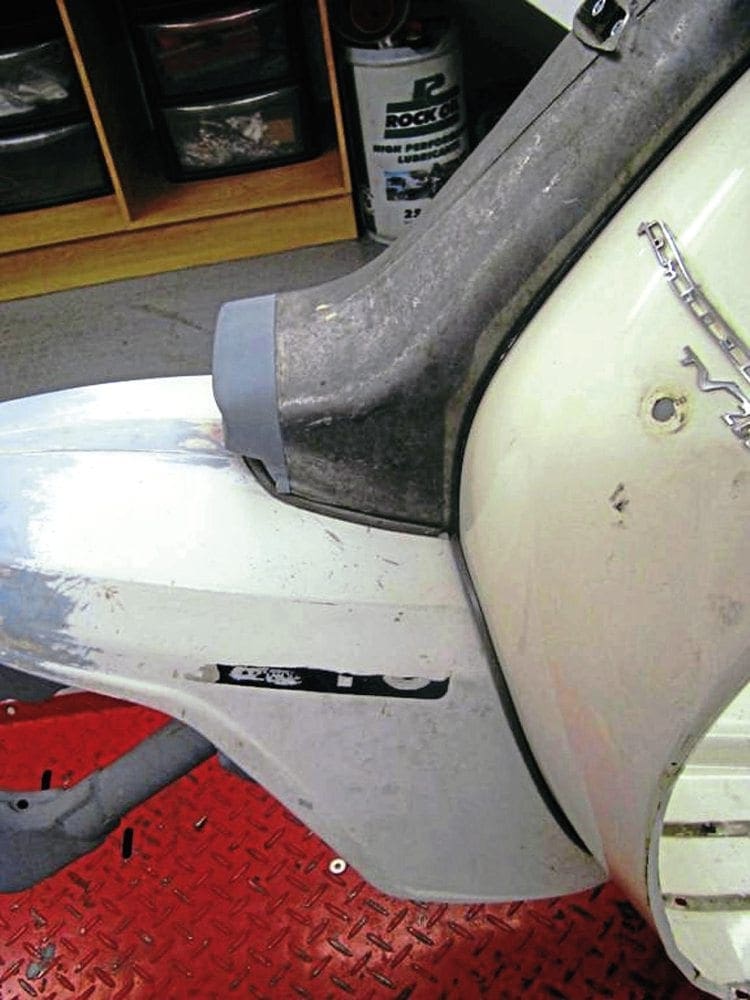
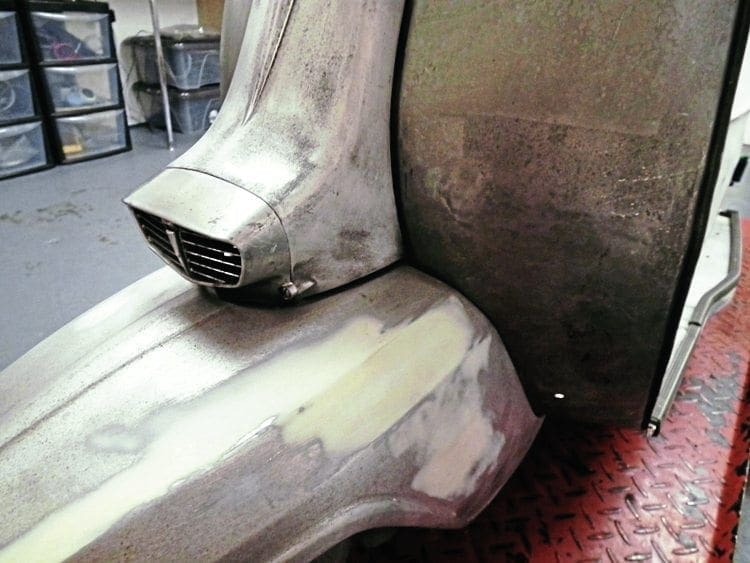
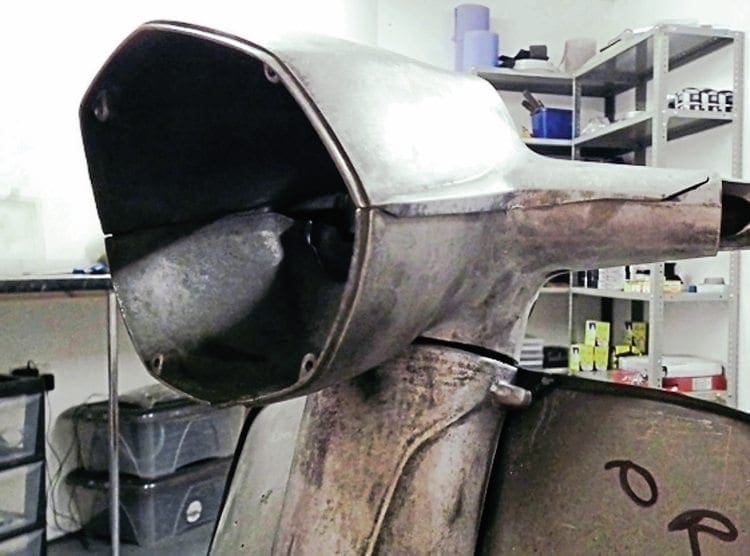
Now offer up the horn casting by securing it with the two 6mm Allen key bolts and check that the top lip of the leg shields and the horn casting line up. Once they are lined up you can now sit the headset bottom in the correct position and should aim for a 2mm gap if it is a non-chrome ring type. Finally turn the headset from side to side at full lock to make sure nothing catches. If you are happy with this remove the horn casting and fully tighten the leg shields and headset bottom in position.
Before refitting the horn casting, fit its front grille first. If both have come from a separate source then they may need a bit of fine tuning to get them to match up. A good tip here is if possible try to get a horn casting and grille that both came off the same machine as they are likely to be a perfect fit. Run a 5mm tap all the way down the six fixing holes to clean them out thoroughly. If you have a horn casting that needs holes welding up be careful not to have one that needs extensive welding.
The amount of heat generated in the process can cause it to warp slightly and result in a poor fit on the leg shields. Once this is sorted bolt to the leg shields and make sure the fit of the curve is good on both sides. You can use the rubber trim on each side but if the fit is good without them they aren’t necessary.
Now the front mudguard can be bolted into position but before doing so make sure that the fixing hole surfaces are flat. These have a tendency to become raised over the years and just need tapping with the ball end of a hammer to reshape them. Failure to do so will mean the mudguard won’t sit flush on the contour of the leg shields. Make sure when you fit the front mudguard you bolt it in to the two 5mm horn casting threads. These are a pain to get to but will help in perfecting the fit. Once you are happy everything is in position, tighten all eight threads securely.

The final piece of the front end fitting is that of the headset top. Again, if possible try to get one with good threads as welding them up can easily distort and make for a poor fitting. Bolt the two halves together and check — try to get a matching pair as they will be a better fit.
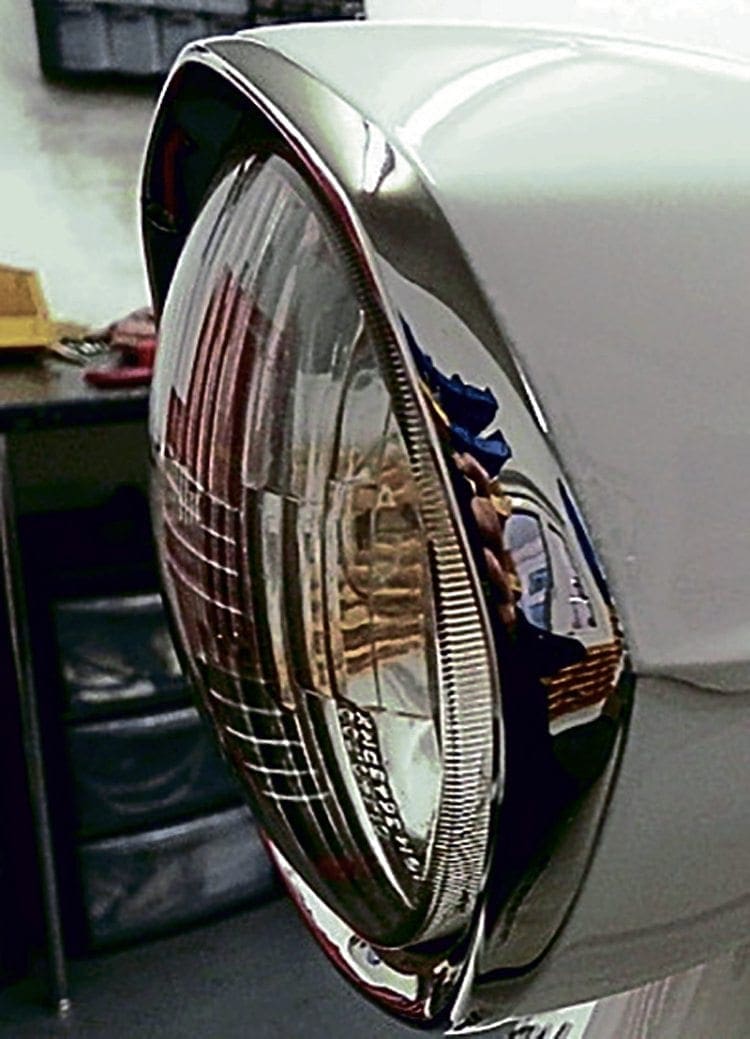
You can file the edges where necessary to match up exactly both sides of the headset top. Now it is time to fit the headlamp rim which is quite often forgotten in a dry build. The problem is if it doesn’t fit correctly after painting there is not a lot that can be done to fix it without chipping the paint. With a small file clear up the edges on the headset top and bottom where the rim sits. Quite often where the edges of the top and bottom of the headset meet can be slightly out. File the edges so they meet exactly, ensuring the best possible fit and securely tighten all four screws on the rim to check. Sometimes it may need gently tapping of the rim to make it sit exactly to the edges. This can be done using a leather mallet to give the best possible result. Make sure the headlamp rim used for the dry build is also fitted on the final build. You know this one fits perfectly whereas a different one may not.
Back end
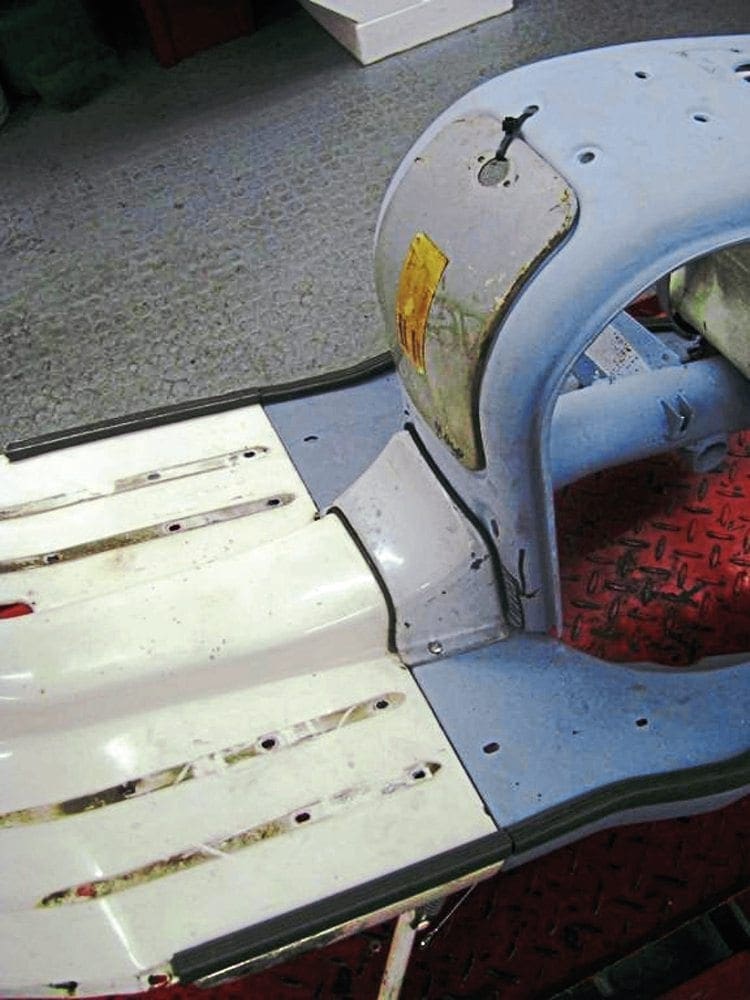
With the front end of the bodywork perfectly fitting, now it is time to work at the back of the machine. Start off with fitting both of the rear footboards. When fitting make sure to put the black vibration rubbers underneath as they will give a true indication of the footboards’ height. Now check the leading edge fits perfectly with the leg shields and that there are no gaps.
Sometimes there can be a slight gap but this can be cured by opening up the hole at the back of the footboard where it sits on the frame strut. This will allow you to level up the edges at the front and bolt up at the back accordingly. Next fit the bridge piece which should be no problem as the holes where it bolts through the frame strut are elongated. Make sure there is no gap on both sides and that it sits flush against the frame shell. Remember to put a rubber between the underneath of the fixing hole on the bridge piece and the frame strut. Failure to do so will cause the edge to move away from the frame as it is tightened down.
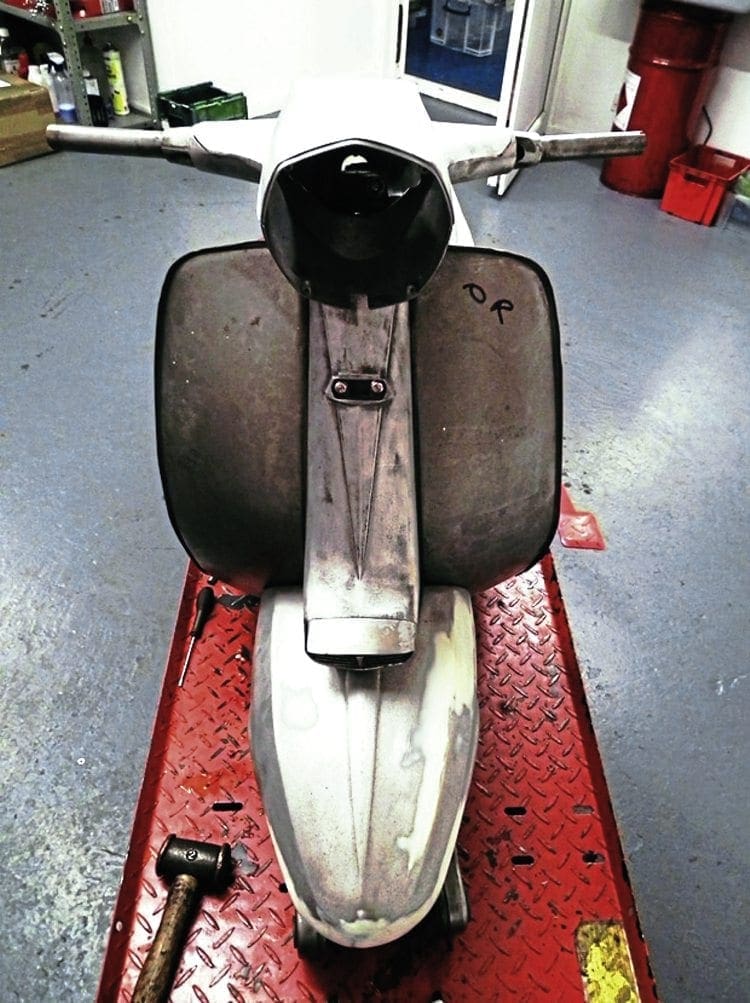
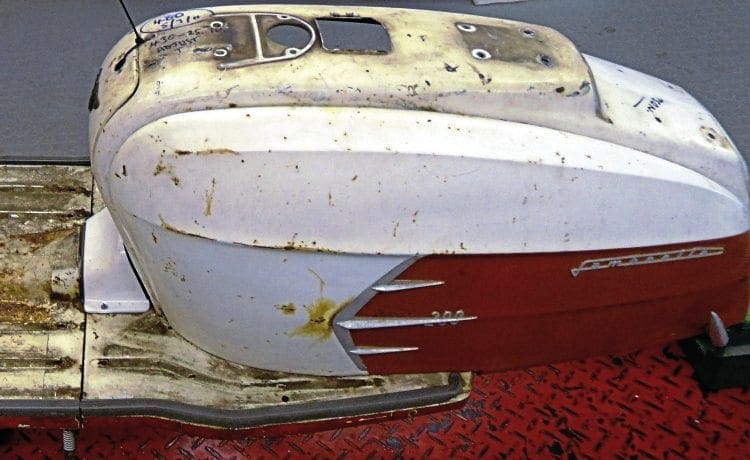
Now it is time for one of the most difficult procedures in any dry build, fitting of the side panels. Badly fitting side panels will not only look poor but also have the tendency to come off when you are driving along — often with dire consequences. Make sure the lip on the frame is perfect all the way along and pull out any dented edges. Place a good set of panel beading along each edge and a panel buffer on both footboard struts. Before fitting a panel, make sure it isn’t warped especially if it is an old second-hand one. The easiest way to check this is by laying the panel on the floor and making sure there are no raised edges.
If there are, it is possible to twist the panel back in to shape to get it sit flat. Do this procedure until you are happy it is in the best shape possible. Sit the panel on the frame and ensure it is sitting fully in the recess from the front to the back. Usually if it is a poor fit it will not locate properly either down by the bodge piece or by the back of the number plate area. Depending on where the problem is, take the panel back off and flex it slightly until you get a perfect fit. If you are happy that the panel is fully sitting in the recess it is now time to check its height against the footboards. There should be a gap of around 2mm all the way along the leading edge. Any less and chances are both will rub when painted, any more and it will look a poor fit with the big gap. If it is too close, try thinner rubbers underneath the footboard or alternatively if it is to big try thicker rubbers until you get the right gap.
FINISHING OFF
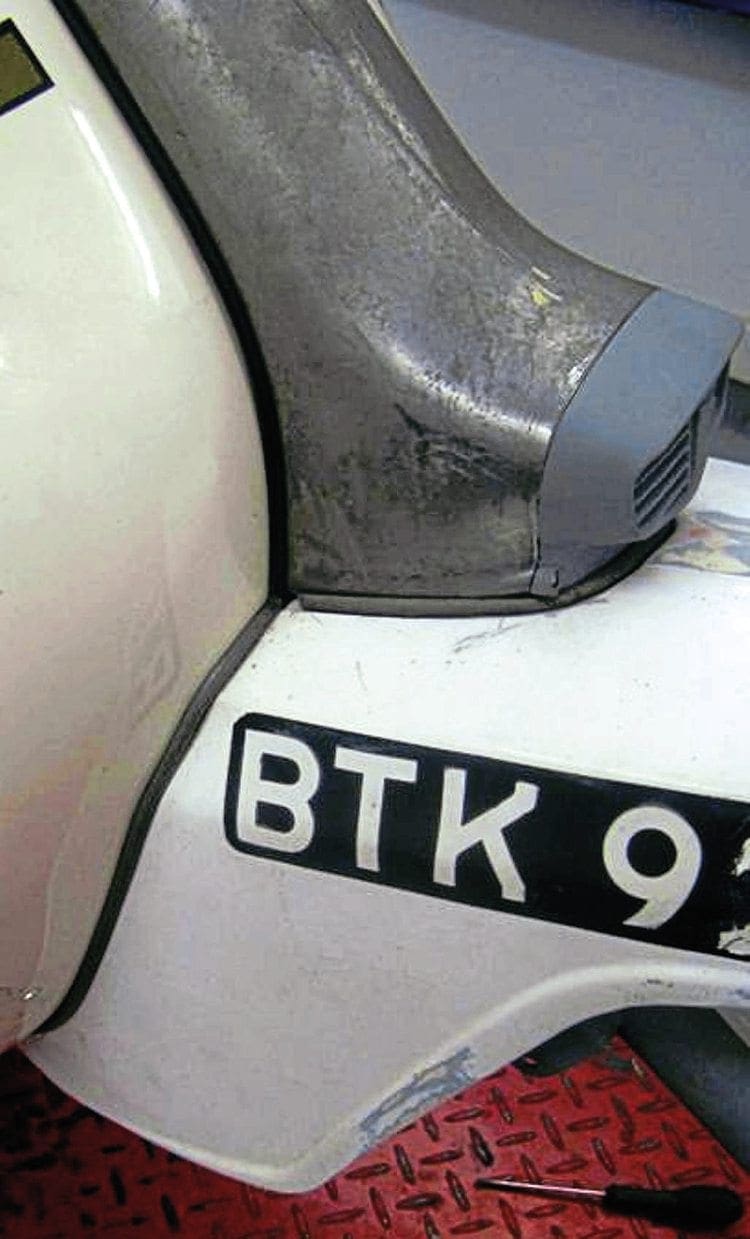
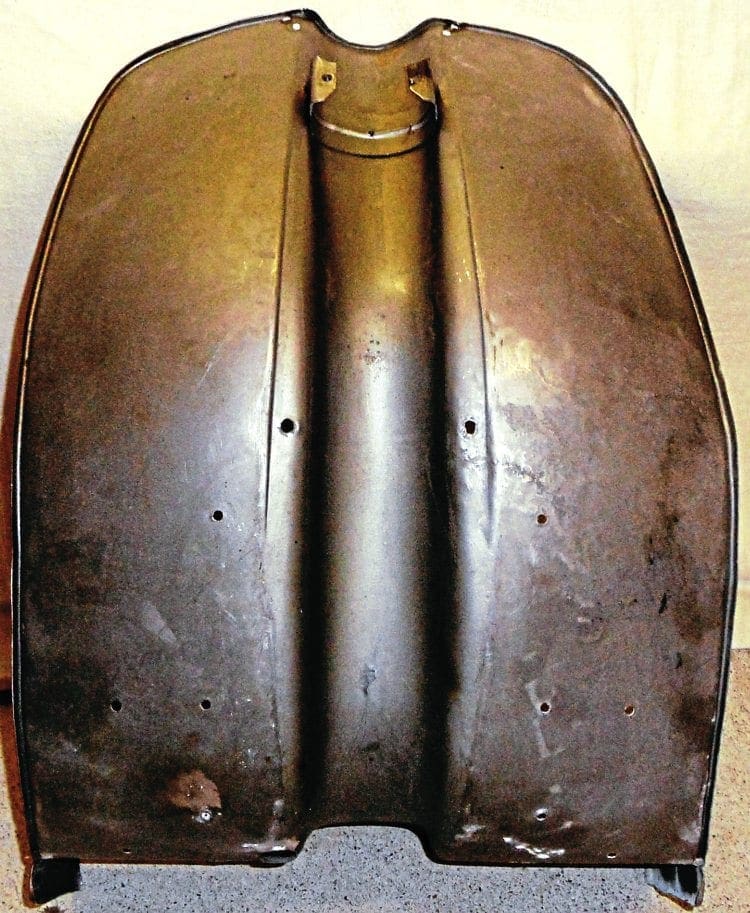
The final parts to check over are the rear mudguard, tool box door, petrol flap and rear light. All should fit without any problem but it’s best to make sure just in case. With the toolbox door, fit the pin through the hinge and secure with a cable tie where the lock would be. If it is slightly out on the curve it is possible to flex the door to get the desired fit. With all the bodywork now fitting to the standard required, take it all apart and box up ready for painting. Both front and rear hubs and their corresponding wheel rims should be checked for damage and poor threads – repair if necessary.
If you are going to use second-hand rims, make sure they are not pitted and check the outer edges as they can be dented through hitting a kerb in the past. If this is the case then don’t use them. Finally if there are any holes drilled in any part of the bodywork that shouldn’t be there, especially the leg shields, clearly mark them. Also anything that needs welding or repairing. There is nothing worse than getting the bodywork back from the painter only to find a hole hasn’t been welded up beforehand.
THE SX 200
In the case of the SX 200, in theory it should be much easier to do a dry build as all of the original bodywork is being used. Even so, don’t think that it doesn’t need doing as the last 50 years or so will have taken its toll on each part. With everything stripped and prepared take just as much care as you would if all the panel work was from separate sources as in the case of the TV 200.
As previously mentioned, although the overall condition of the frame is good it still requires some repair work. This consists of replacing the stand strut which had rotted badly and re-welding of the front leg shield struts. With the repair work done, a basic dry build can start and is a case of making sure the general fit is good. Now comes the tedious bit as the bodywork has both surface rust and dents here and there so will need the paint stripping off to see what condition it is in. That way any welding or panel-beating can be done first before trying to get the perfect fit on a secondary dry build. It may seem hard work doing it twice but this will ensure everything bodywork-wise is 100% perfect before painting,
PERFECT PAINT
With everything prepared the bodywork and frame can now be sprayed. It may be you are capable of doing this yourself but if not it is down to you to make sure the person taking the job on can produce a good standard of finish. Now comes the hard bit in getting the colour right. The problem with a factory restoration is getting an exact match. Most Lambretta series three models are predominantly white and there are so many variations. While there are paint codes supposedly available for Innocenti models, the match isn’t always perfect.
There is one way of trying to get round this problem: presuming you still have the original paintwork on the machine there are usually one or two areas where the paint hasn’t been exposed to light. This is usually underneath the air scoop or the top of the petrol flap. If the condition of the paint is good then a sample can be taken from this area to get a match. A good tip is to get a small amount mixed and test it on, for example, the toolbox door. This can be compared to your sample area of paint to check both are the same shade. If you do have an area of original paint on your frame, remember to take a sample before getting it stripped.
Words & Photographs: Stu Owen

Enjoy more Scootering reading in the monthly magazine. Click here to subscribe.
Scooter Trader