This month sees the continuation of our winter guide to scooter restoration with the focus on the ‘easy’ part — the strip down. Some methods however, are ‘easier’ than others. Stu Owen explains…
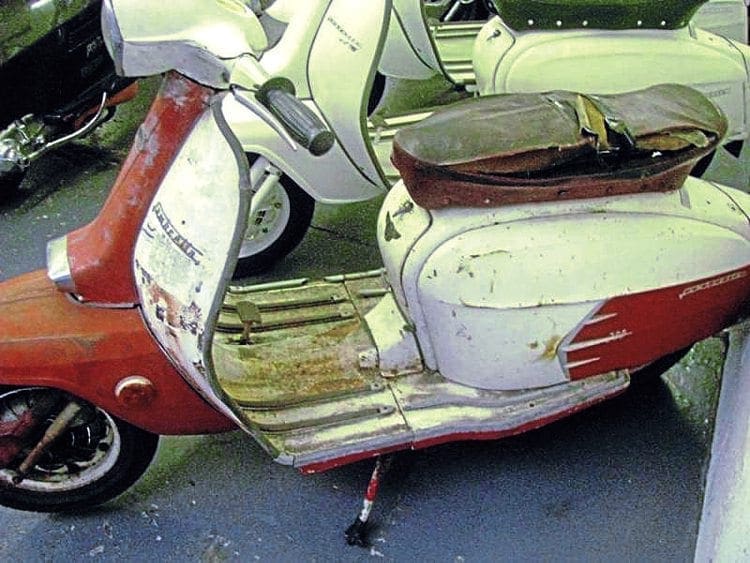
The TV200
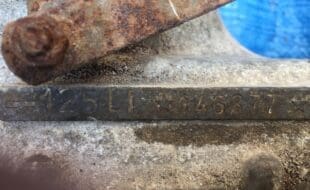
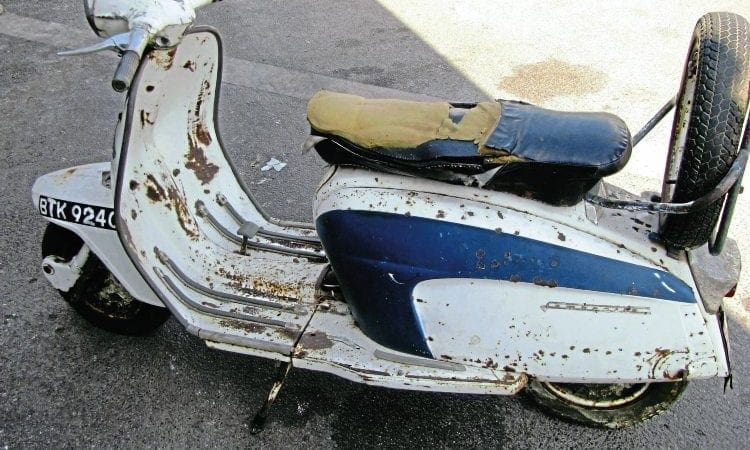
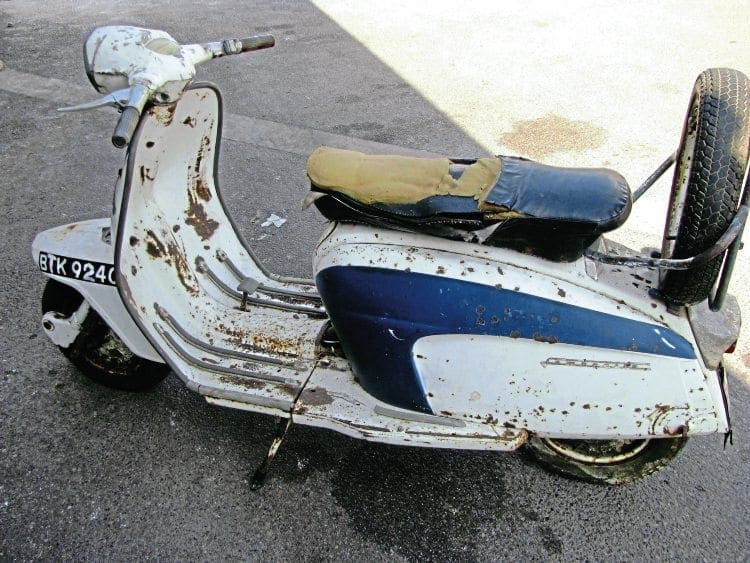
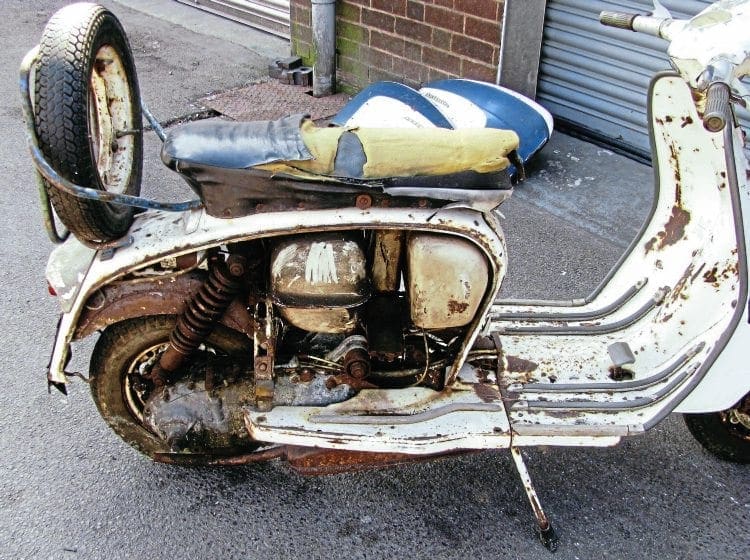
It’s fair to say that this example of one of the most revered Lambretta models has suffered decades of neglect. Nevertheless it is still complete, retains its original engine and has the paperwork to prove it. Because of this, extra care and attention needs to be taken when removing the engine so as not to damage it in any way. As the majority of the bodywork is rotten and beyond repair, removal of each piece can be done with a variety of cutting tools without worry if drilled or ground in to.
Getting started
The first thing to do is have the correct tools present to carry out the procedure. As most of the bolts are completely rotten a spanner and socket are not much use. Most screws or bolts will either need to be drilled or cut with an angle grinder. Make sure you have a decent set of drills that are sharp and adequate enough to do the job. Before any drilling, hit the head of the screw or bolt with a dot punch to make sure you drill through the centre of it. It may be that once you have begun drilling the head the whole thing starts to become loose and spins round. If that is the case, hold the nut with a set of mole grips to prevent it from spinning.
Enjoy more Scootering reading in the monthly magazine.
Click here to subscribe & save.
When using an angle grinder make sure you use the correct safety gear to protect your eyes. You don’t want any metal shards going in your eye and most of these shards will be rusty — making them even more dangerous. The other important tool is a blowtorch as certain parts will require heat for successful removal. As a lot of heat will be required, use a proper plumber’s blowtorch which will get a lot of heat quickly in to a specific area. One final thing to note before starting is the location. If possible do the stripping down outside. There will a tremendous amount of swarf and ground metal dust flying around. If done inside not only will the toxic dust be concentrated but it’ll also cover anything in the vicinity, making the clean-up process that much harder.

Front end first
While it is up to you how you go about stripping the machine down, if you follow a set pattern it does make it easier. The first and most obvious thing to remove is the side panels as they will not require any tools to do so. Then proceed to strip the front end down starting with removal of the horn casting and front mudguard. Chances are the four horn casting bolts which go through the back of the leg shields will be seized solid, but rather than drill them out grind the heads off. That way it leaves a small amount of each bolt exposed which you may be able to remove with heat and mole grips later on.

Undo and loosen the two Allen key bolts underneath the horn casting badge but don’t fully remove them. Now drill out or grind off the six bolts that hold the front mudguard in place. Next fully undo the Allen key bolts and remove the horn casting with the front mudguard as one piece. By taking both parts off as one it is now easier to remove the two bolts that directly bolt them together which are very difficult to get at as the forks are in the way when bolted to the frame.
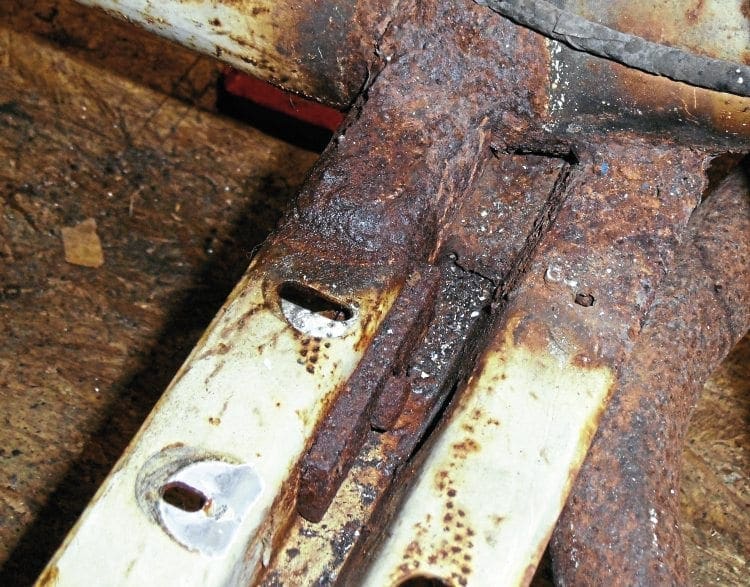
This now exposes the leg shields which are next for removal. Drill out all floorboard strips, followed by the bridge piece. Remove the brake pedal, cutting the brake cable as it will be replaced anyway. Now the two bolts that hold the leg shields in place at the top can be undone. Usually they will undo with a spanner because, since they are not directly exposed, they don’t tend to rust too much. To make sure they do come out cleanly, apply heat to this area. If the threads are stripped it is a difficult repair to do later. The leg shields can now be removed, finally exposing the main frame tube.
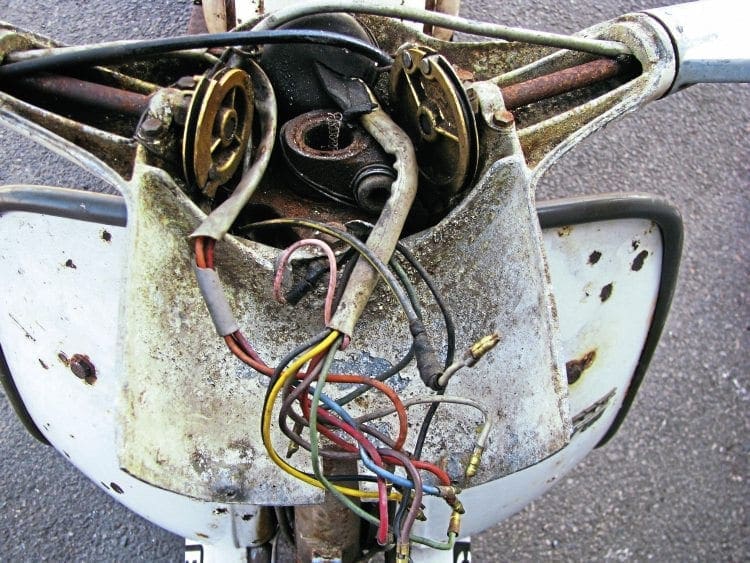
Next to the headset which depending on the state of the threads on the headlamp rim is the trickiest part. Because the headset top and bottom are hard to replace spares wise, it is best to salvage if possible. If the rim is rotten and will need to be replaced it is best to sacrifice it. Grind the rim off and the heads of the four screws that hold it in place. That way a good 10mm of each screw will be left exposed and again with excess heat it may be possible to remove the screws with mole grips, saving the threads. Once the heat set top is off, cut all the cables as they will be scrapped anyway and unplug the wiring loom. Now the head clamp bolt can be undone to remove the headset bottom. All the controls and housings can now be stripped out of the headset on the bench with greater ease.
Finally on the front end is fork removal, which should be a quick job. Cut and remove the speedometer and brake cable so there is nothing tethering the forks to the frame. Remove the C ring bearing lock followed by the top bearing housing. The forks will then slide out to leave the front end almost fully stripped. Now you can remove any smaller parts like the horn and front brake pedal with ease. The remaining cables can be cut away from the tube and likewise the old wiring loom. The forks and front hub can now be stripped down fully on the bench like the headset. Doing it this way is much easier than trying to strip them down while they’re still in the frame.
The engine section
Now the front end is clear the next stage of removal is the engine and tanks. Firstly remove the rear footboards which will expose everything under the main top shell of the frame. Removing the seat stops the frame being too top heavy as you work around it. Then remove the air box, exposing the petrol tank and tool box. As the tank straps may be rotten it is best to cut them off. If this is the case then don’t use a grinder as if there is any fuel or vapour in the tank a spark could ignite it. The easiest and safest way is to cut the straps with a hacksaw. Removal of the tank exposes the top bolt on the tool box, whether it is undone by spanner or with a grinder. With all three items removed it leaves a clear area above the main frame tube and fully exposes the engine.
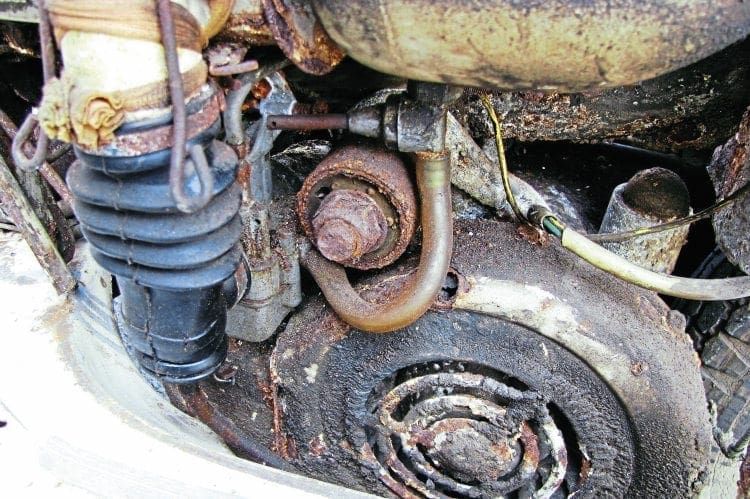
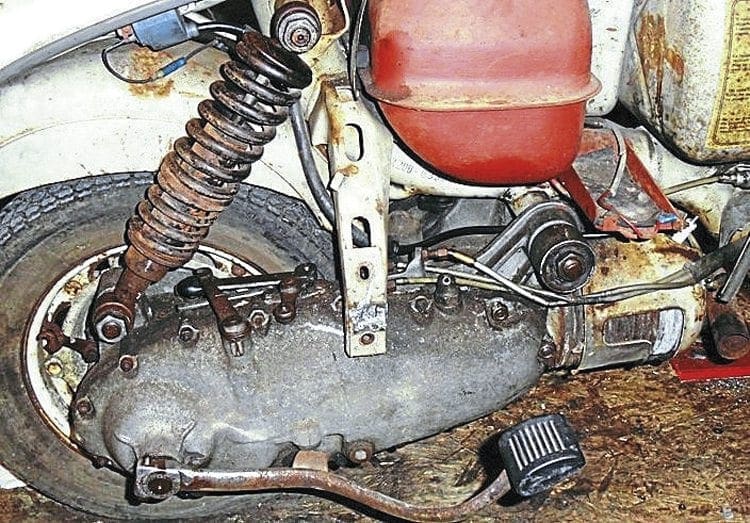
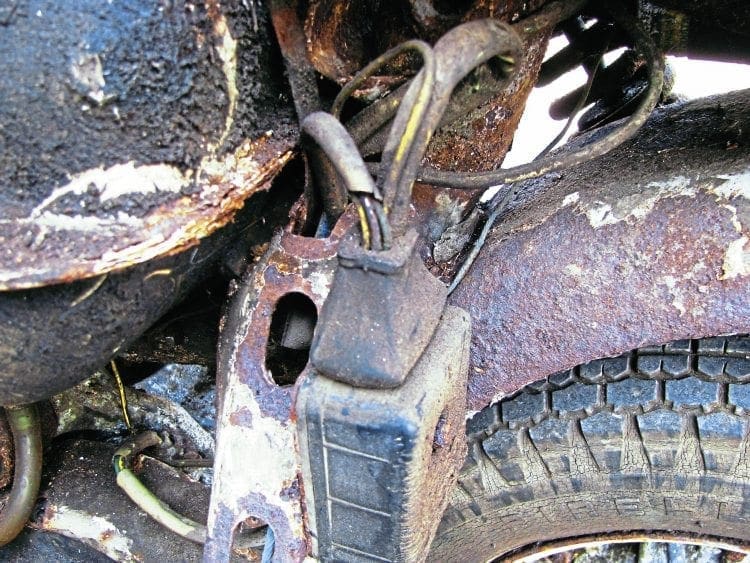
Clear any remaining wires or cables so the engine is free from any obstruction and ready to remove. This is where you must be patient and careful so as not to damage it in any way. With years of rust and corrosion the engine mounting bar is bound to be seized and just hitting it with a hammer could cause one of the mounting lugs to snap off. Leave the shock absorber in place for now, otherwise the engine will move around too much as you try to free the mounting bar.
Remove one of the mounting bar nuts, it doesn’t matter which one comes loose first, and heat up the mounting bushes with a blowtorch. You will then need a drift to hit the mounting bar with. Hitting it direct will cause the end to splay out, which cannot then pass through the engine mount once free. If you don’t have a drift, an old mounting bar will do the job just as well. Hit the drift against the bar end and see if it moves. If movement is present, continue to proceed but keep up the heat with the blowtorch.
Once the bar has moved slightly spray the exposed end opposite to the one you are hitting with a lubricant such as WD-40. Now hit that end to return it back and spray lubricant on the end you started with. Start hitting the drift again and slowly this should loosen the mounting bar further each time until it is free from resistance. Once the bar is freely moving, remove the rear shock absorber and then drift the mounting bar out to fully remove the engine from the frame.

If the mounting bar is solid when you first start trying to drift it out there is another solution to try to help move it. Where the thread is exposed, wind on to it two shock absorber mounting nuts and lock them together, there is enough thread to do this. Then using a socket turn the outer nut clockwise. This may then free up the mounting bar by making it spin round.
In an extreme case of seizure, repeat this process as it will slowly rip the rubber away from the outer of the mounting bush. Burn as much rubber away as possible with a blowtorch so technically the mounting bar is not connected to the engine lug. You can then hit the mounting bar with a lot more force to remove it without the worry of snapping a lug off.
Finishing off
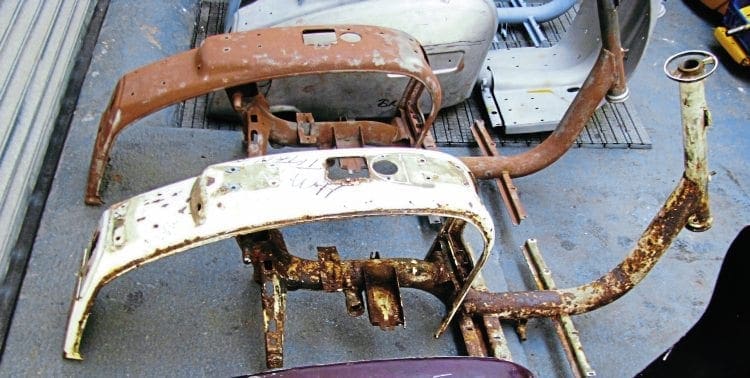
Now the engine has been removed, any remaining parts can be accessed much more easily. The rear mudguard, badge holder, stand etc. can all be removed to leave a bare frame that is ready for the next process. As already mentioned, components such as the forks and headset can be stripped fully when they are sitting on the workbench. At this point anything that is worth salvaging can be separated from that which simply needs to be scrapped. Just remember that when you have a Lambretta in this state you must be patient when trying to take it apart. The more careful you are the less chance you have of damaging something by using too much unnecessary force.
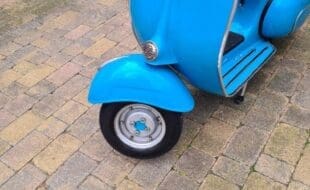
The SX200
While this SX200 needs restoration with the paintwork well past its best, upon closer inspection it is clear to see that underneath most of the parts are in good condition. As there is very little corrosion, most of the nuts and bolts should be removable, minimising the risk of damaging anything. In terms of stripping it down, the process moving from the front of the machine to the back remains the same. However as everything is in pretty good condition as many parts as possible want saving. It is so much more rewarding to restore a Lambretta using as many of the original components as possible.
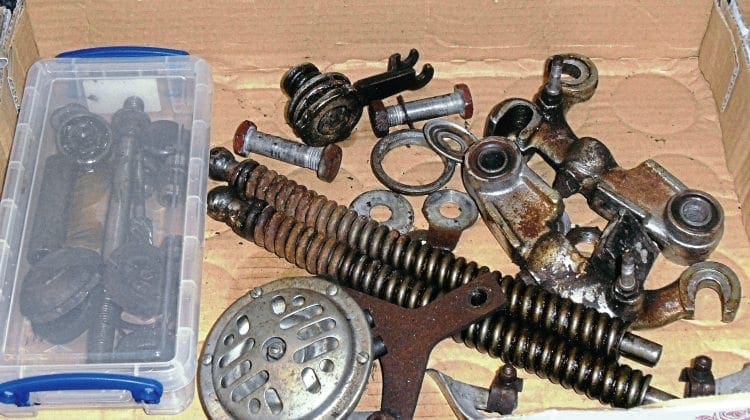
Storage
As each area is stripped down, pack the parts away in boxes. There is nothing worse than removing a headlamp, for example, only to break the glass because it was on the floor and got trodden on. Buy a load of plastic tubs (they’re cheap enough) and as you strip each section down pack the components away safely. Doing this also helps you to categorise everything — for example all the electrical components in one box, all the headset fixings in another and so on. Also you can make a list as you go along of all the parts that will need replacing. This might seem laborious but it saves a lot of time later!
Less force
Because the corrosion and rust is far less prevalent, chances are most bolts and screws will come loose without the need for drilling and grinding. While there will be some threads that will be seized, with a small amount of heat and lubrication they should come free. A day or so before you commence stripping down, spray as many of the threads, nuts and bolts and potential problem areas with lubricant and oil as possible – giving it time to penetrate and soak in. This will give you a better chance of removal than if you do it just before starting.
While it might be handy to use an impact driver in certain circumstances, try not to use one on thinner diameter bolts or screws. For instance, removing a horn casting screw is better done by moving back and forth bit by bit with a screw driver. Using an impact drive here can snap the head off, as the pressure was too much before the thread started to loosen. Make sure you are using the correct screw driver or socket bit for the screw or bolt you are about to remove. Check the screw driver is in good condition, not rounded off at the end, and covers the whole head of the slot. Clear the head slot out first and if possible clean out fully with a junior hacksaw blade. The better purchase you can get in the slot the more chance you have of successful removal. Finally if you do break the head of a screw walk away and take a breather. Go back to the remaining screws with a clear head. It’s better to only have one thread that needs repair than all of them because you let your frustration boil over.
Summarising
This part of the restoration process is always the dirtiest and most untidy and a great relief when it’s out of the way. Now you can take a great sense of pride and satisfaction knowing that you have started the journey towards achieving your goal of a Lambretta restoration. Now you can see exactly what needs replacing or repairing before the next stage begins. One final note: take as many pictures as possible. Not only can you use the pictures as a portfolio of the full restoration but also as a guide to how everything was fitted. If your Lambretta is untouched since leaving the factory it helps to see exactly how it was built originally – like the routing of the cables for instance.
Words & photographs: Stu Owen

Enjoy more Scootering reading in the monthly magazine. Click here to subscribe.
Scooter Trader