Metal Flake
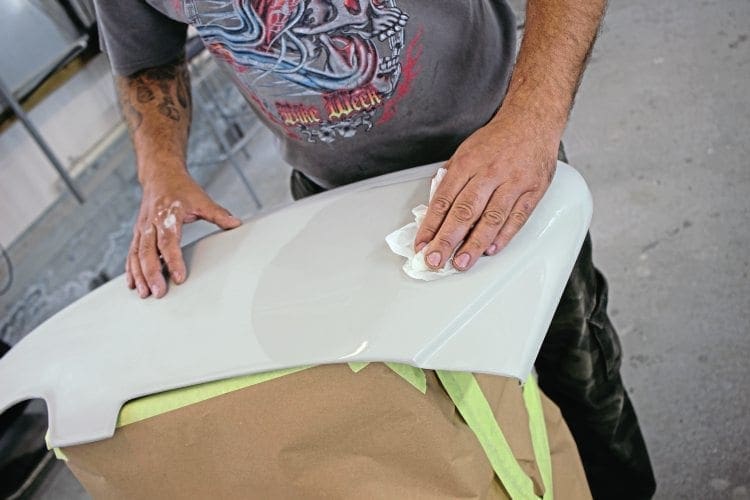
Our ‘painting by numbers’ series is here to guide readers through the process of painting a scooter. Parts 1-4 (see previous editions) have covered prep, primer, paint and pearls. This month we move on to flake…
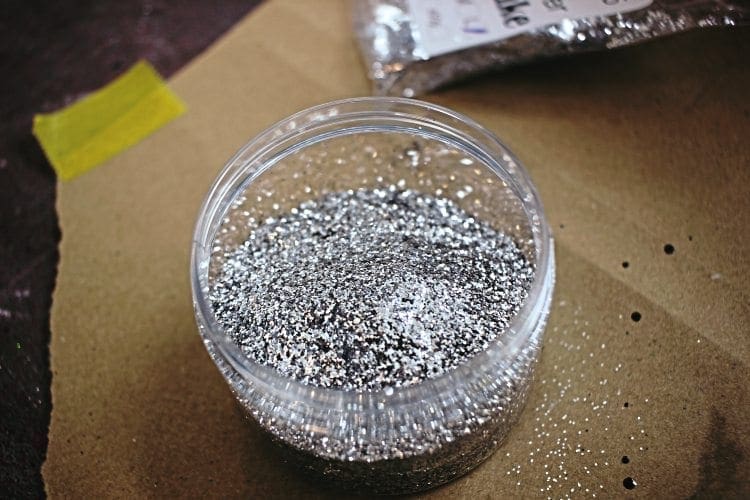
What is flake?
Metal flake was first introduced into the automotive scene in 1959 on a Barris Kustom called the XPAK 400, back then it was actually made of fine flakes of aluminium which is still available today, however modern metal flake is typically a polyester substrate thinly coated with anodised aluminium and dyed. It is supplied in both dry and pre-suspended versions and available in a huge range of sizes, colours and finishes.
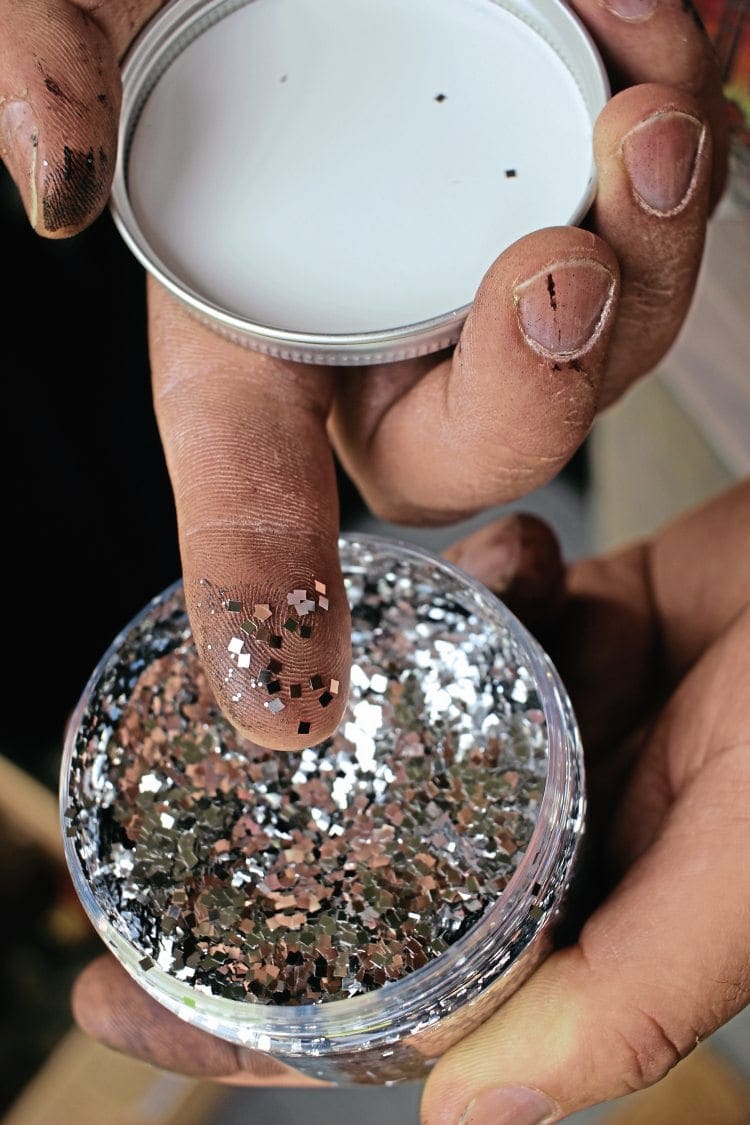
It looks just like kids’ glitter and I’ve heard of people using that, but please don’t! Those flakes are typically made for crafts and the printing industry etc. This type need only last a month or two in sunlight, they are not automotive grade. Automotive metal flake is chemically treated to withstand varying external temperatures and harsh sunlight. I say this with a side note that as the flake is dyed using the same dyes as in candy paints they will lose some colour over a period of time when exposed to direct sunlight, so if your pride and joy is flaked or candied protect it from direct light when it’s being stored.., if you have a shed with a window make sure the sunlight isn’t going to bleach it every day.
Enjoy more Scootering reading in the monthly magazine.
Click here to subscribe & save.
Coverage
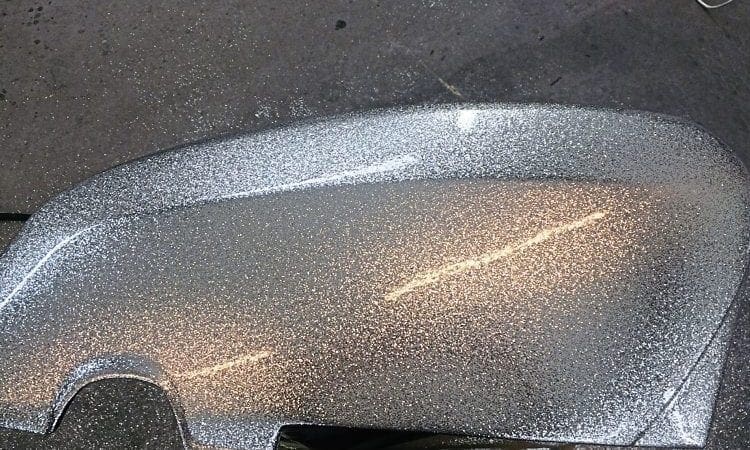
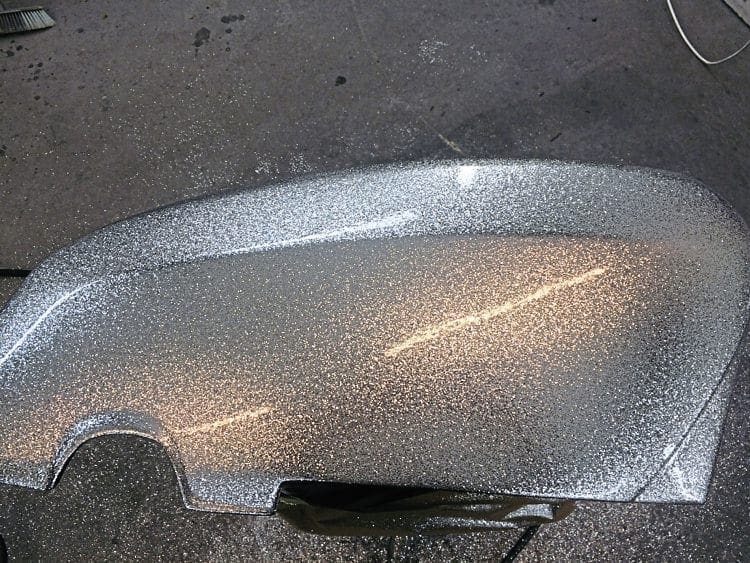
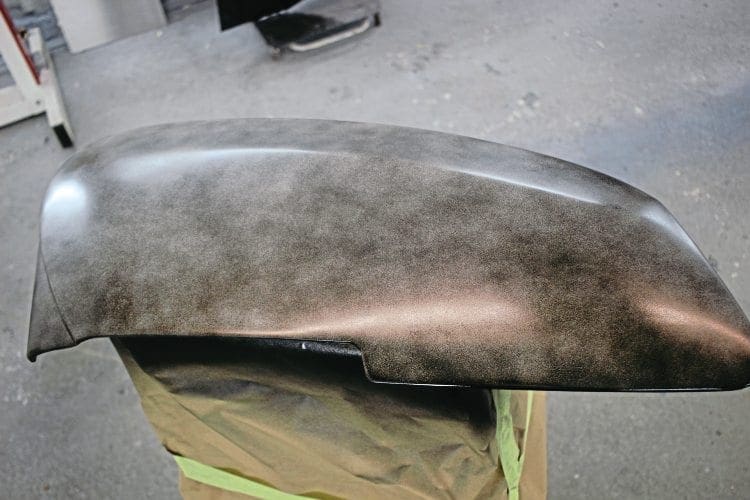
The results you can get with flake vary greatly from a few light dust coats giving a nice bit of bling when the sunlight hits to the full old school 70s effect when the style was at its height. Always ensure your spray gun’s nozzle/needle configuration is capable of spraying the flake. Your supplier should be able to advise you on that. When customers ask me how much flake do they need, it can be quite a difficult question to answer as I don’t know what finish they want added to it. Of course the size of flake affects the amount you need, but it can be best to explained like this…
Imagine you have a black bucket with three large stones in. Well, you should see the bottom of the black bucket through the gaps in the stones. But if you crush the stones to a powder, they will cover the black gaps up no problem. So using that analogy you can see how the principle applied to the flake would work: the smaller the flake the better the coverage. Typically between 300g and 500g are used on an average scooter.
APPLICATION INFORMATION
Applying metal flake wet
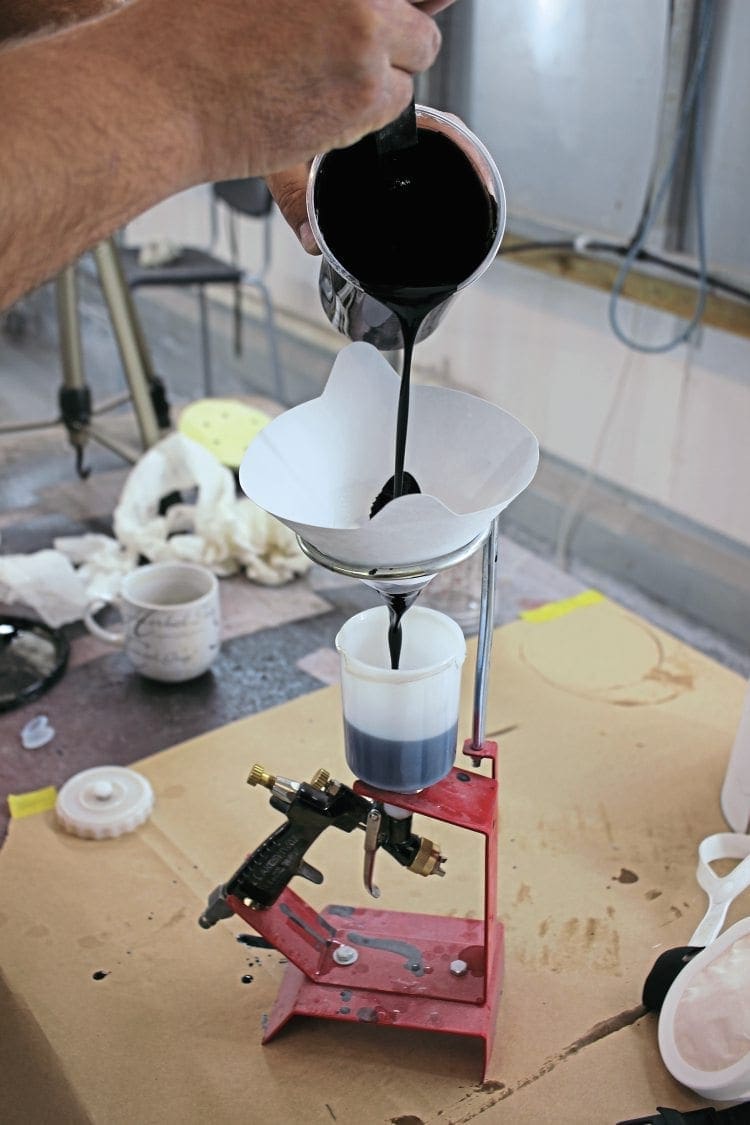
Firstly mixing, the weight per litre will vary greatly depending on the size of the chosen flake. Be careful — too much flake and it could delaminate as it wasn’t able to get proper adhesion to the base coat. Speak to your supplier for advice on this (typically from 20g to 8.0g+ per litre).
CARRIERS
The carriers are what you add your flake to prior to spraying and there are typically three types…
Flake carrier
This is a clear binder that has additional suspension agents in to keep the flake suspended longer, so it doesn’t sink to the bottom and give you an erratic or clumping coverage pattern. You can use a siphon or a gravity feed spray gun for this product. In my opinion if you have to apply it wet then the latter is the best solution.
Intercoat clear
This is a clear binder initially used for adding candy concentrates or to protect artwork in between layers, etc. but it can be used flake, as it doesn’t have the same suspension properties as the flake carrier you should only use a siphon feed spray gun and drop a few stainless steel nuts in. Keep shaking the gun to keep them agitated — if it settles in the bottom it will clog and spray clumps of flake out, giving you poor coverage.
Clear coat
This is your top coat clear. The limitations are with modern clears that the manufacturers recommend a maximum of three to four coats — which may not be enough to give you the finish you want, potentially taking you days to complete the job. The same rules apply as the intercoat clear: only use a siphon feed spray gun.
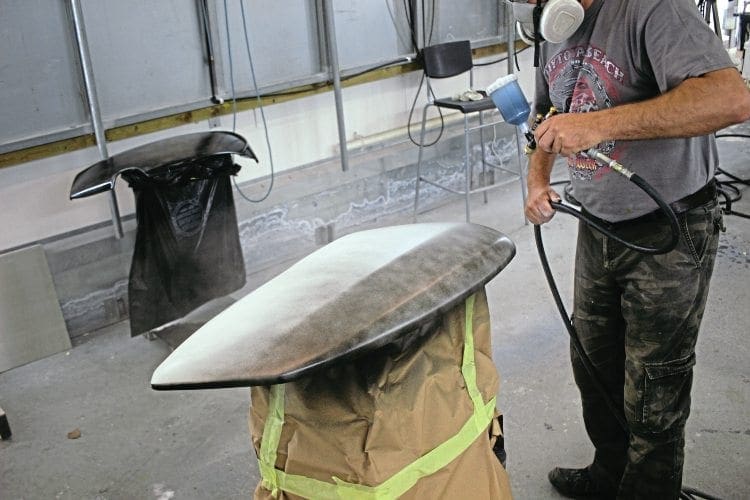
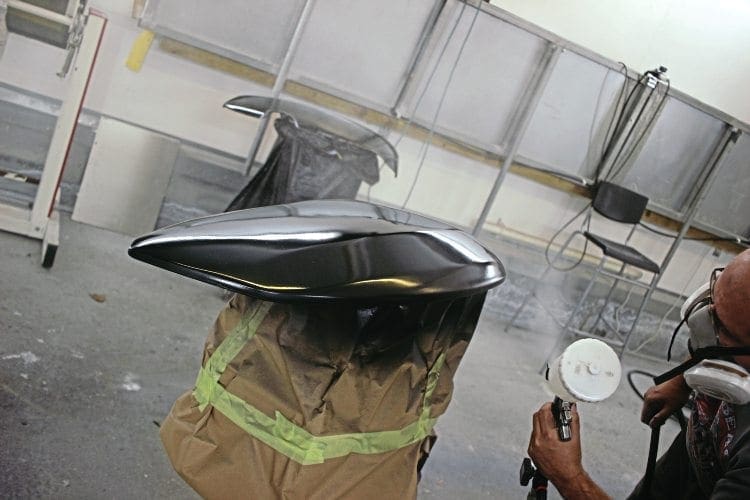
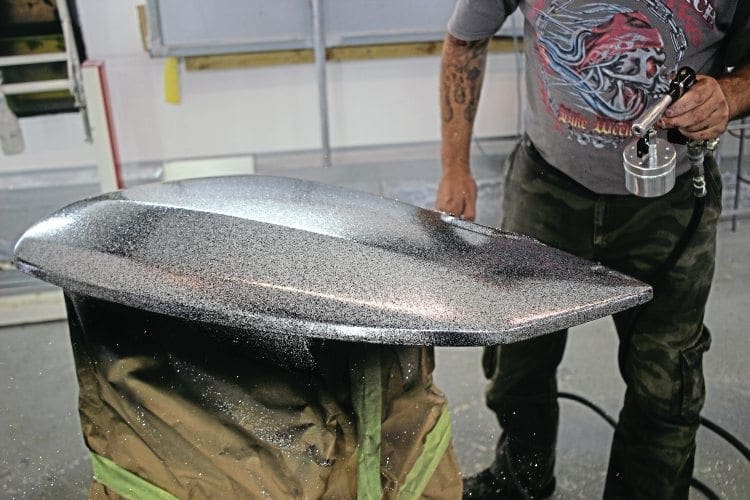
Applying metal flake the WET method
Keep the flake agitated! If you have an internal filter inside your pot, remove it! Occasionally you may even have to back flush the gun to send the flake back up to the pot, this reduces clogging and gives a more even ‘flow’. You must have consistent coverage — no patches at all. The base coat colour will show any anomalies. The most important thing is to be consistent with your distance (8-10in), speed, overlap (50-75%), putting it on in light to medium coats — do not put it on wet. The weight of flake is immense when compared to normal paints so it can very easily sag if put on too wet/heavy. As you move from panel to panel always bear this in mind as variations in this can be seen in the finished work. I can’t tell you exactly how many coats you need as only you can say when you’re applying it and happy with the look/ coverage — it’s a personal thing.
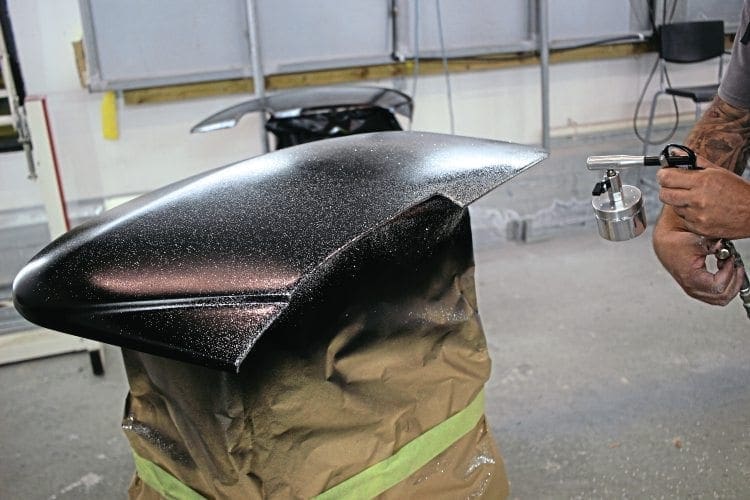
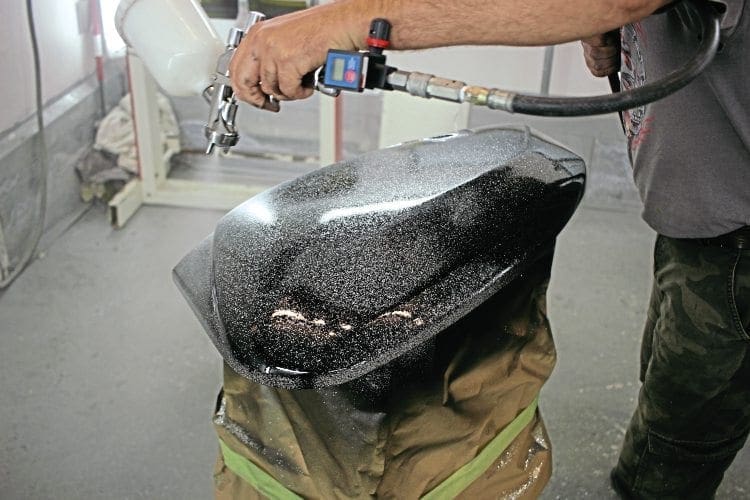
Applying metal flake the DRY method
After you have applied your base coat and it has flashed off sufficiently, mix up your clear coat and get your Flake-O-Matic 1000 (cheesey I know) gun filled with your flake and set up and ready on one side—flake valve open and low air pressure until the flakes are agitated in the jar. Then get your clearcoat gun and apply a normal grip coat (a lightish coat it must not be a ‘heavy’ wet coat). This has to flash off properly see manufacturer instructions.
When it is ready you apply a full wet coat of clear. As soon as you’ve applied the clear, take the flake gun and with even passes spray the flake directly into the clear, then (when it can’t take any more flake) turn the flake valve off and the air pressure up and literally blow the flake into the clear. This will make the flake less prominent and easier to cover with clear coat. You can repeat this process once the clear has flashed off until you achieve the desired coverage/finish. This method is faster, cheaper and ultimately cheaper as you use far less materials and time. Even cleaning up afterwards is easier – there’s no flake to clean out of your gun and it sweeps up easier if it isn’t covered in clear coat.
Clear coating
Look at the metal flake as a mountain range – you have valleys and hills and you can flood the valleys with clear coat to give you a lovely straight show winning finish. You can’t just apply a few coats of clear to achieve that, you have to build the clear up to sand the high spots off to then reapply some more clear and repeat until the finish you want is achieved. Depending upon the size of flake that you use, you will need more coats/depth of clear coat to bury it in. You probably will need to have more than one or two sessions of clear coating before you even consider sanding the surface. Always follow the manufacturer’s recommendations when applying your clear coat.
When sanding between clear coat applications, I would use a 800/1000 wet/dry. I know to some that’s too rough, when painting for a living time is money so if you do use 800 watch what you’re doing and don’t cut into your flake – if you take the coloured surface off you will end up with silver patches and get completely pissed off and put your finish line back significantly. You have been warned.
What else?
You can always change the colour of flake by applying candies over the top as well, using a silver or a holographic as base, or mask up what you want to remain and apply candies of over the top – the world is your oyster.
- Check out our website for more information and tutorials: www.custompaintshop.co.uk
- Next month, we will apply candies over the flake.

Words: Del
Photographs: Dan Clare
This article was taken from the September 2016 edition of Scootering, back issues available here: www.classicmagazines.co.uk/issue/SCO/year/2016

Enjoy more Scootering reading in the monthly magazine. Click here to subscribe.
Scooter Trader