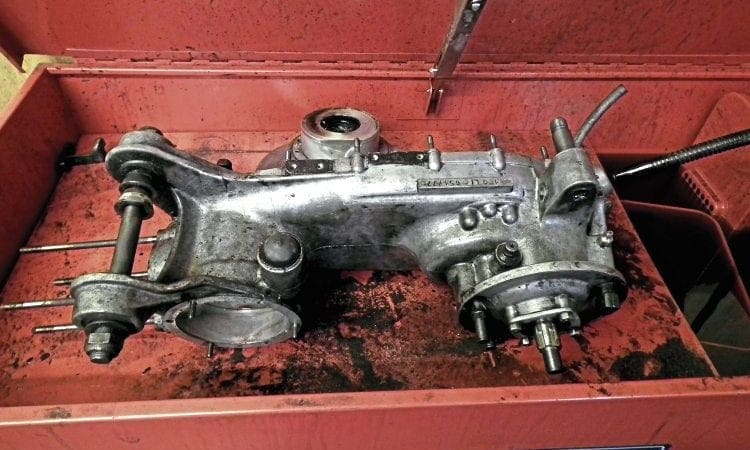
Whether you are restoring or rebuilding your engine, cleaning the casings can be a real pain. Here are a few ways to make the process much easier. Stu Owen explains…
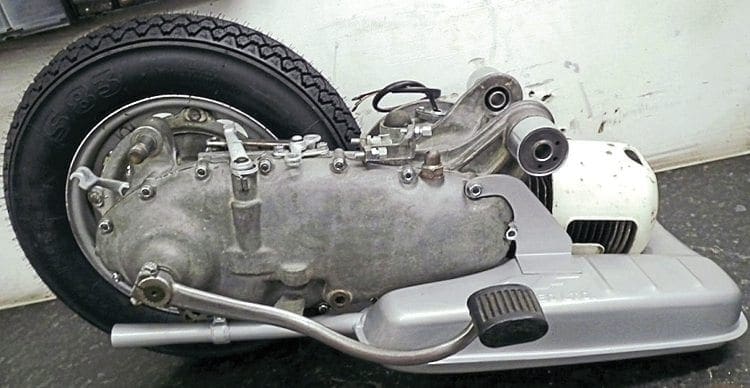
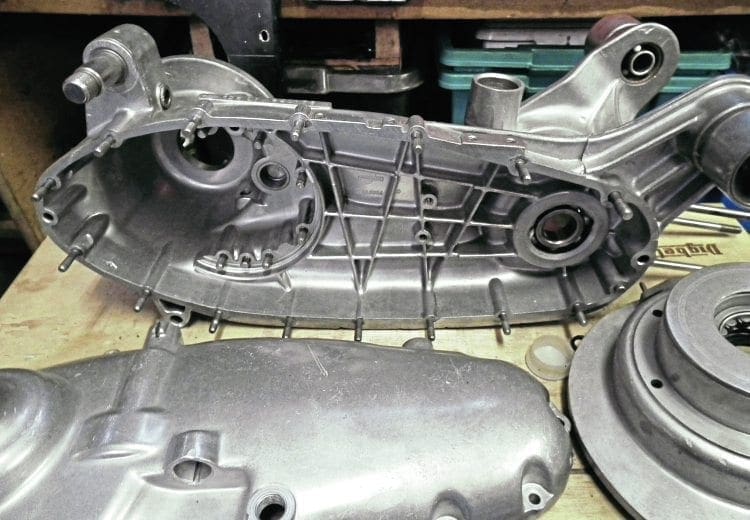
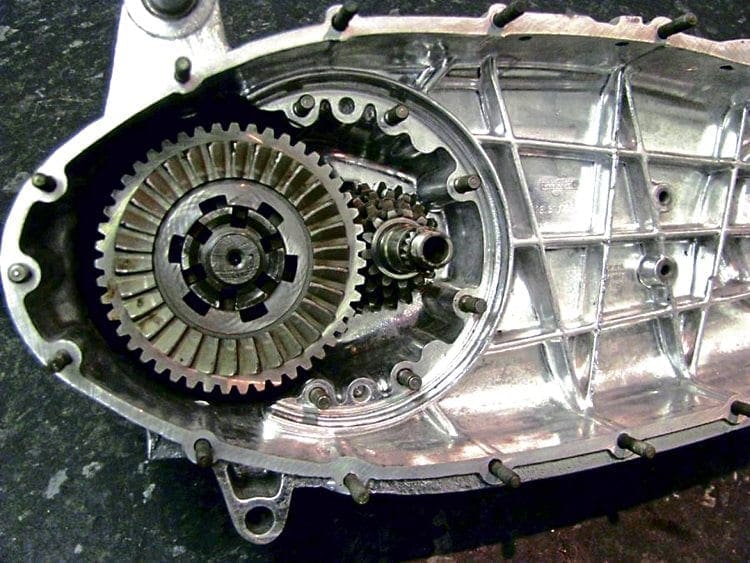
There comes a time when the engine in your scooter, whether it is a Lambretta or Vespa, needs cleaning. This may be prompted by a restoration, customisation or complete engine rebuild. If you are using brand new casings then this isn’t a problem but in most cases the original casing will be used. Whatever the reason, the job of cleaning the engine casings can be a rather difficult process. Removing all the ground-in dirt and oil is a messy and laborious procedure and if all of it isn’t removed the result is a poor looking finish.
There are many different ways to clean an engine casing and which method you choose depends on what type finish you are exactly looking for. For instance, if it’s a factory restoration then you want the casings to look like the original finish. If it is a custom scooter then it may be you’re looking for the bright polished look. Here are a few of the ways it can be achieved and which will best suit the end result you want.
Enjoy more Scootering reading in the monthly magazine.
Click here to subscribe & save.
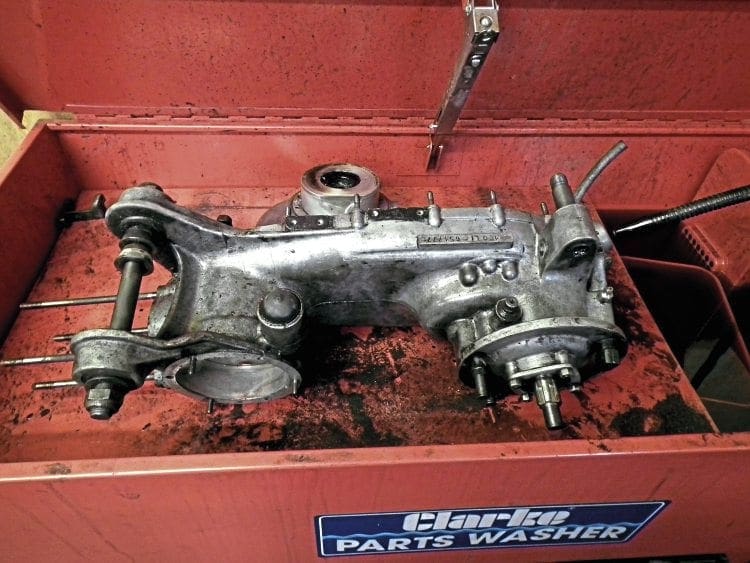
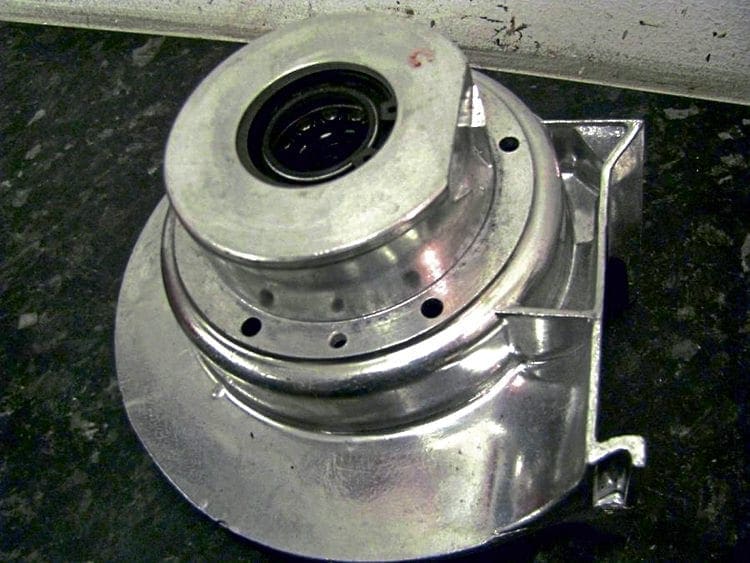
USING A PARTS CLEANER
If you have a parts cleaner or access to one then this is the best piece of equipment to use when it comes to cleaning the casings. The best method is to leave the pump switched on and let the cleaning fluid wash over the entire casing or as large an area as possible. After around 30 minutes or so a lot of the loose oil and dirt will have washed off and allow you to use the brush to get at the more stubborn areas. To get in the small recesses may require a finer or smaller brush. This can be done using a fine brass brush or an old toothbrush. Under no circumstances use a coarse wire brush even if there is a large amount of dirt to remove. Once the wire bristles start to make contact with the casing they will scratch it and this will be almost impossible to remove. It is tempting sometimes to use a small circular wire brush fitted to a drill to do the same job. Again, don’t use this method — it to will result in irremovable scratches.
You must be patient as it may take a good day or so to remove all the dirt properly but if you want to get a good factory finish then this is the best way to do it. The only problem you may have doing it this way is if the casing requires some welding. If welding does take place then there can be quite a difference in the colour of the aluminium where the welding has taken place, it will be much brighter. Unless there was a substantial repair then chances are it won’t be seen. If it is noticeable over a period of time this will fade and it’s just best to leave it. If it does bother you then maybe another more radical cleaning process is required to stop it sticking out like a sore thumb.
Just remember that whatever process of cleaning you are planning to undertake, the casing will always want to have had the bulk of the dirt and oil — the looser less ingrained stuff — washed off it before you really get on with the more difficult and time-consuming stages of the cleaning job.
The parts cleaner method is by far the best way to do this and will make the job better for the next process. For example, if you are having the casings polished it’s no good turning up with them filthy as chances are the polisher will decline to work on them in such a state.
SODA BLASTING
Soda blasting has been around for a while and is a great way of getting your casings perfectly clean while still retaining that factory finish look. It has become a more popular cleaning method as it is much more environmentally friendly than many of the other methods that can be used. The idea is to blast the casing with high pressured air that is mixed with bicarbonate soda (baking powder). This not only cleans right down to the surface but also doesn’t affect the surface itself and as such does not mark it in any way. It also has the added advantage of not clogging up the threads on the casing which is as equally important for when you’re putting the whole thing back together afterwards.
When the process is finished there will be a white powder residue in some areas but this is quite easy to clean off. Some businesses that offer this service also finish the process off by firing plastic beads at the casing under high pressure. This gets rid of any powder residue and makes the casings ready to use without any other cleaning required.
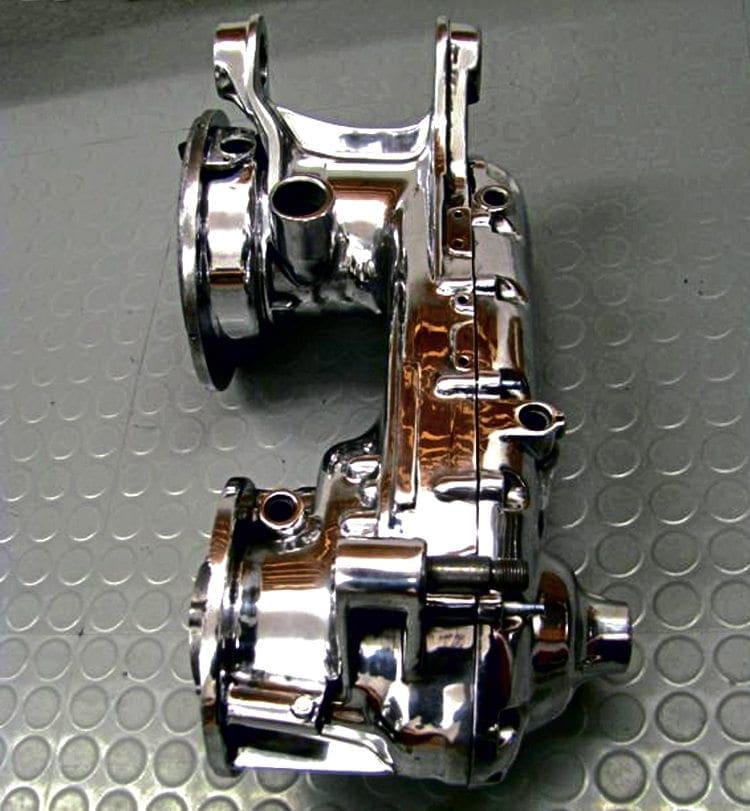
ACID DIPPING
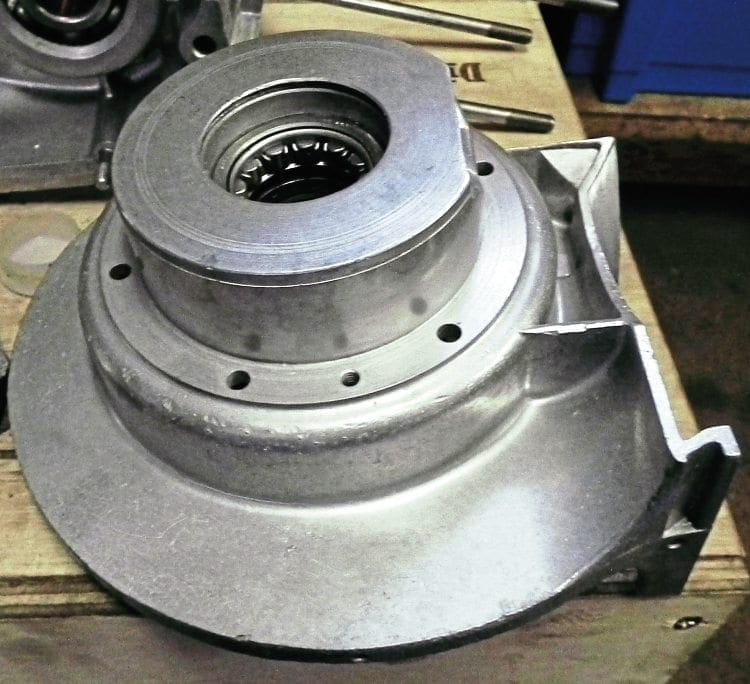
Acid dipping has to be the best way to give a bright gleaming finish to your engine casing. Even so, there are certain things you need to be aware of before using this process. It is not a way of cleaning all the dirt and oil off for a start; that must be done beforehand using, for example, a parts cleaner. The idea is to submerse the casing in a special acid solution which removes all fine dirt from the surface and leaves a super bright finish on the surface. It also in no way effects or attacks the aluminium casing. However, it can affect steel so this means the bearing track for the gearbox cluster must be removed before you start.
The other point to note is the casings are so shiny afterwards it may not look ideal for a factory restoration. The reason being it looks rather odd and much brighter than the engine would have looked when it left the factory. However if it is for a custom scooter then this may be the process that suits your needs
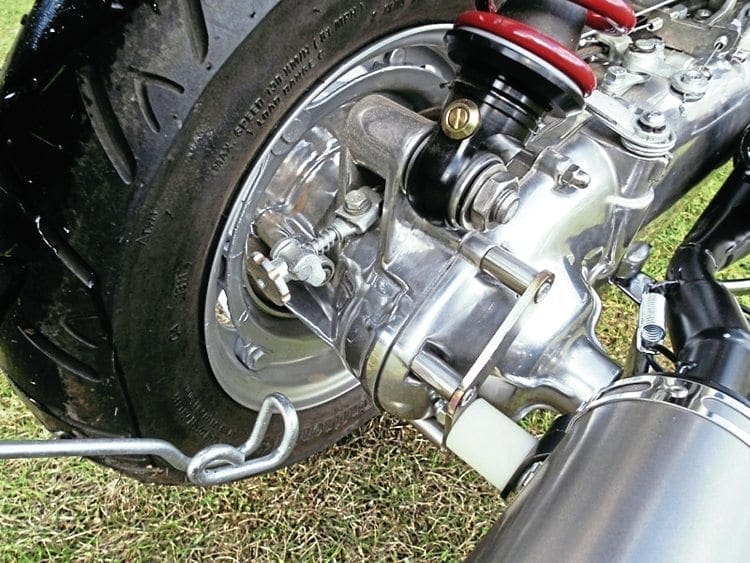
POLISHING
Polishing is exactly that and leaves the brightest and smoothest surface possible. You must bear in mind that the finish depends on how good the person polishing does the job. There are a lot of small areas that are hard to get into and if left give can awful look. Always check out the person’s work if going down this route and make sure you check the casings over afterwards. There is usually some dark grey residue which is the cleaning polish and will wipe off fairly easily.

Polishing is definitely the best way to get the perfect finish for a custom scooter but would look out of sorts on a factory restoration. This method has become more fashionable over the last few years and is far better than chroming, as that is really a ‘no-go’ area due to it interfering with the surface edges and should be avoided. When you first have a polished casing, even after building the engine for a while it looks great. You must remember this will go slightly duller over time and will require you to polish by hand to keep the appearance up. In the past there has been the tendency to apply clear lacquer over the casings once polished to protect the finish. The problem with this is, over a period of time it goes discoloured and slightly brown. Not only will this look rather odd but also a pain to remove unless the casings are stripped once again.
To summarise all this, there are plenty of ways of approaching that engine casing clean and picking the right one will enable you to get the exact finish you want. Remember to choose a method that best suits your idea of how you want the finished project to look. Don’t use a method just because it seems as though it will be cheaper or easier; use one that makes your scooter stand out.
DO’S
Always remove as much oil and dirt off first to give the process you choose to clean or finish the best results afterwards.
Get any welding or thread repairs done before cleaning. Remove any bearing tracks or bushes before any form of dipping or chemical stripping. Always clean the threads if a casing is polished with a tap to make sure they are free from obstructions. Make sure the polisher is aware of the engine number and tell him to leave this area alone as it has been known for numbers to be rubbed off. Finish with Autosol yourself afterwards.
DON’TS
Never use a wire brush to clean the casing. Never get the casings sandblasted. Not only will the outside look awful but chances are you will pit and damage the bearing and gasket faces
Don’t lacquer the engine casing after polishing as it will go brown and dull once the engine is out on the road
Words & Photographs: Stu Owen

Enjoy more Scootering reading in the monthly magazine. Click here to subscribe.
Scooter Trader