Lambretta brakes have always been a bit of a conundrum. Sometimes they work well doing the job they are designed for but sometimes they don’t which can be worrying to say the least when trying to stop! Stu Owen guides us through the do’s and don’ts…
There are many issues that can affect a brake’s performance but there are also ways in which to improve them. Never neglect your brakes as they are the most important part of your safety when out on the road and always service them at regular intervals…
OVERVIEW
Both Lambretta brakes front and back were designed by Innocenti to be operated by cable. Even with the introduction of the front disc brake (a world first in 1962) that also remained cable operated. Today’s modern hydraulic front disc brake is far removed from those built by innocenti but for the purpose of this article we will look at the traditional set-up. With the drum being quite small on the Lambretta getting big enough shoes to give enough stopping power was always going to be a problem. This was even more exaggerated with the introduction of the more powerful models hence the need for the disc brake. With its very enclosed design there has been a tendency by some owners to neglect maintenance and servicing as there is nothing to view. However, this doesn’t mean nothing needs doing and with simple regular checks fully working and efficient brakes are achievable.
Enjoy more Scootering reading in the monthly magazine.
Click here to subscribe & save.
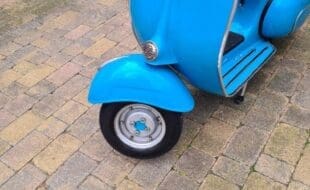
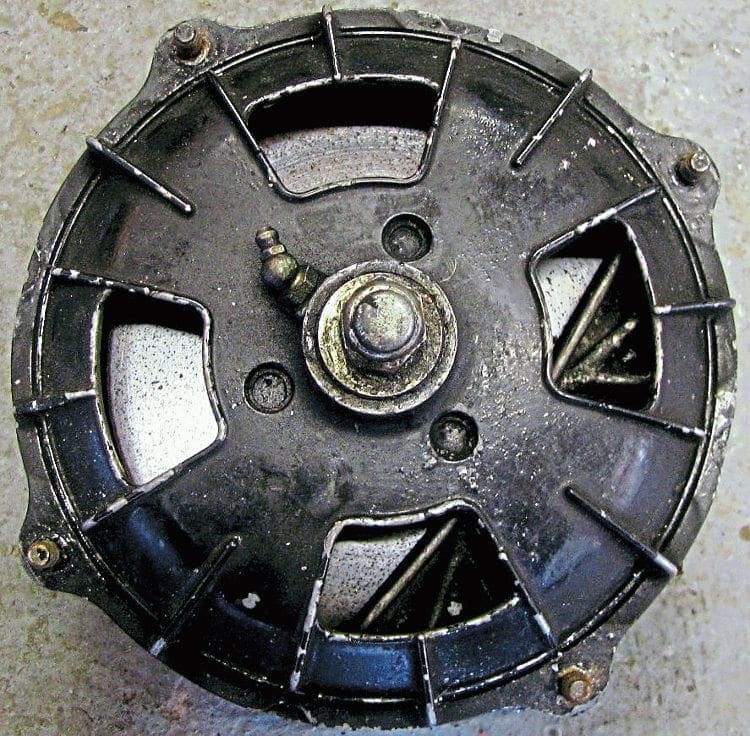
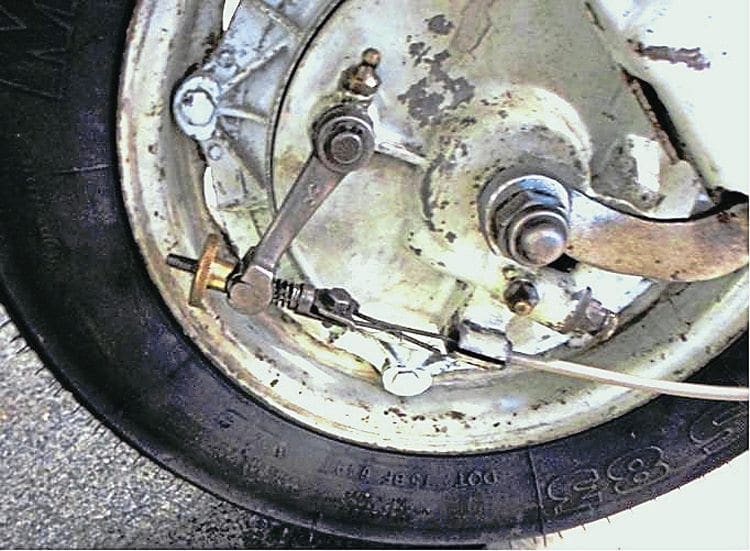
FRONT BRAKE DRUM
The front drum brake is adequate enough on lower bhp Lambrettas but not on anything that has significantly improved power output. The two halves are secured either side by a retaining nut and if both are removed caution should be taken to make sure they go back in exactly the same place.
If they don’t then one side of the spindle will be longer than the other, making one of the dome nuts bottom out before fixing securely. Also both sides of the drum hub lock in to fork link by means of a securing washer on the spindle. Make sure the washers sit in their respective housings in each fork link and never go out on the road unless this is the case.
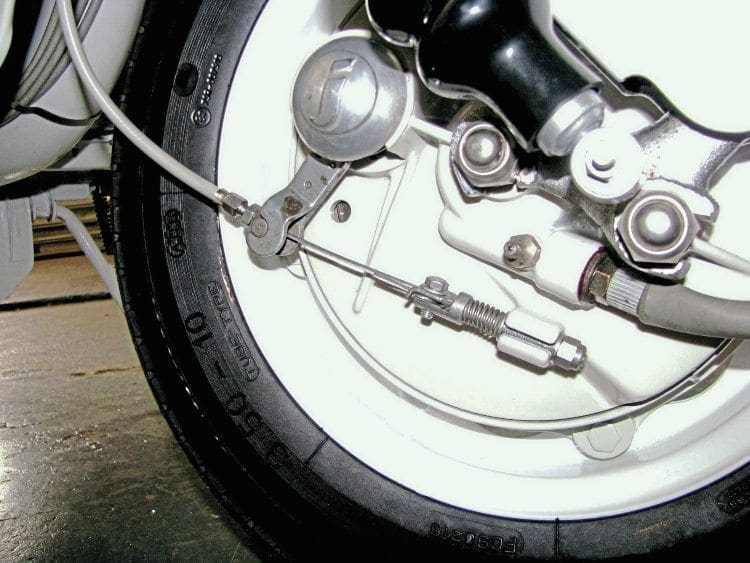
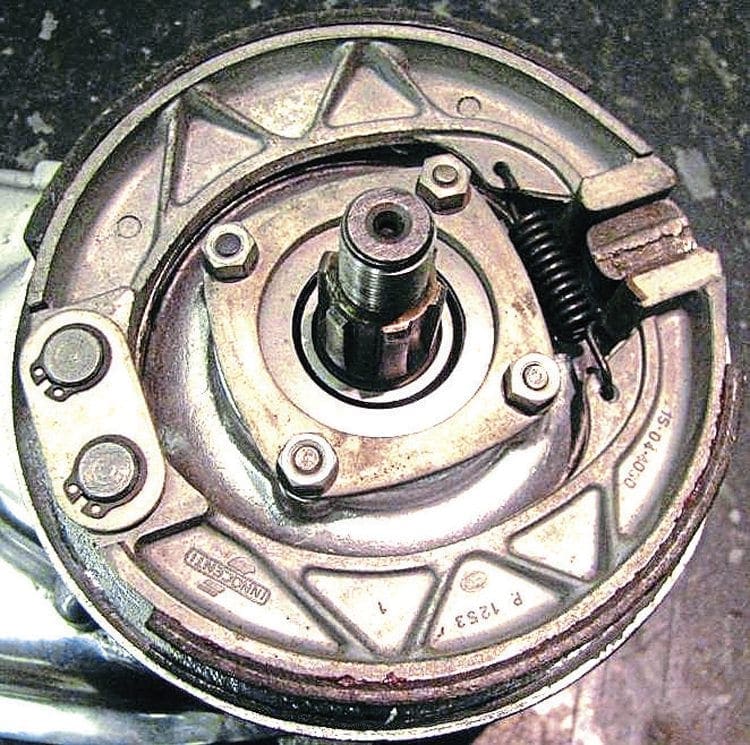
The cable operated arm should have around 1-1.5cm of movement before the brake begins to lock up. As this movement gets bigger it suggests that the shoes are wearing down and once past 2.5cm this signals that they need replacing.
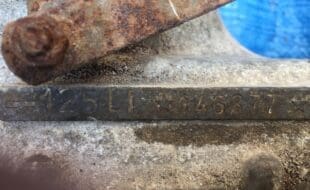
The thumbwheel adjuster allows you to keep the cable tension fully tight and again if the thumbwheel is fully wound in this is telling you that excessive wear has happened. When changing the brake shoes always clean out the old brake dust first. Make sure the shoe pins are free of dirt and that the shoe moves on the pin without resistance when fitted. When fitting new shoes make sure they are the correct ones. Originally Innocenti used a thicker cam up till the GP which used a much thinner one. Therefore GP brake shoes are slightly longer on the cam end and only the correct cam will fit with the correct shoes. Remember either type of cam will fit in a hub so if you have an older model it may have had a GP brake cam fitted at some stage. If you are unsure take an old shoe that is being replaced with you to check when buying new ones.
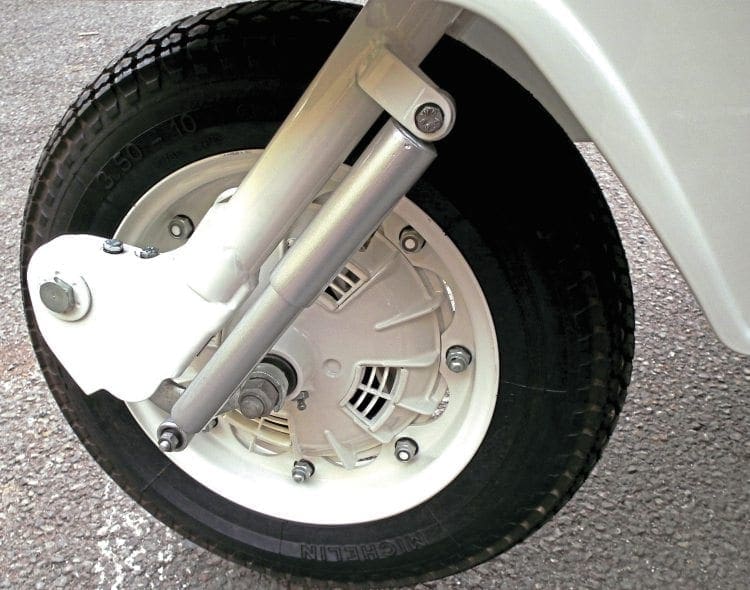
As the front drum houses the speed drive also make sure its oil seal is in perfect condition as if not grease will leak on the shoes with immediate failure of the brake. The operating cam should be cleaned out and never refit without first greasing and making sure the O-ring oil seal is in place on the cam. Finally don’t forget to fit or replace the circlips on each shoe pin. If it is the later W-wire securing clip, again, replace if necessary. Always make sure you are using the correct fixing and pin otherwise they will not locate properly especially if using the W-wire clip as it will not fit in the groove of a circlip pin.
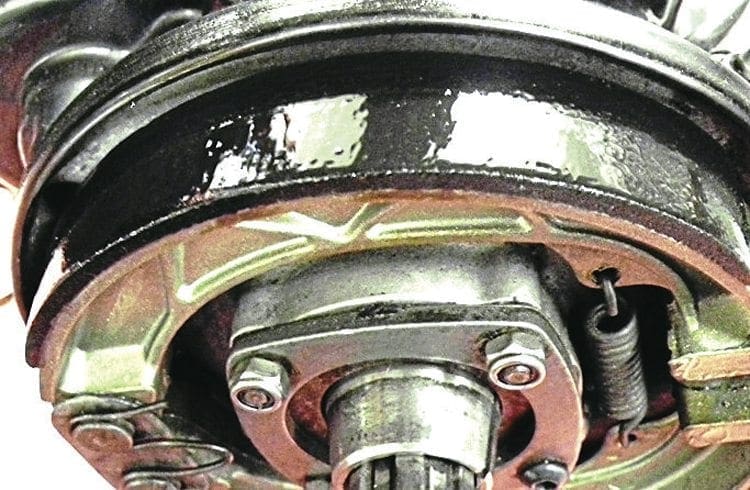
Once you have carried out any maintenance, bolt the two halves together through the spindle and tighten up. The two halves should spin freely and the brake arm should only have minimal movement before locking. If there is a slight rubbing without moving the arm then take the hub back apart and see where the high point is on the shoe’s surface, slight trimming of that area will cure the problem. If the hub is locked solid when you bolt it together this suggests that you have not put the bearing spacer back on the spindle so there is no free float between the two halves. Some hubs have a moulded spacer in the brake shoe half whereas some have a spacer on the spindle. When you first take the hub apart, check to see which type yours is and make sure if it’s a loose spacer that you fit it back on the spindle. Once tightened, if the two halves spin freely without any resistance bolt to the wheel rim and fit in to the forks.
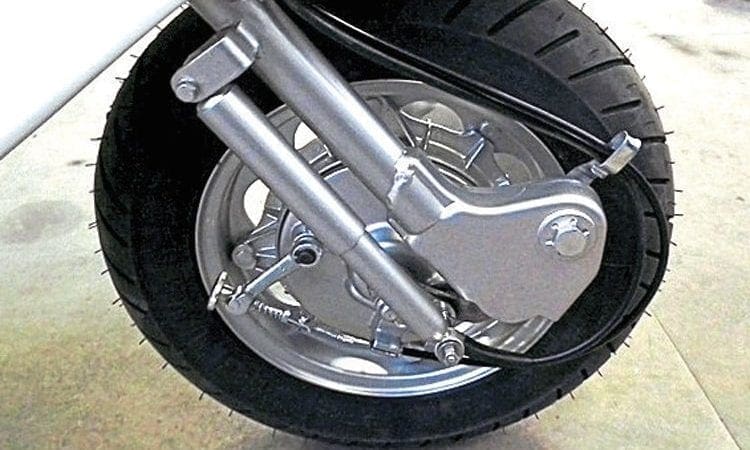
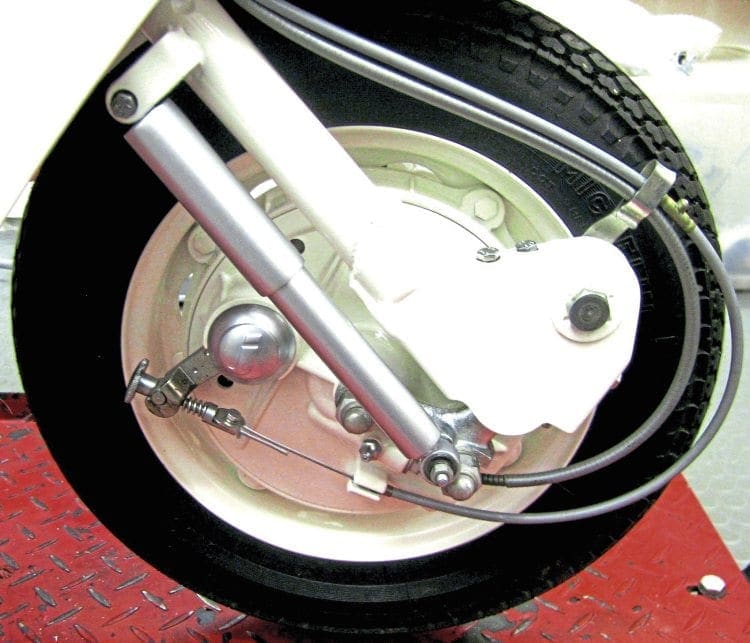
FRONT BRAKE DISC
The Lambretta front disc brake was revolutionary when first introduced in 1962. In actual fact it was the world’s first production two-wheeled vehicle to have one fitted as standard. It has had bad publicity over the years due to its lack of stopping power though, with some owners suggesting dragging your heals with a good pair of trainers will stop you quicker. However there are ways of making sure you are getting the maximum potential out of the disc brake and ways of improving it.
As far as maintenance of the disc pads goes it is pretty straightforward. Similar to that of the drum hub, the thumb wheel adjuster will need turning as the pads wear down. The cam will also move more as this happens so it’s a repeat exercise of what was described with the drum hub. To check pad wear is much easier by removing the cam operating arm and pulling the pad out. If there is not much material surface left then it is time to replace them. This only exposes one pad but both should wear at an even rate. If the pads need replacing the two halves will need to come apart as one of them is internally fitted, what’s known as the static pad. When separating the two halves remove the spindle nut, there is only one on a disc brake as the other side sits in a recess. Holding the caliper side allows the disc plate side to be removed. This can be awkward as the three locating pins that hold the disc in place can seize on to the disc, making removal difficult. There are two drift holes on the caliper side as well as the hole where the cam has been removed. If you are drifting out be careful not to hit too hard and don’t use anything metal as the disc surface may get damaged. Once both halves are separated pad replacement can take part and now is the time to start making improvements to aid efficiency and stopping power.
Firstly let’s take a look at the disc itself. Both sides should have a perfect flat surface which should be free from rust. If there are raised surfaces or high spots it is possible to get both sides flatbed ground to make sure they are perfect. Secondly the three dowel holes that secure the disc in place should be clean and free from dirt. Likewise the three dowels on the disc half should be free from rust and especially overspray if the disc has been painted. Make sure the disc sits perfectly on the dowels but at the same time check there is free movement of the disc up and down. There is an internal wire clip on the disc itself which is there to prevent disc rattle when the engine is ticking over. It does so by resting on the dowels, preventing excess movement. You can if you wish remove this to make sure you have a more free movement but you must remember the disc will rattle somewhat when the engine is running while on the stand.
The next thing is to look at the pads themselves. Both sit in to a circular recess and should sit flush but at the same time be allowed to move freely up and down. If they don’t there can be the tendency for one of them to stick, rubbing on the disc permanently. Unfortunately for years aftermarket manufacture of Lambretta disc pads has not been that accurate and quite often the fit is too tight. File or grind down the outer circumference of each pad until they move freely in their respective recesses. This will guarantee the pads will not stick while at the same time the disc will be able to free float on the dowels.
When assembling back together, make sure that, as on the drum brake, any seals and spacers are correctly put back in position. Bolt the two halves together but this time you need to re-adjust the static pad. This is done by a grub screw on the disc side. Start by unwinding a few turns and making sure there is free movement. Then slowly turn back in until the disc locks up. Now turn back out slightly as it frees off then check to see how much movement you have on the caliper. This only needs to be around 1cm. Once you are satisfied with the tolerances secure the grub screw with its retaining nut and lock plate. You will now have a disc that is a fully efficient and ready for fitting.
Now all that is required is for it to be cabled up. One of the problems of the cable operated disc brake is the flexing of the cable due to its length. As it flexes this prevents you from applying enough pressure to the calliper. Back in the 1960s, technicians at Lambretta Concessionaires solved this by using what is known as the reverse pull system. This cuts out a significant length in the cable, allowing more pressure to be applied to the caliper. There is not enough space in this article to go into details of how the conversion is done, even though it is simplistic enough.
We will show in another edition how it is done but as it’s a worthwhile modification. One final thing to note is to allow slightly more movement on the cam arm via the thumbwheel adjuster as everything expands once the disc is up to operating temperature. If you don’t allow enough movement then the pads will start to bind and virtually lock the brake up. Once the pads have bedded in after a few miles you can wind the thumbwheel in to get the correct tension through the brake lever.
REAR BRAKE
The fundamentals of the rear drum brake are exactly the same as those of the front drum brake so refer to what was pointed out in that section. Obviously access is gained by removal of the rear hub which will require a hub puller to do correctly. Correct removal and fitting of the rear hub has been covered before (see Scootering edition 361 July 2016). However there are a couple of points to note of things that differ slightly. Firstly the rear brake cable is much thicker and so greater pressure is exerted plus the fact that it is operated by the foot. This means the shoes exert far greater force on the inner lining of the hub and so it is more prone to wear.
When servicing check that the lining is not heavily grooved because if so brake efficiency is greatly reduced. Also due to the greater pressure exerted if the shoes are worn badly and there is a lot of movement on the brake arm it is possible for the cam to completely turn. If it does then the arm will hit the back of the casing and in doing so bottom out before the shoes grab meaning a brake failure.
Excessive arm movement was covered earlier so even if the rear brake is working check at regular intervals and constant adjustment of the thumbwheel will indicate excessive wear is taking place. Remember that the rear brake cam has both the earlier thick type and later thinner GP type option so again check when buying a new pair of brake shoes that you get the correct ones.
SUMMARY
Every time you go out on your Lambretta the braking system is constantly working, even on a short journey. That means wear is taking place constantly both on the brakes themselves and the controls that operate them. Just because you can stop adequately doesn’t mean you shouldn’t check or service them at regular intervals. Brake failure at any speed is nerve racking and potentially dangerous. Look after them properly and they will look after you.
Words & Photography: Stu Owen

Enjoy more Scootering reading in the monthly magazine. Click here to subscribe.
Scooter Trader