Cheap power, using old school tuning techniques, tested on a dyno…to separate fact from fiction.
If you saw the first instalment in last month’s edition then you’ll already be up to speed (pardon the pun) on the nature of this section. Most scooter owners have a desire at one time or another to get the trusty steed running a little quicker, and can be overwhelmed by the array of available tuning goodies and high-end exotica. So quite simply, we intend to explain the old school (and later on the new school) tuning techniques which can create ‘bang for buck’ performance for both Lambretta and Vespa scooters.
Enjoy more Scootering reading in the monthly magazine.
Click here to subscribe & save.

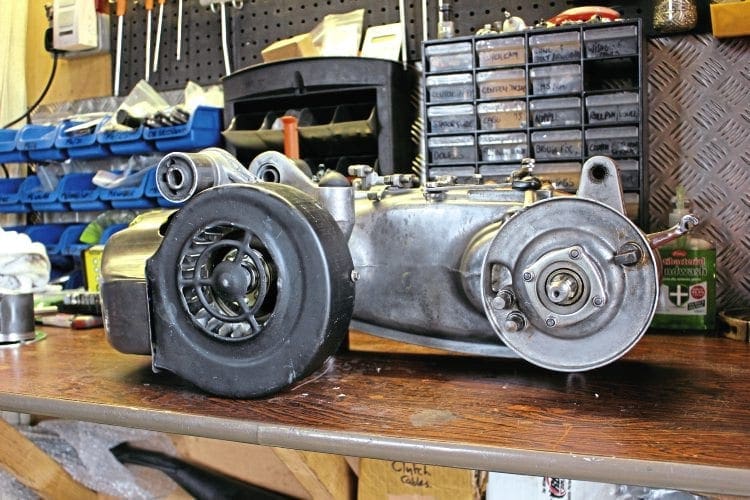
Darrell Taylor has spent a great deal of his own time and money investigating these areas of tuning, and has been generous enough to share his findings on the SIL200 engine with us. Last month we explained how he took a standard engine from 9bhp up to 13+bhp with some very basic and common sense steps. If you haven’t seen it, you might want to find a back issue so you can see the dyno graphs for yourself. But the sideshow to that first step was that it also started to expose the weaknesses of the SIL200 engine at that point, and knowing he was only going to push on and take the engine further it was deemed necessary to bolster the engine for further development. Here’s what Darrell unearthed…
Spring time…
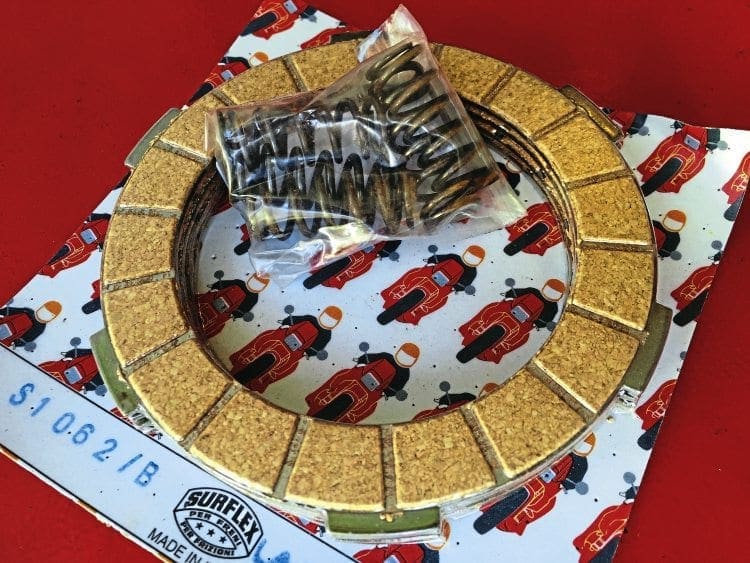
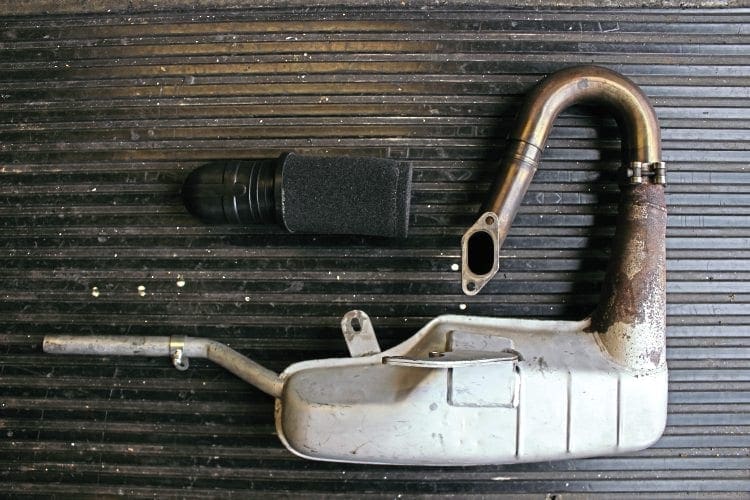
Without giving too much away from the future instalments, I have to mention that a further step in the process was an exhaust change. Up to this point Darrell had been running a boxpipe and 22mm carb, so an expansion chamber was an obvious next step. However as soon as the pipe was fitted the standard clutch, which had been coping quite admirably with Darrell’s tuning up to this point, started to slip. So it was deduced that circa 14bhp was reaching what was about the upper limit for standard SIL springs and Indian plates, and above that point they would need upgrading. The level to which you upgrade is speculative, based upon your known final bhp readings. In my garage I had a basic rule of thumb which went a little like this: 15-20bhp = 4 x Surflex plates and uprated springs, 20-25bhp = 5 x Readspeed ‘red’ plates and uprated springs, 25-30bhp = AF Rayspeed six-plate clutch, 30-40bhp = LTH seven-plate clutch, 40+bhp = LTH seven-plate clutch with uprated springs and slotted steels. Having said all that, we are focusing on back for buck here, so Darrell kept with the 4 x Surflex plates and uprated springs. Mallossi were his spring of choice.
Gear up, it might never happen…
Gearing needs a little thought, when increasing power and revs you can take advantage of new gearing options. As a reference point, a GP200 box with standard sprockets 18 front 47 rear, gives a final drive of 5.22. Now if your tune is a little ‘peaky’ (meaning you have increased peak power but lost low down grunt) then 5.22 would be about right and you will gain speed not through gearing, but through the increased RPM of the tuning. If however you have increased your revs, peak power and NOT lost any bottom end grunt, as is the case in Darrell’s tuning of this motor, then you can fit a larger front sprocket, for example the GP200 box could now accommodate a 19 front sprocket with the 47 rear, to give a final drive of 4.95 which will increase top speed through both revs AND gearing…win-win! And so this is exactly what Darrell fitted, a 19-tooth front sprocket. One thing that isn’t optional, in both mine and Darrell’s opinion, is the front sprocket bolt, which uses a two-piece bolt/washer assembly, this needs changing. Quite often the washer will bend under tension and allow the bolt to work loose, so a 1-pc bolt should be fitted as a matter of course.
Chain and slipper…
When addressing the gearing, it is an option at this stage to upgrade the standard chain. My opinion is that they are okay up to 13bhp, but after that I select a reputable brand like IWIS. It’s worth noting standard chains can stretch quite a bit as they wear, so even with engines under 13bhp, you still need to check and adjust tension as part of your regular maintenance schedule. Darrell’s also upgraded the old 2-pc guide system for a more modern chain slipper. If you want to be able to have endless gearing options with the fuss of changing chains all the time, you can use a quality item like the LTH pushdown tensioner. Alternatively, in keeping with the bang for buck theme, the AF Rayspeed alloy/nylon slipper and correct length chain is the more frugal approach.
Oil, shim, swarf and plug…
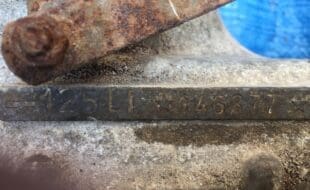
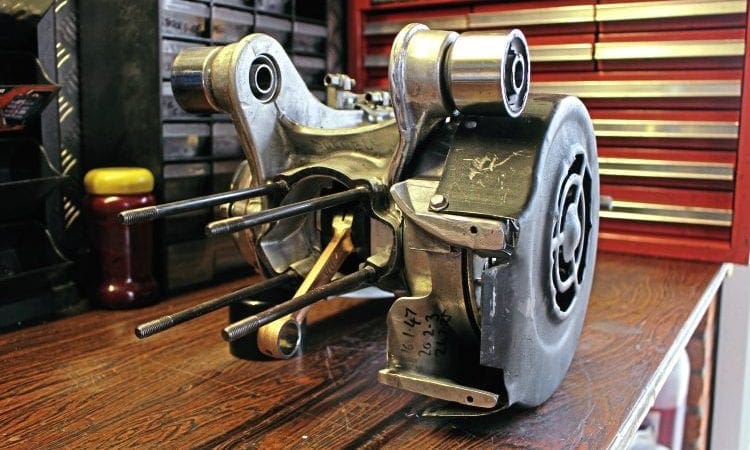
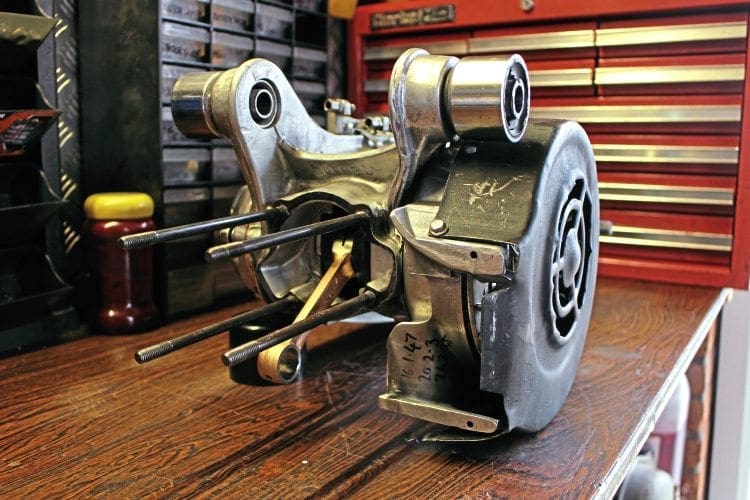
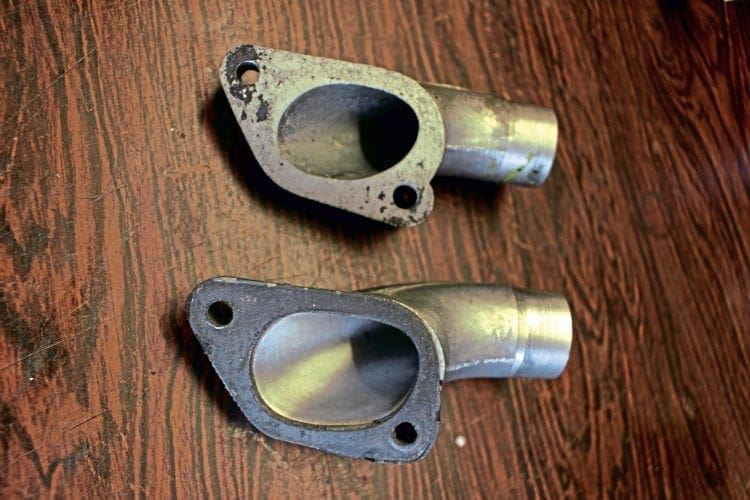
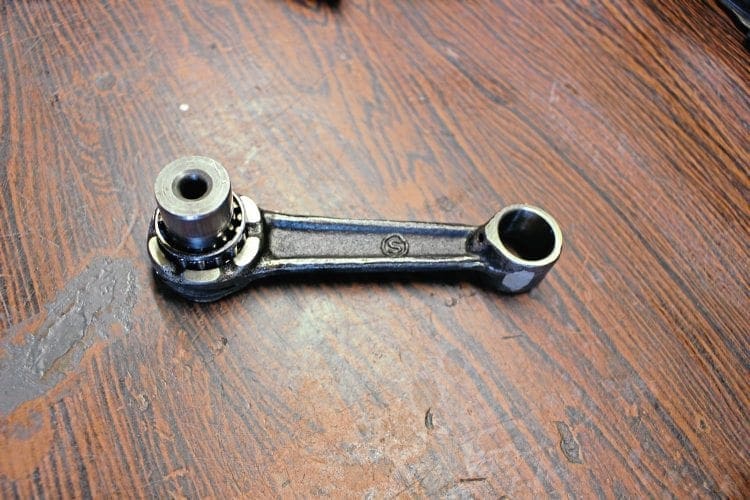
This should go without saying, but sometimes in life you find that common sense isn’t so… well, common. So I’ll mention it anyway, Some 200 engines are supplied with oil, some are not… it all depends on your source. But in either case, drain it and fill with new oil. More importantly however, is the magnetic oil drain plug itself! The items which use a split pin should be discarded and fitted with a non-pin version. These split pins are notorious for snagging and coming loose, not what you want! And lastly, in hearing more and more stories of 200 engines with standard Indian cranks in, covering thousands of miles without failure. So I can only assume there has been a small uplift in quality. However when it comes to the realms of tuning, and knowing where this engine was heading, an upgrade was needed. As many people have now started to cotton on over past few years, standard SIL200 webs with 22mm big end pins are great, they are really strong, have a very tight pin fit and are reasonable balanced. They don’t look the prettiest, but they are good. It’s the rod and bearing which let it down, and in this case Darrell performed the old school upgrade of fitting a Yamaha 110mm rod and bearing. The added benefit to this, along with it being a stronger component, is that a standard Lambretta rod is 107mm, so the added 3mm of the Yamaha rods allows the builder to utilise a selection of base packers and/or head gaskets to find desirable port timings and squish settings. Bonus!
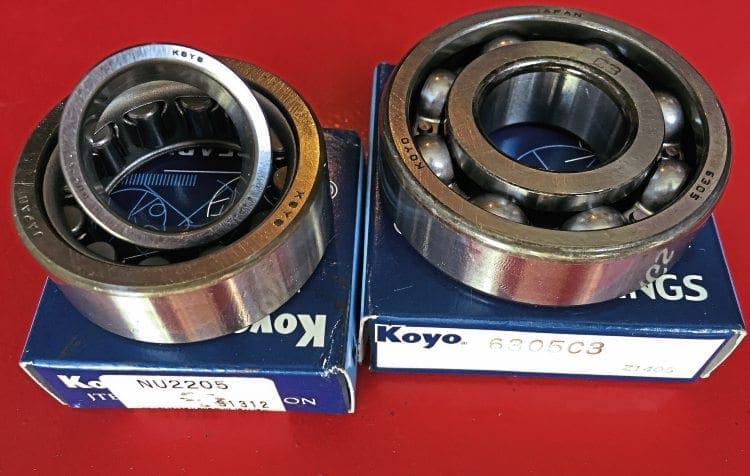
Bearings
The crank bearings are under tremendous load. With forces being applied at speeds up to 10,000+rpm they need to be robust. Again, a 9bhp plodder might last a while, but on tuned motors… new bearings are a must. Darrell fitted his own selection of quality bearings and oil seals, thus ensuring that no matter how far he pushed the engine in the next steps, the bearings were up to the job. While we were at it, the Indian (alloy) oil seal plate was exchanged for a steel uprated item. These are much better and do not warp like the Indian item.
After fitting the bearings, and while refitting the mag housing, Darrell definitely suggests you quickly fit new mag housing studs. It’s very cheap and easy to do, and very much worth it in the long run. Darrell found a series of studs made from cheese, which were sheering off while the scooter was being ridden. He then inspected some from a SIL supplier and found they were all the same. So uprated versions were found from a UK supplier of re-made parts.
Don’t brake it
SIL shoes… okay if they are not contaminated with oil and grease from the factory or if you are running at low speeds. But if they are contaminated, then you are in trouble. In either case, they are notorious for being off-centre. Darrell took the precaution of fitting the more centralized brake kit from Jockeys Boxenstop in Germany, which gives a much more satisfactory braking performance.
Pissed n broke. Sorry, I mean piston broke…
Three-ring pistons… from a tuner’s perspective they are the devil’s work. Thick brittle rings, and three of the buggers! At this stage the three-ring piston is still doing its job, and should cope admirably for thousands of miles, as many do. I’ve even seen mild porting jobs be okay with them, with gently ellipsed and properly chamfered ports. But again, knowing the progressive steps to come, and where this engine is going in terms of end-power… now was the right time to change the piston. Darrell fitted a Wossner piston as they are easily available, good value and high quality. However he noted that next time, he’d have been as wise to use the Mugello piston from Cam-Lam, for all the same reasons.
So that’s it in terms of engine upgrades. The above items are to be considered the necessary maintenance and bracing required, before embarking on a tuning trip. Weak spots covered, and other items to leave room for ‘future development’. The engine can now handle significant power gains, without worrying about chains, bearings, rods and clutches letting go… let alone the simple stuff like studs and drain plugs.
So what next?
Darrell starts on a few common upgrades… flywheel, exhaust, carb, etc. The results are very encouraging for the cast iron/bang for buck crowd, and once the simple changes are over… what can a porting job bring to the table? Well, Darrell spills the beans in coming editions, and even throws in explicit port timings to suit the relevant pipe. That’s all for this month, stay tuned!
Words & Images: Dan Clare
Project Research: Darrell Taylor
This article was taken from the June 2016 edition of Scootering, back issues available here: www.classicmagazines.co.uk/issue/SCO/year/2016

Enjoy more Scootering reading in the monthly magazine. Click here to subscribe.
Scooter Trader