Since we first ran this amazing scooter in the magazine, Marek has been busy testing and developing the beast to make every details perfect. He was good enough to drop us a line, so that we could share his updates with you.
The original story…
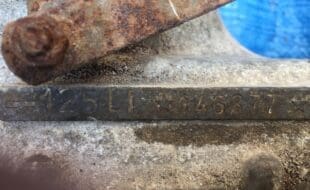
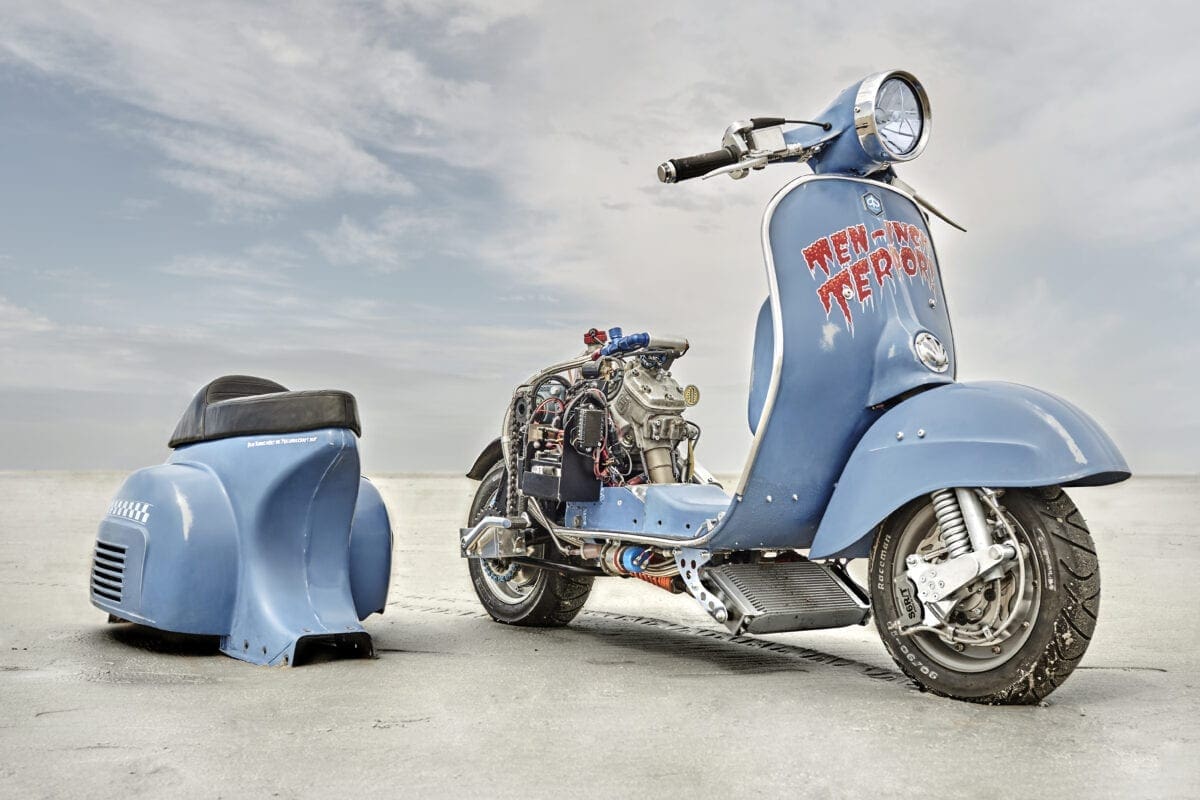
It was about 6 years ago when I destroyed a P-Range casing because of a gear failure. There must be a way to have more than enough output without cracking casings, twisting shafts, burning down pistons and ruining barrel coatings. There must be a way. These were my thoughts. Somehow I came across the Husqvarna WR 360 engine. It has the same size like the 250, it is light and compact. We all know the legendary Lambretta Rossa, or the brilliant conversions by Lambretta Innovations. As far as I know this has never been done with a Vespa. Another reason to give it a serious try.
Enjoy more Scootering reading in the monthly magazine.
Click here to subscribe & save.
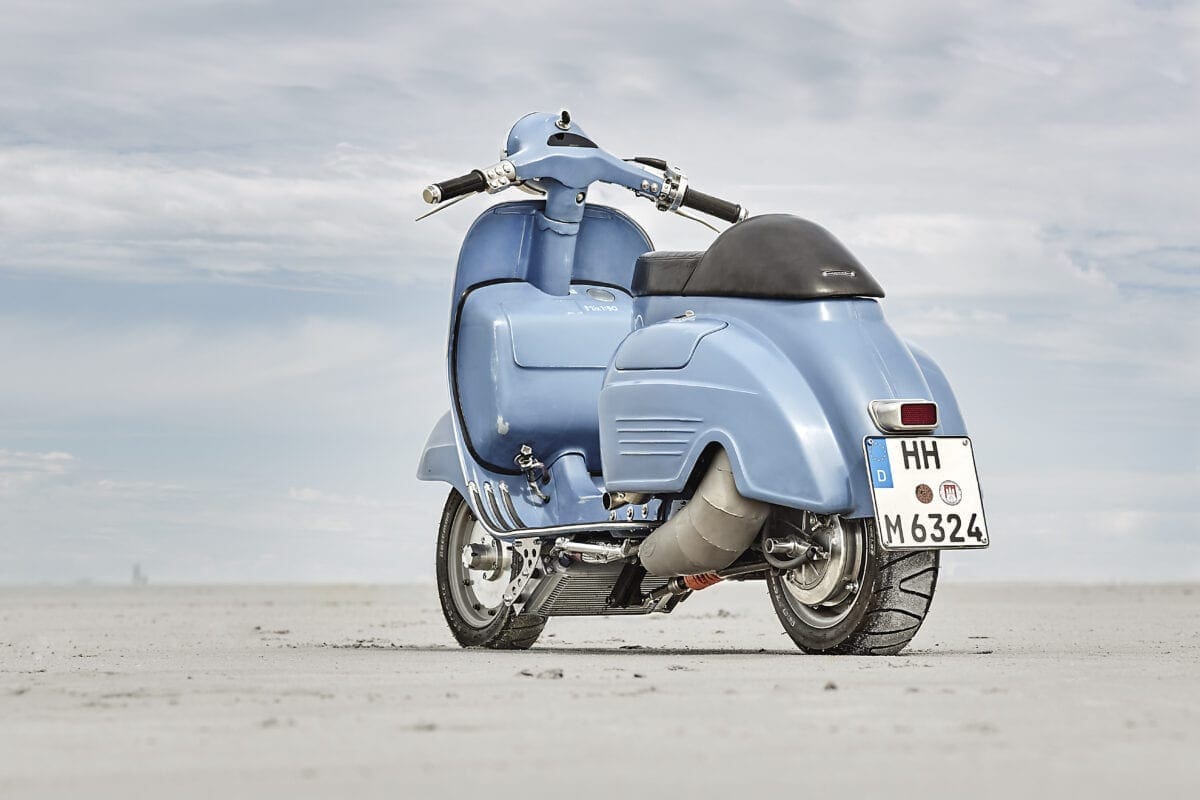
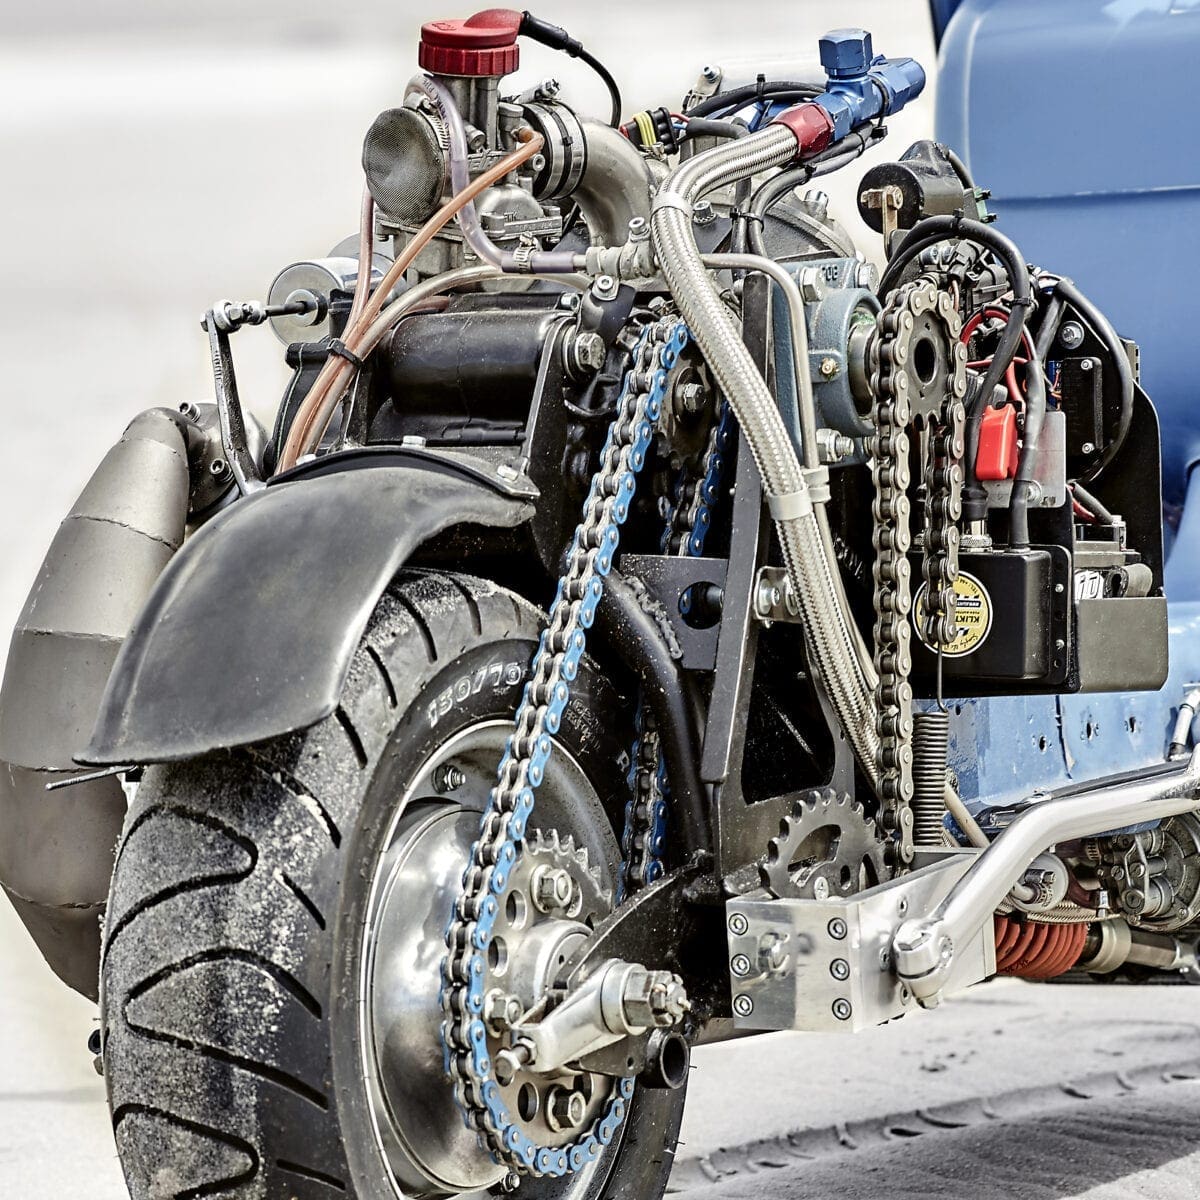
I started with a Yamaha steel swingarm and a P-Range frame from which I cut off the rear end to see if it would fit without altering the wheelbase. From the very beginning it was clear that the engine would be fitted to the swingarm but in order to get everything under the shell I had to tilt it. So I started to build the scooter around the engine swingarm. I found that the hub of the old 5 spoke aluminum Honda Comstar wheels would fit with a small offset of 0.5mm to the 5 hole pattern of a Vespa rim which can be neglected if the rim is centered. So I turned off a few millimeters on a lathe and brought the hub to the correct dimensions. The rear wheel is widened to a 4 inch size with an aluminum spacer. This takes the 130 70-10 Schwalbe Raceman tyre well. Now as the sprocket of the Husqvarna engine is on the right side I had to fit the hub reversed which is not a big issue as the drum brake is a simplex type.

The next step was shortening the swingarm. It turned out that I had to extend the wheelbase by roughly 8 cm. As this was finished I fitted the engine to it and started to solve the issue with the kick starter. The engine is tilted around 45 degrees and that brings up the starter shaft of the Husqvarna engine to the height of the upper corner of the side panel. Not ideal for fitting a kickstart lever. The solution was to install the kickstart lever at a remote position and use a drive chain to connect the kicker lever with the shaft at the engine. This made it easy to position the kicker lever where it would sit if a regular engine was installed. A standard spherical bearing on an additional support is now taking the forces as I had to create an extension for the kick start shaft at the engine.
After that I started to think about the rear suspension.
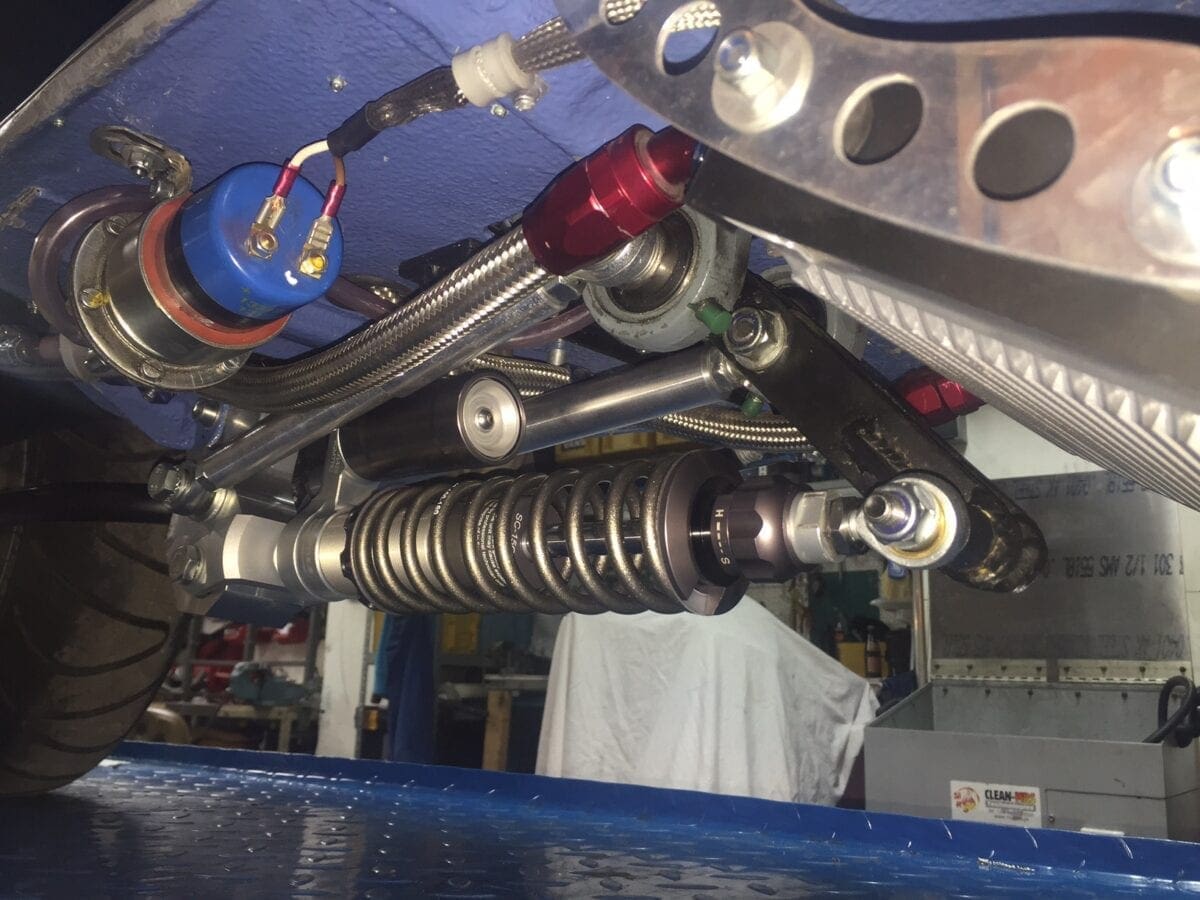
As the rear shell must be detachable I thought that it wouldn´t be the best idea to add the suspension forces to it. So I designed the suspension in the way it is done on the Buell. The shock absorber will go under the floorpanel. This will come with the additional benefit of lowering the center of gravity. As I wanted to use to standard push type shocks I had to set up a leverage system. I did a simple lever calculation in order to have the same forces and travel at the output of the suspension linkage and started to add a bearer to the swingarm. Then the frame was reinforced with 3mm mild steel starting from the pivot bolt up to end of the floorboard. After that I cut out a hole from underneath in the floor board to weld the a retainer plate to the frame tunnel. This plate receives the steady bearings for suspension pushrod-to-shock-absorber lever. With the bearings installed I built the lever and finally the determined the position of the shock. Getting this far took three P Range frames.
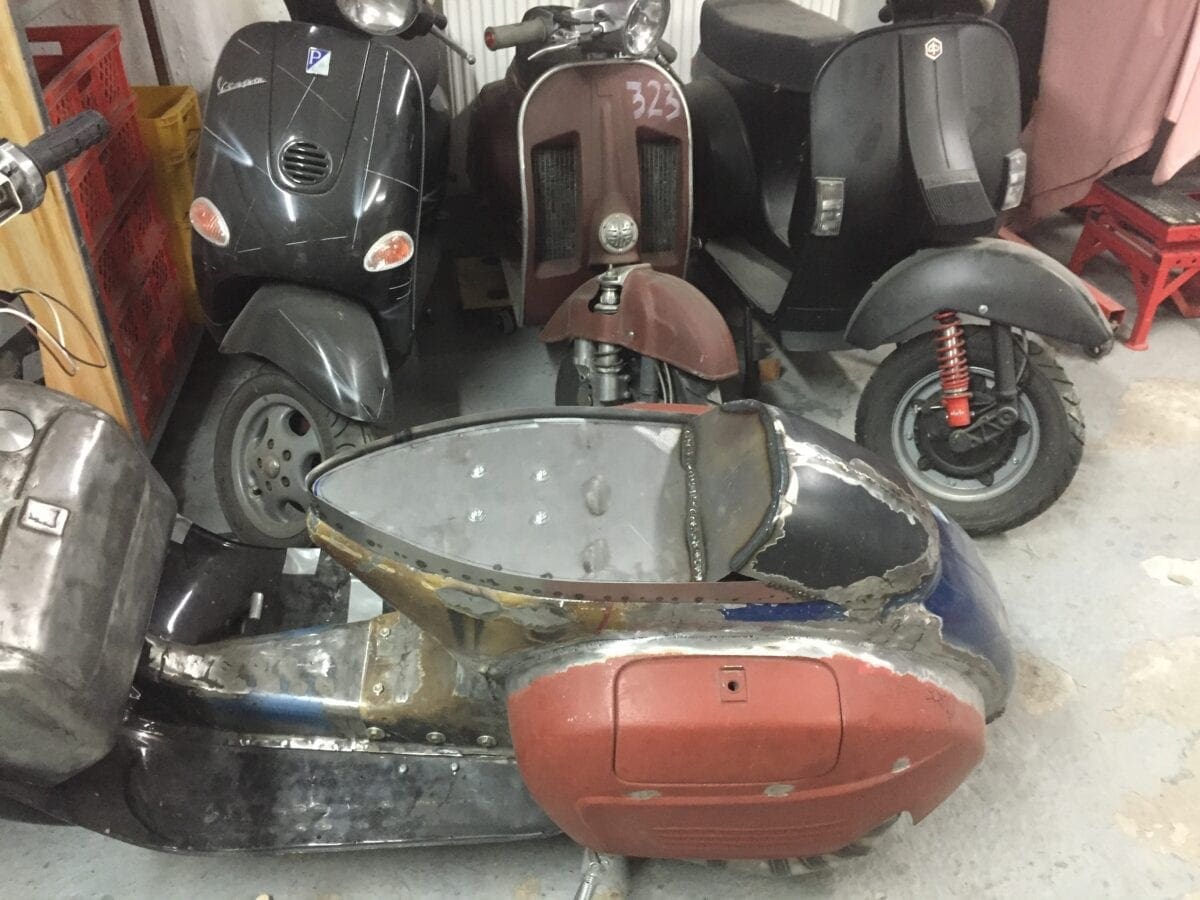
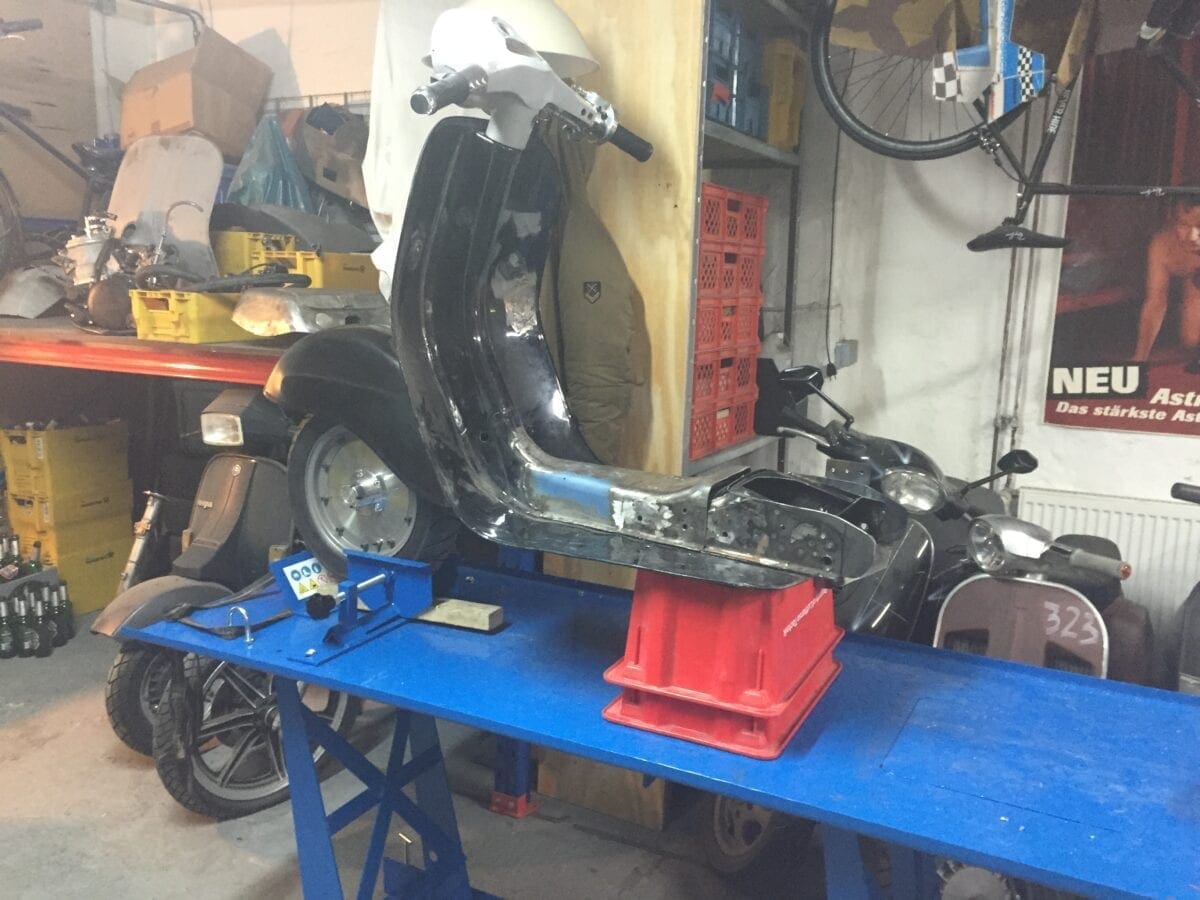
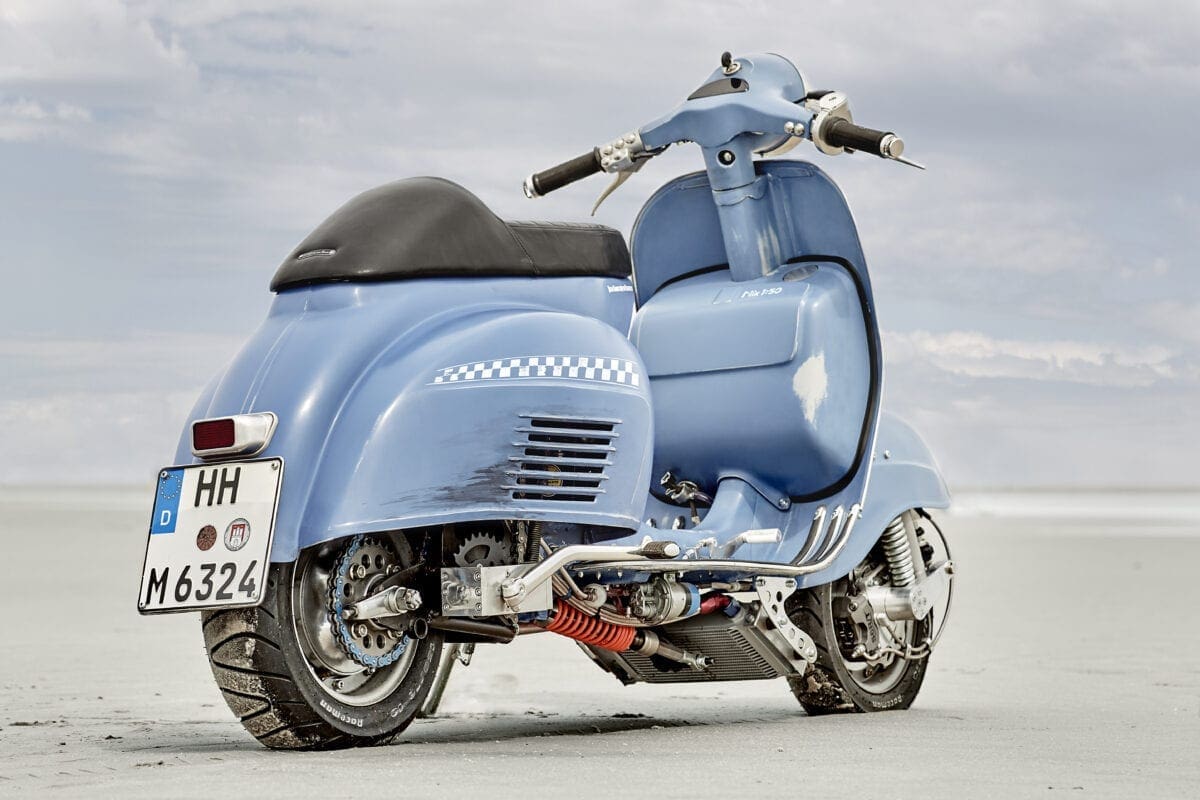
As I started to work on the shell I found that it had to be roughly 10 cm longer than its original state. So I was in need of frame number 4. I wanted to use Rally side panels which are a bit longer than all others so I´ve chosen a Bajaj frame to cut off the rear end. This would fit perfect to the Rally panels which helped me to hide the 10 cm extension of the shell and Bajaj donor frames are easier to find than any other classic frames. As the extension is approx. 4cm to the front and 6 cm to the rear you will probably not recognize it at first sight. The shell is now bolted to the frame with 8 5/16 bolts using anchor nuts in the frame tunnel.
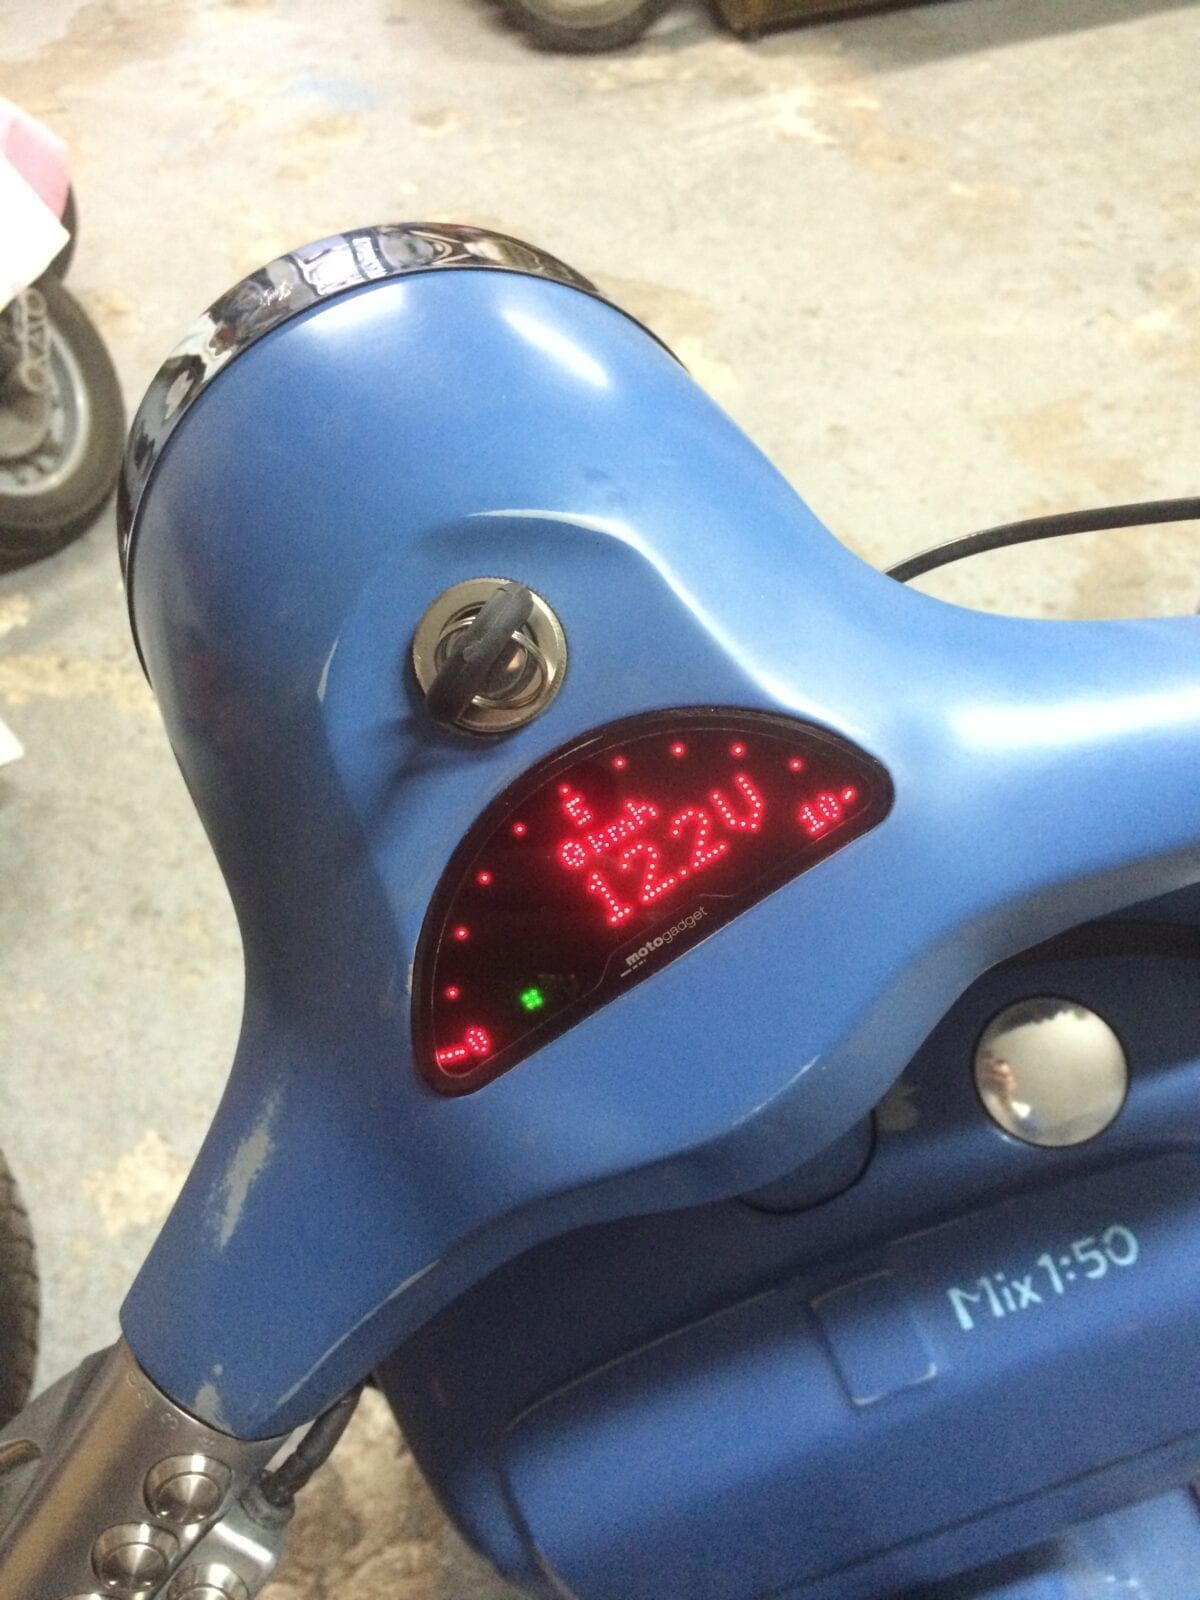
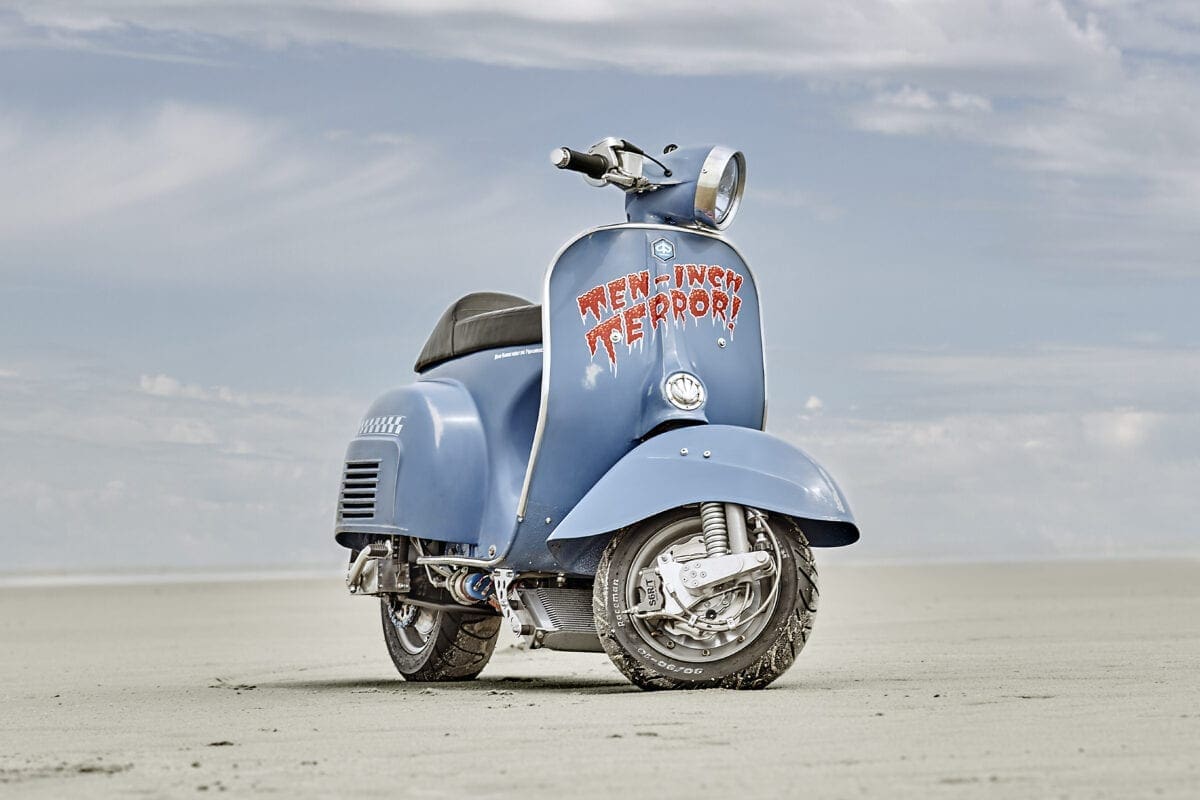
It turned out that the engine was a complete mess. Piston, barrel, connecting rod, clutch, all that was worn out, or damaged. The engine received a complete overhaul and by that I found out that Vespa spares are really cheap compared to the prices you have to pay when it comes to buy Husqvarna parts. With the rear shell having this Rally look it was simply clear that I had to give the same to the front. So I decided to use a Rally head set, mud guard, and horn cover. The head set has been dropped by 3cm and modified to fit a Motogadget mostoscope pro instrument
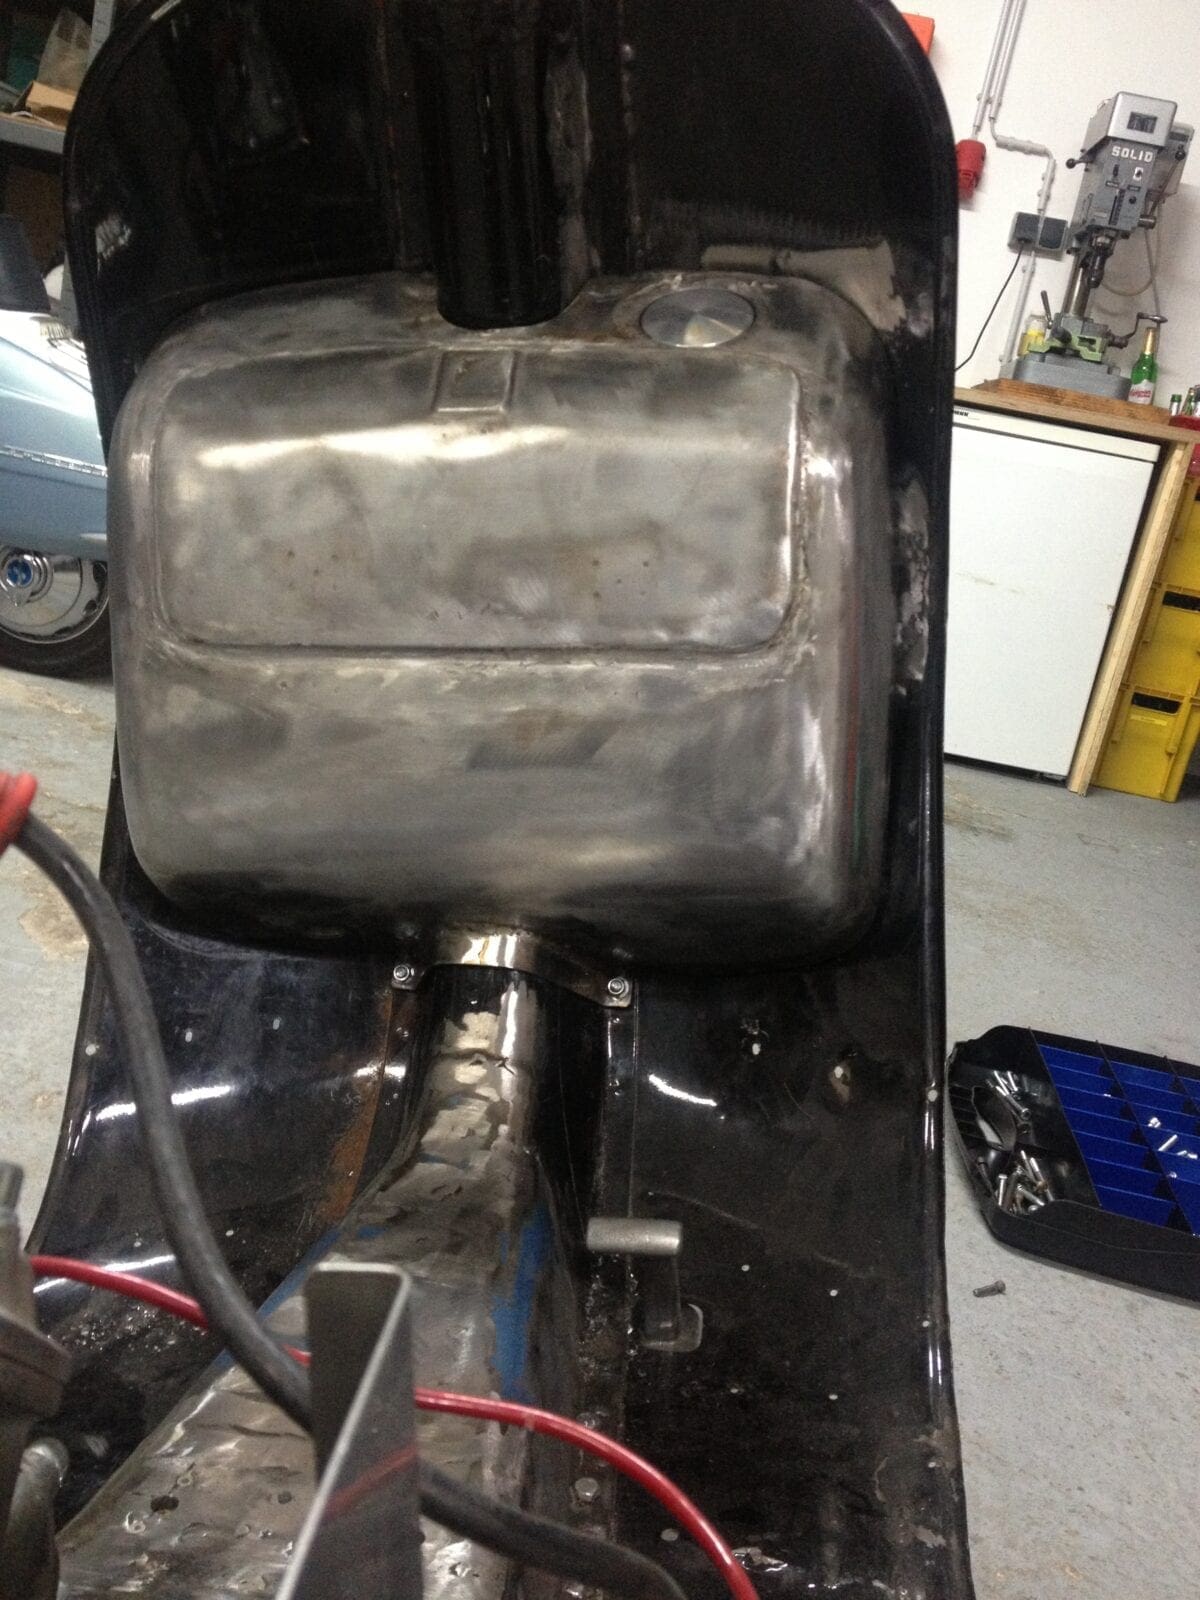
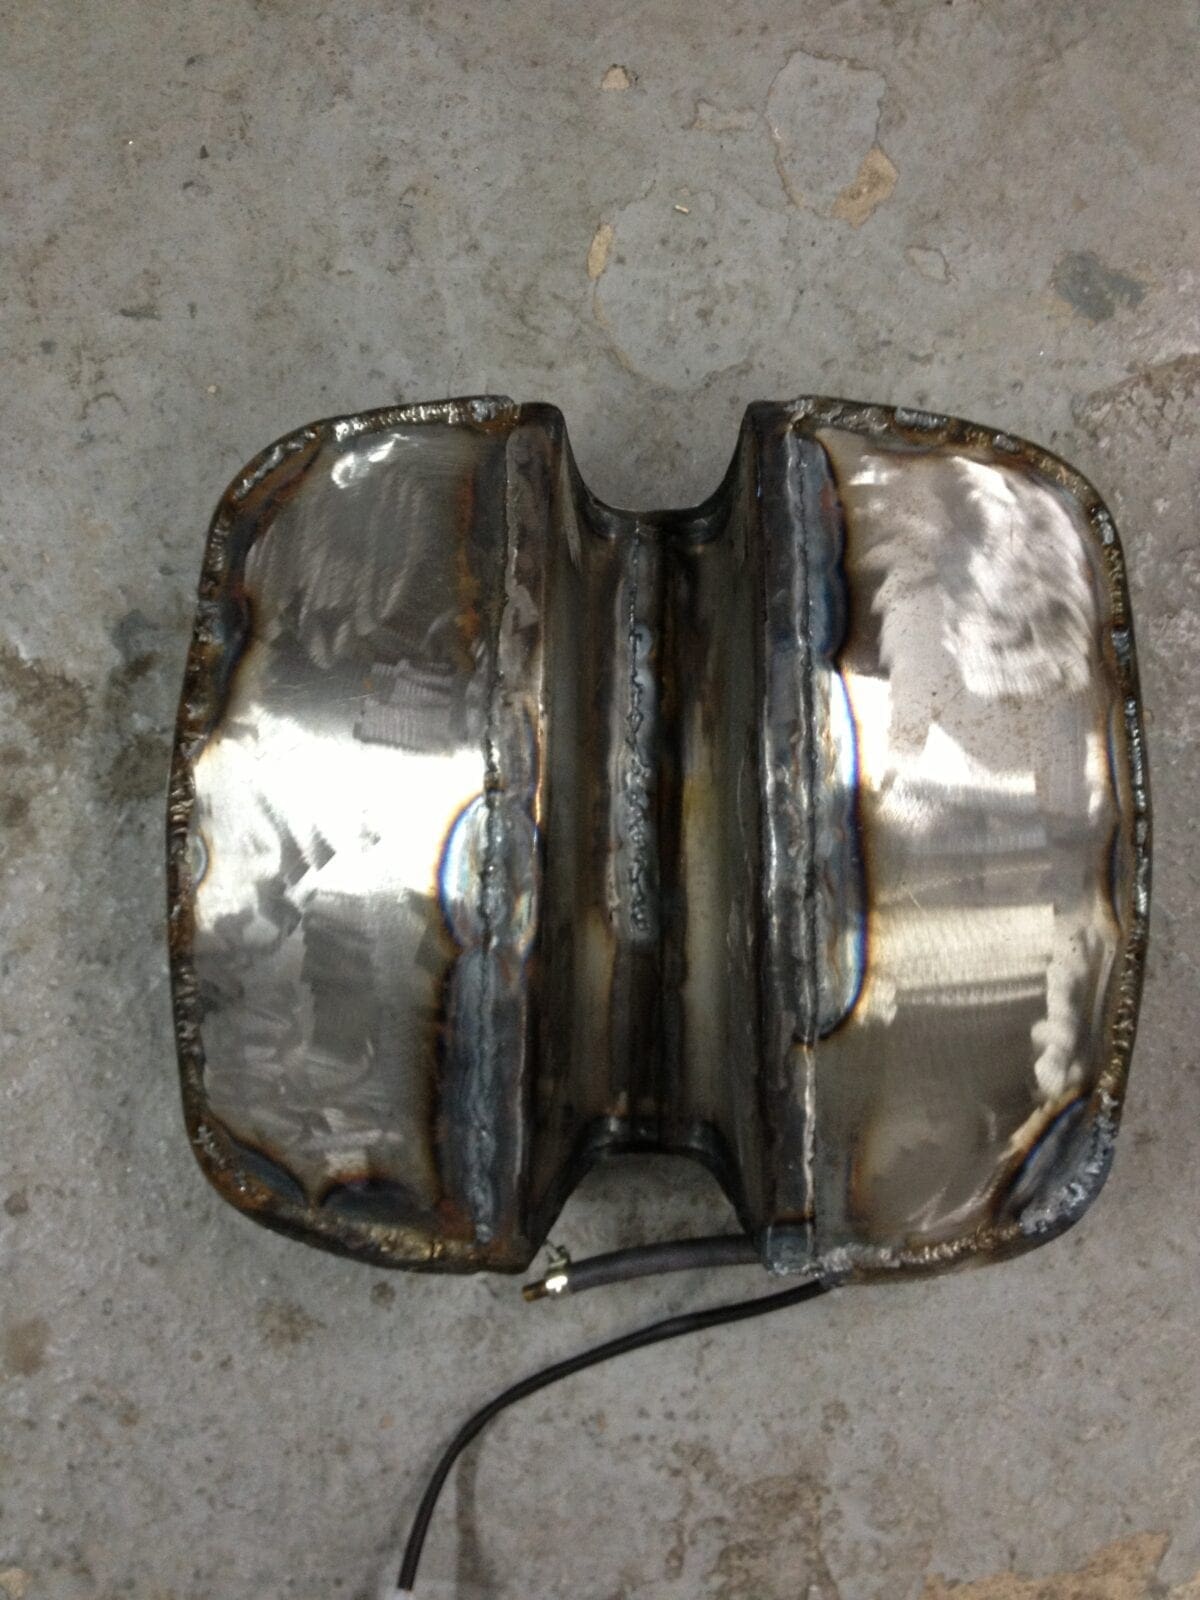
I realized that I will not have enough space in the shell to fit a fuel tank and I also wanted to put as little weight as possible to it so the fuel tank had to go to the front. Using the glove box was the only option. Which is not too bad as it has a capacity of 14 liters and its giving me some extra weight at the front to keep the wheel down on the tarmac.
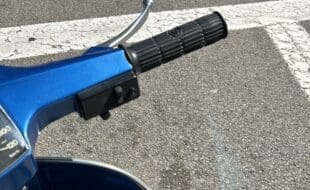
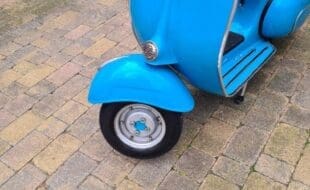
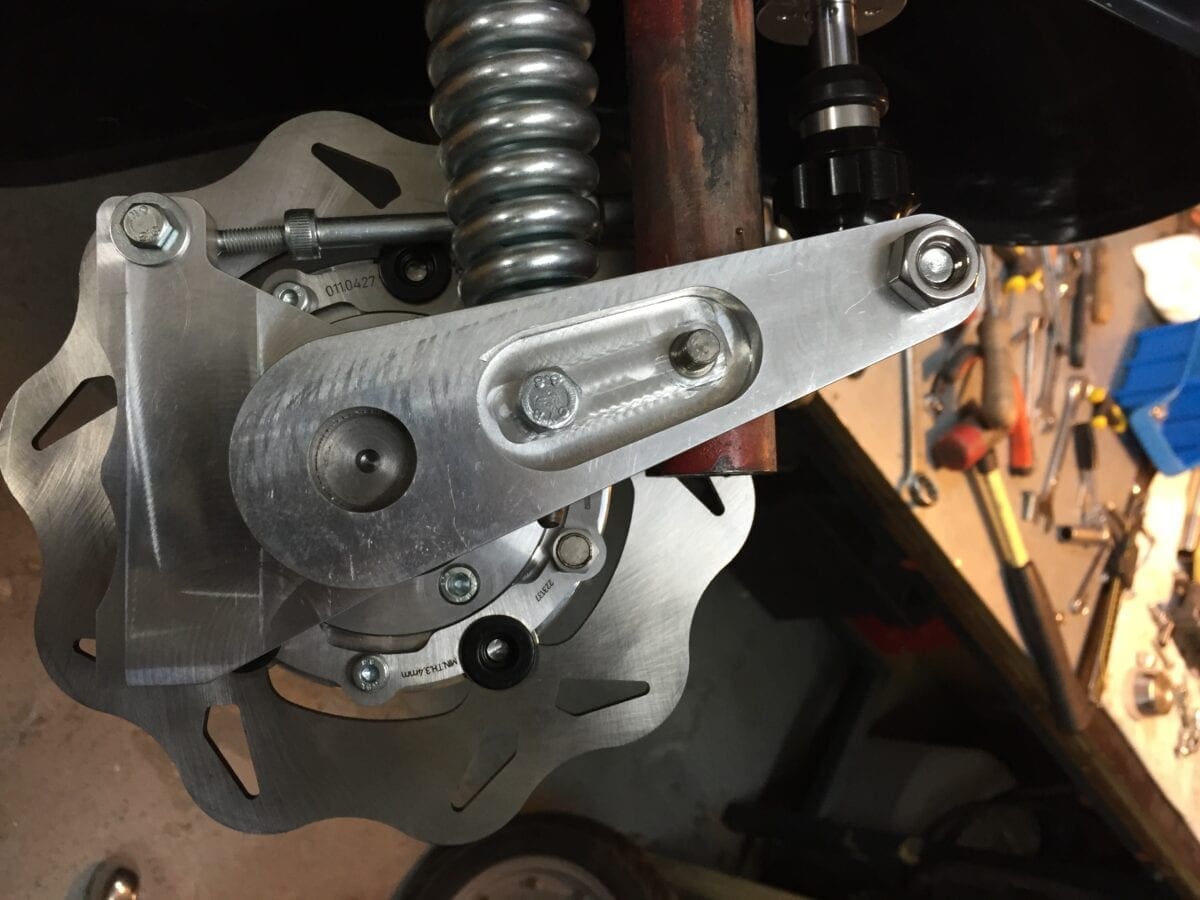
I really love the modern Cosa fork conversions with those fancy 4 piston calipers and modern shock absorbers but I also wanted something special, something money cannot buy. So I decided to build a modified version of the disc brake and wheel which I designed for the Stray Bullet (Scootering 7/ 2013) I wanted the front wheel to have the look of those Centerline wheels used on dragsters and I wanted to have the original look of the old Rally fork.
I put a P Range headset and fork to the scooter, fitted a radiator to an old front luggage carrier connected some hoses to it and fired it up for the first time. Then I brought it to Pipedesign / Bremen to have an one off exhaust built. In the meanwhile I worked on the front wheel, the hub and disc brake. After 2 months the exhaust job was done and scooter was back in my shop. With the exhaust pipe finished I welded the left panel to the shell. The cutout required for the belly of the exhaust gave me some headaches. I had several discussions with my workshop mates how to hide the cutout. Finally one of my friends involved another guy who is a designer for industrial wares. He took a picture of the shell and photoshoped his idea. Putting a beading around the cutout following the one which is the bottom line of the panel and adjusting the line of the beadings on the side panel to match the angle of the cutout was the solution. Making this real was quick job. Now the cutout has as sort of original look.
With the shell, the fork, the front wheel and the disc brake finished I put it all together to fit check everything, then I started to build the seat from scratch. The Shell is longer than the original one and so I could not simply buy a seat which I like, I had built my own one. I wanted the outline of the seat to follow the line of the shell and of course the hinge shall not be visible. So I had to design a hinge with a virtual pivoting axis. The lock of the seat is a modified lock of a Volkswagen Beetle bonnet and it is cable operated. The pull knob is hidden behind the luggage door in the left panel. Than the final solution for the cooling system was installed. An oil cooler from ebay with AN connectors, some steel armored hoses and AN fittings doing the job and keeping the temperature around 65 degrees Celsius.
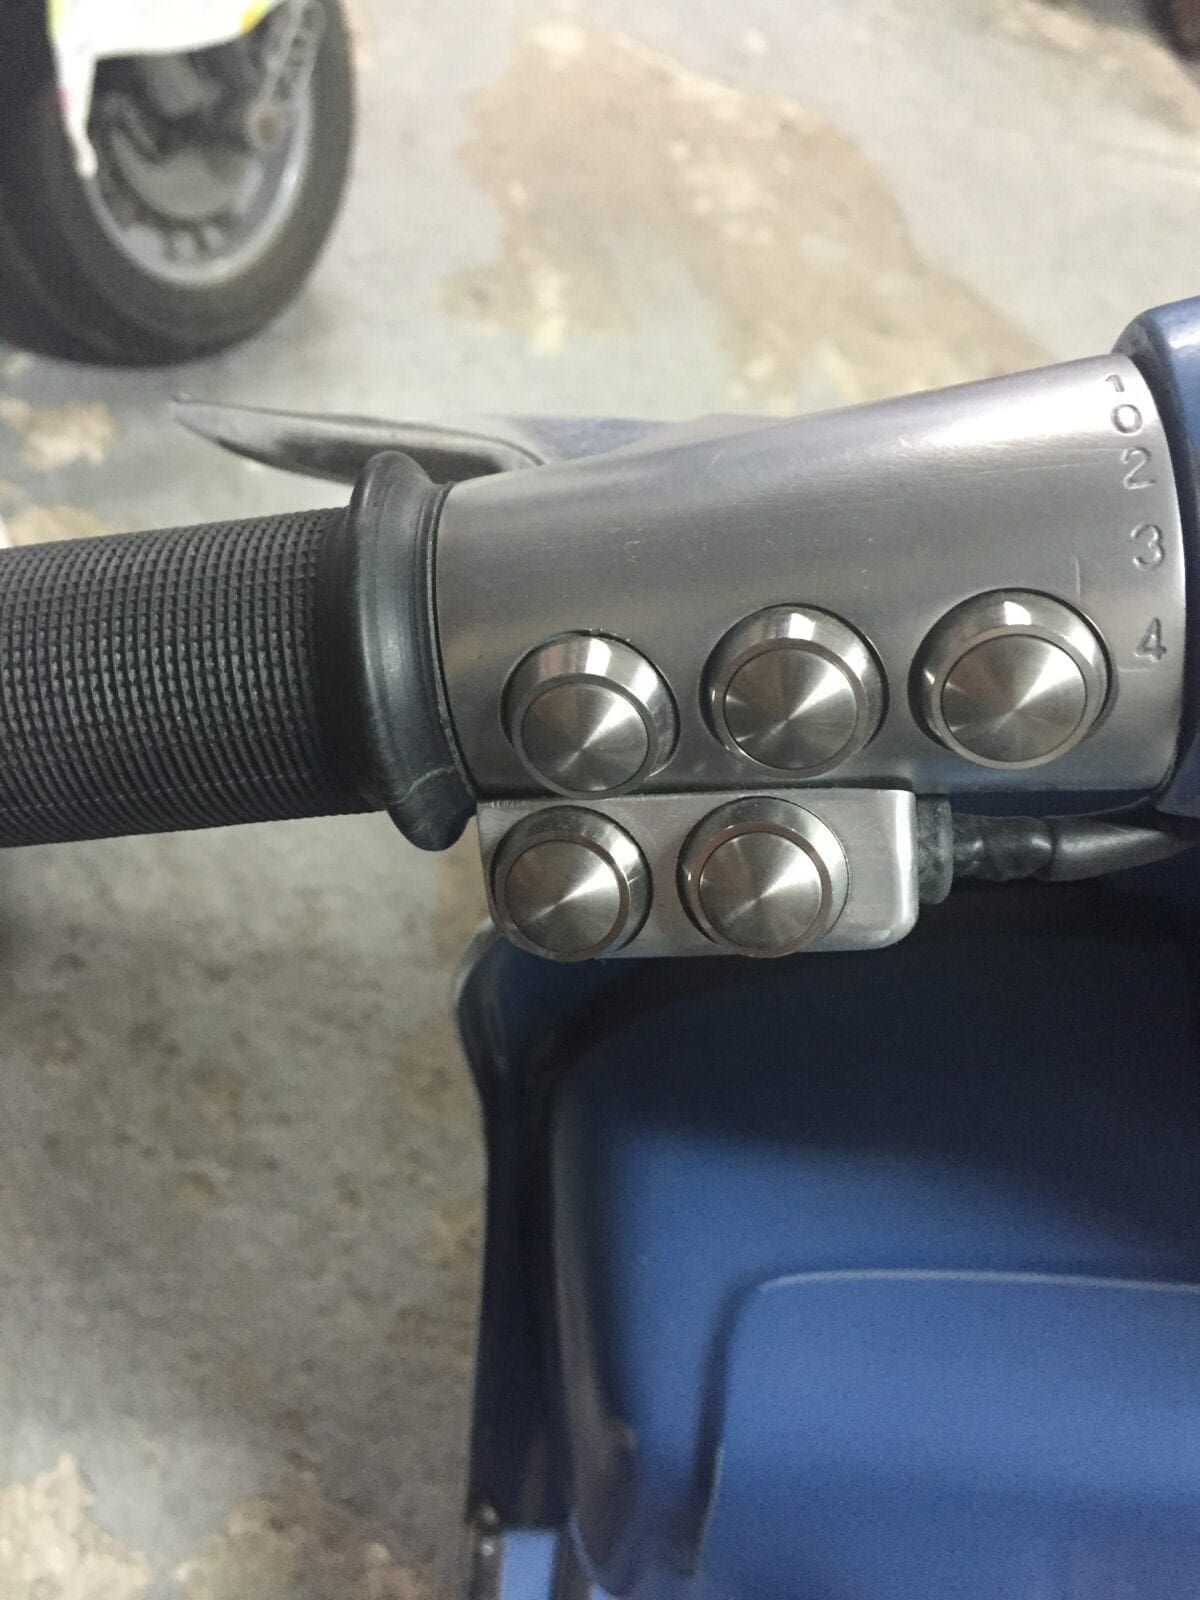
The first tests revealed that I simply could not manage to set up a good working shifting mechanism. Either the forces were too high, or the travel at the grip was too long. So decided to install a Kliktronic power shift unit which changes gears with a push on a button. But installing this unit raised another issue. It needs around 35 amps and a dead battery may end any ride quickly. Space is limited so I could not install a larger battery. 5 amps was the biggest size I could accommodate. A friend brought me to the idea to alter the generator and its regulator. The original setup is the typical AC DC layout. AC for the headlights and DC for battery charging, turn indicators, instruments and so on. With this layout the charging current isn´t raised if you switch off the head light. By converting the layout to a full DC system I could install a LED headlight which just needs 40 percent power of the standard H4 55/60 Watt bulb. Now there is a voltage of 13, 8 Volts under every condition making sure that the battery is properly charged.
Finally the scooter was painted with two layers of grey and blue as a top coat. After that the top coat was sanded, polished and aged to give it this vintage look.
I took the scooter now for several test drives and each and every one revealed another problem. For every two problems solved, I got a new one. But the number of issues decreased constantly and now it seems that it is all done.
List of parts installed
- Motogadget Motoscope Pro
- Motogadget m/unit
- Motogadget m/Disc turn indicators
- 4 piston caliper S6 R/T
- Polini Braking wave disc
- BGM F16 damper front
- Wilbers shock absorber rear
- DIY swingarm and anti dive caliper retainer
- Husqvarna WR360 Engine 55 HP / 45 Nm torque
- Pipedesign one off exhaust
- Tire dimensions: 90 / 90-10 front and 130 / 70-10 rear
- Glove box fuel tank
- Klicktronic power shifter
- PWK 35mm Carb
OWNERS DETAILS
Name: Marek Nachlik
Job: Aircraft Inspector
What is your favourite style of custom scooter? German Style, original look with state of the art parts and high performance engines
First rally? (How did you get there? Any stories?) Scythemen Scooterrun in 1989
Favourite and worst rally? Favorite: Pfingst Run Lake Scooters Stockach Worst: Uhm, naming it would not be fair…
If you had to recommend one scooter part OR one item of riding kit what would it be? The Quattrini 177 is a brilliant piece of work and the best barrel I’ve ever installed on a scooter
SCOOTER SPECIFICATIONS
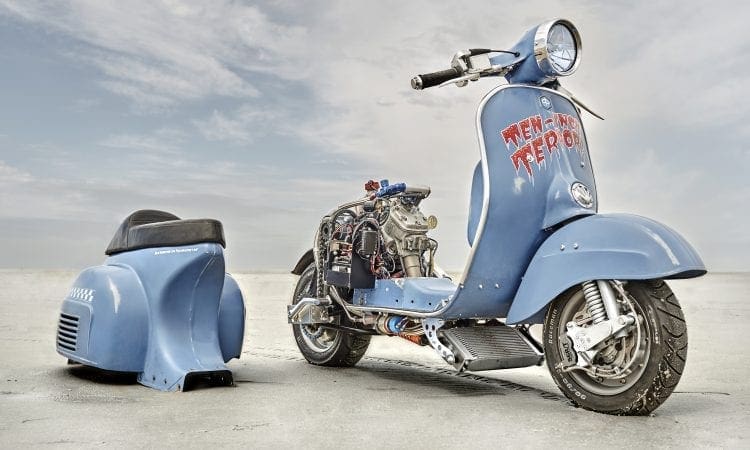
Name of scooter: Ten Inch Terror
Scooter model: P Range Rally fake
Inspiration for project: Lambrettas with RD engines
Time to build and by who: 5 years, all done by myself, except the paint job
Engine:Husqvarna WR360 standard specification 55 HP, 45 Nm torque.
Paintwork & murals/who did them/any stories? Tom Plate did the lettering
Overall cost: 15000 Euro so far
The updates…
A year ago I started road testing the scooter and it was surprisingly doing fine. Well for the first 25 kilometers…. As I never work on usual bikes chaindrives were new to me. So the first lesson I’ve learned was never save money on the chain. The first one (a cheapo buy at eBay) was completely ruined after 25 km. I expected more difficulties with the suspension as the front end is heavily altered and the rear is a complete new design. Acceleration, braking, cornering – all good I must admit that I had to tweak the radiator’s position by 5 degrees upwards to achieve more space for cornering.
One day disaster struck as all over the sudden the rear shock broke in two. The rear half of the shock stabbed into the tarmac and lifted me and the scooter of the road. That was close…
I found out that I positioned the shock in a too steep angle resulting in a bending force to the shock. As a temporary measure I installed a BGM shock which was a bit tricky as I had to design a new attachment point in order to lower the shocks position at the rear end giving it a lower angle. This stopgap solution was so good that I improved it a bit and now the rear suspension is working fine.
The next big issue is vibration. Every single nut and bolt has to be loctited. At first I removed the self-made rubber bushes of the swingarm. I took some P Range bushes which I sanded down on a lathe. What a mess everything was full of rubber chips and flakes. My old mentor would have had me sweeping the apprentice workshop for the rest of the month for this… But anyway – it worked out With the new bushings installed I expected to have less vibration on the scooter but after all it is not less enough. After the rear shell cracked at several spots I had to weld some reinforcements to it. But all summed up is still not the breakthrough. All relevant components of the engine are factory standard but next winter I will check the balancing of the crankshaft.
I found out that a dirt bike engine is not necessarily the best option as it is designed to go uphill in any gear. Torque is dramatically high but the engine lacks of agility and over-rev ability. So I installed a bigger carb (Keihin PWM 38 instead of Keihin PWK35) and a Tassinari V Forcereed valve. I lifted the barrel with a spacer to enlarge the exhaust timing. All this brought some improvement but I will need a different exhaust pipe to get it there I want it. If it wouldn’t be for the engines performance I would need a new pipe anyway as it is also cracked and welded everywhere. Hopefully the Exhaust builder gets enough hints from it where to change its design for avoiding future cracks.
The performance of the scooter is simply breath taking. I you want she is tame like P200, if you give her full throttle all hell is breaking loose. Now that I even managed to get it road legal in Germany I will push even harder to bring it to a flawless finish. I guess I will have no time for other projects in the next years….
Marek
Thanks to:
- Helge Wiese from Flying Classics for supplying all Vespa parts http://flyingclassics.de/
- Alex Rothe for the brilliant work (seat cushion and leather cover) http://www.weitgehendgar.de/
- Crazy Monkey Development for making this marvelous carb heads https://www.facebook.com/crazymonkeydevelopment
- Benno for the fantastic drop bar
- Matthias Dahl for the perfect pictures
- All my friends for bearing my moods during the accomplishment of this project
- My workshop community Spielzimmer: https://www.facebook.com/Spielzimmer-1546868468858761/

Enjoy more Scootering reading in the monthly magazine. Click here to subscribe.
Scooter Trader